How to Arrange Wedding Flowers Centerpiece Without Wasting Money
## You Don't Need a Florist to Create a Stunning Wedding Centerpiece
The average wedding florist charges $150–$400 per table centerpiece. For a 20-table reception, that's up to $8,000 — just for flowers that last one evening. The good news: with the right technique and a weekend of prep, you can arrange wedding flower centerpieces that look professionally designed at a fraction of the cost.
---
## 1. Choose the Right Flowers for Your Centerpiece Style
Before you touch a single stem, decide on your centerpiece height and density:
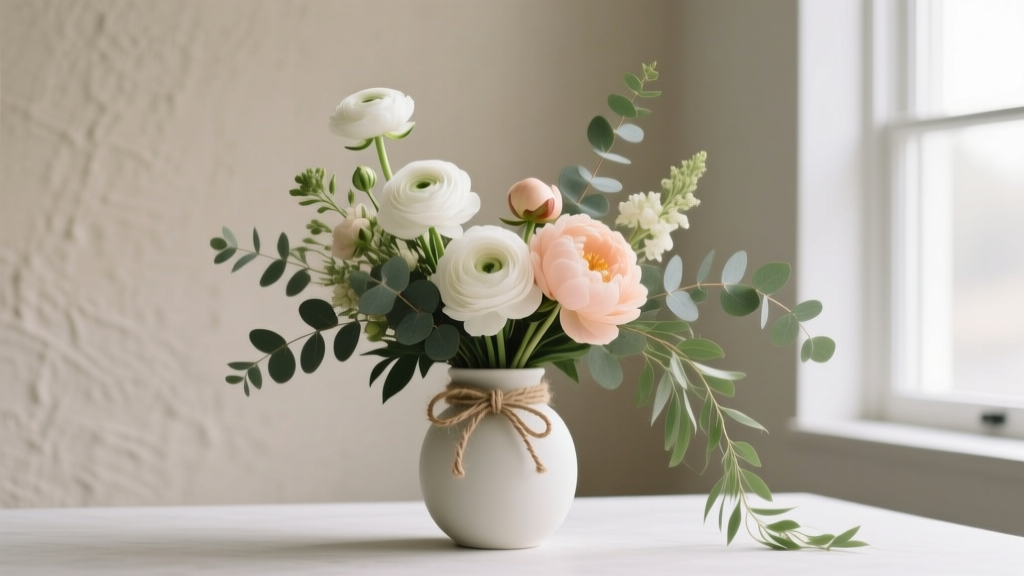
- **Low, lush centerpieces** (under 12 inches): Ideal for intimate tables. Use garden roses, ranunculus, and eucalyptus as your base.
- **Tall, dramatic centerpieces** (24+ inches): Use tall vases with long-stemmed flowers like delphinium, snapdragons, or orchids.
- **Wildflower/boho style**: Mix cosmos, chamomile, and loose greenery in mismatched vessels.
**Pro tip:** Order flowers 2–3 days before the wedding. Buy from a wholesale flower market or online wholesalers (like FiftyFlowers or BloomsyBox) to cut costs by 40–60% versus retail.
**Focal flowers** (roses, peonies, dahlias) should make up 30% of your arrangement. **Filler flowers** (baby's breath, wax flower) fill 40%. **Greenery** (eucalyptus, ferns, ruscus) completes the remaining 30%.
---
## 2. Prepare Your Flowers and Supplies the Day Before
Rushing flower prep is the #1 mistake DIY arrangers make. Follow this timeline:
**48 hours before:** Unbox flowers, cut stems at a 45-degree angle under running water, and place in buckets of fresh water with floral preservative. Remove any leaves that will sit below the waterline.
**24 hours before:** Re-cut stems, change water. Let flowers hydrate fully in a cool room (60–65°F). Flowers that aren't fully hydrated will wilt within hours of arranging.
**Supplies you'll need:**
- Floral foam (soaked for 60 seconds in water — don't push it under, let it sink naturally)
- Waterproof floral tape
- Floral wire and stem wrap
- Sharp floral shears or scissors
- Your chosen vessels (vases, compotes, lanterns)
---
## 3. Build Your Centerpiece in Layers
This is the core technique professional florists use — and it works for any style:
**Step 1 — Establish your structure with greenery.** Insert eucalyptus or fern stems around the perimeter of your foam or vase first. This creates a natural frame and hides the mechanics.
**Step 2 — Place focal flowers first.** Add your largest blooms (roses, peonies) in odd numbers — 3, 5, or 7 per arrangement. Place them at varying heights to create depth. Don't cluster them together.
**Step 3 — Fill with secondary flowers.** Add mid-size blooms (spray roses, ranunculus, lisianthus) to fill gaps between focal flowers.
**Step 4 — Add texture with fillers.** Tuck in baby's breath, wax flower, or berries to add movement and softness.
**Step 5 — Check from all angles.** Walk around the arrangement. Guests see centerpieces from every direction — fill any bare spots.
**Height rule:** For low centerpieces, keep everything under 14 inches so guests can see across the table. For tall arrangements, go above 24 inches so sightlines remain clear.
---
## 4. Keep Centerpieces Fresh Through the Reception
A centerpiece that wilts by cocktail hour is a common DIY disaster. Prevent it:
- **Use floral foam** soaked in water for arrangements that need to last 8+ hours without a water source.
- **Mist arrangements lightly** with water in the morning before setup.
- **Avoid direct sunlight and heat vents** during setup — even 30 minutes of direct sun can cause wilting.
- **Add a floral sealant spray** (like Finishing Touch) to slow moisture loss.
- If using a vase with water, add a drop of bleach and a teaspoon of sugar to extend freshness.
---
## Common Myths About DIY Wedding Flower Centerpieces
**Myth 1: "You need rare or expensive flowers to make an impressive centerpiece."**
False. Some of the most stunning wedding centerpieces use grocery-store flowers like carnations, alstroemeria, and chrysanthemums — all under $2/stem. Technique and color palette matter far more than flower variety. A monochromatic arrangement of white carnations in a mercury glass vase looks elegant and costs under $15 per table.
**Myth 2: "DIY centerpieces always look homemade."**
This comes from skipping the prep steps — under-hydrated flowers, uneven heights, and visible foam. Follow the layering method above, hide all mechanics with greenery, and vary stem heights by at least 2–3 inches between layers. The result is indistinguishable from professional work.
---
## Start With One Test Arrangement This Weekend
The best way to build confidence before your wedding day is to do a full trial run. Buy a small bundle of flowers, gather your supplies, and arrange one complete centerpiece using the layering method above. Photograph it, live with it for 24 hours, and note what you'd change.
This single practice run will save you hours of stress on the wedding day — and confirm exactly how many stems you need per table before you place your bulk order.
Your centerpieces don't need to be perfect. They need to be beautiful, personal, and present. With the right prep, they'll be all three.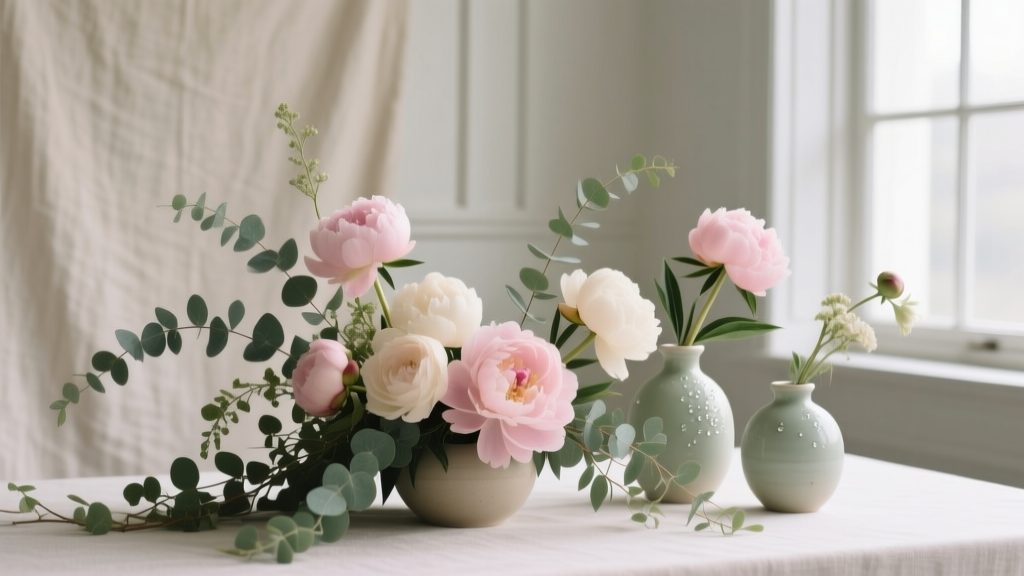 DIY Wedding Flowers: Save Up to 70% Without Sacrificing Beauty on Your Big Day
 How to Make Church Pew Decorations for a Wedding on Any Budget
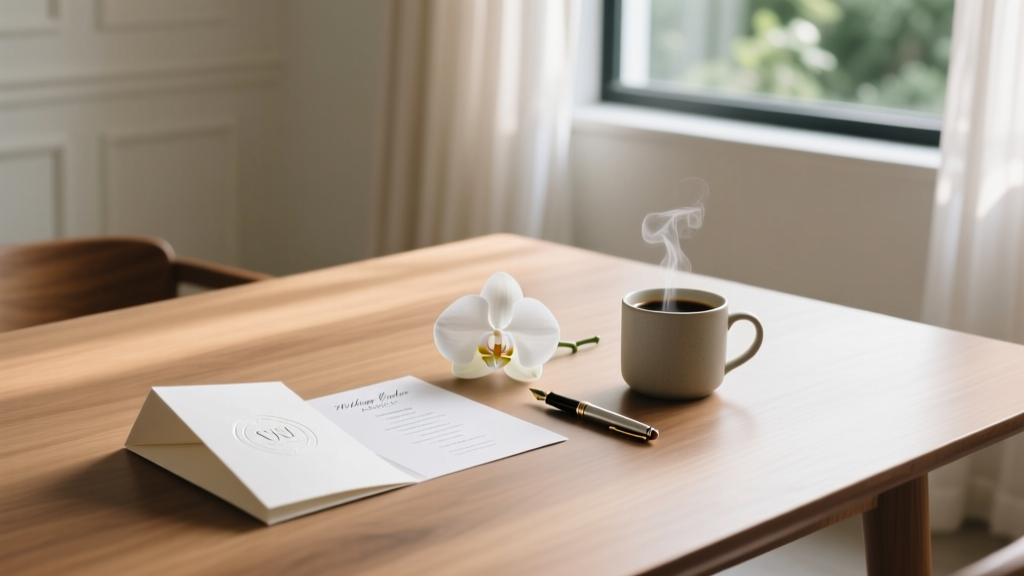 How to Make a Wedding Order of Service Without the Stress
 How to Make a Wedding Album Look Professional: 12 Expert Tips That Transform Ordinary Photos Into Heirlooms
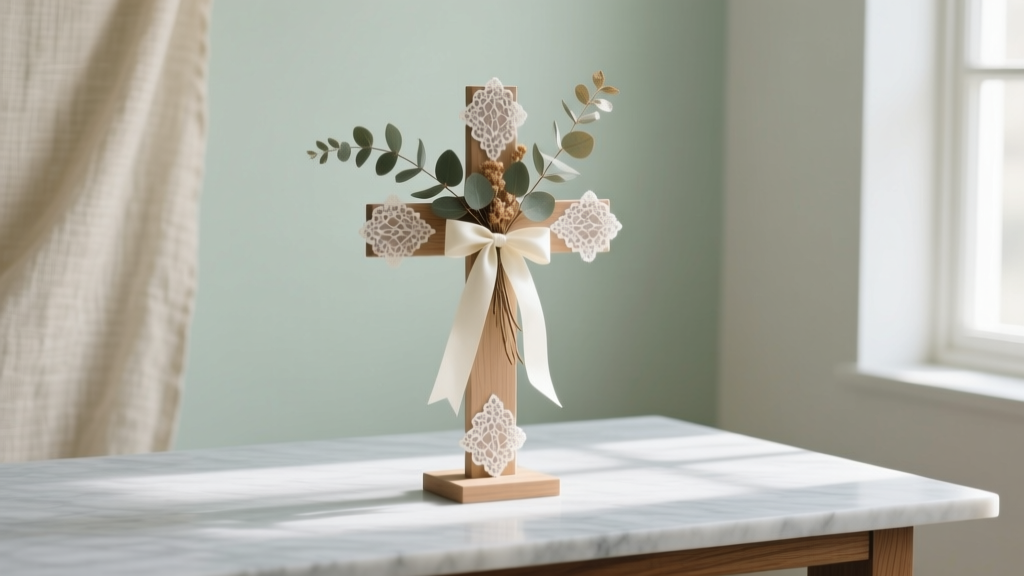 How to Decorate a Cross for a Wedding Without Overspending
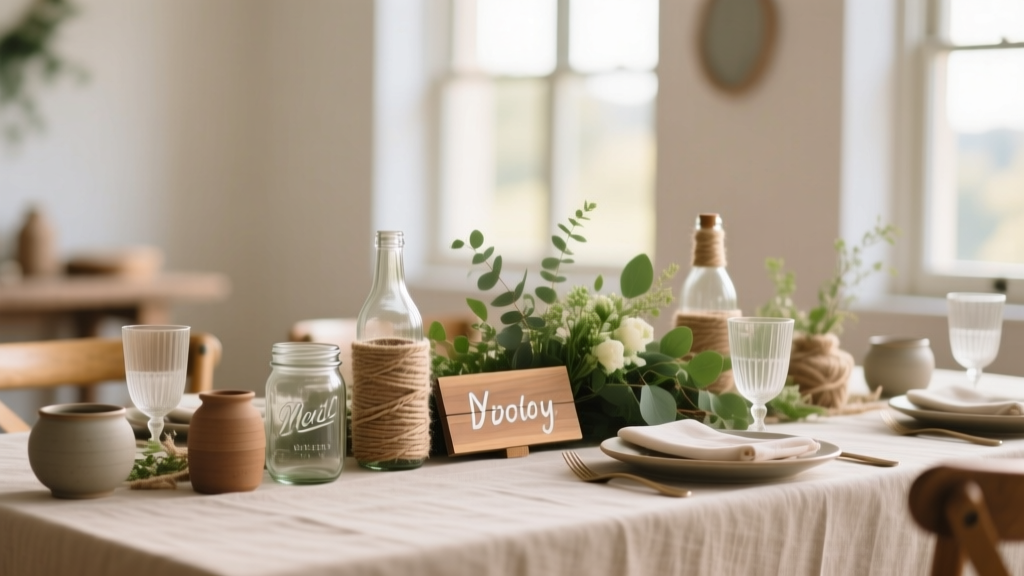 How to Make Your Own Wedding Table Decorations on a Budget
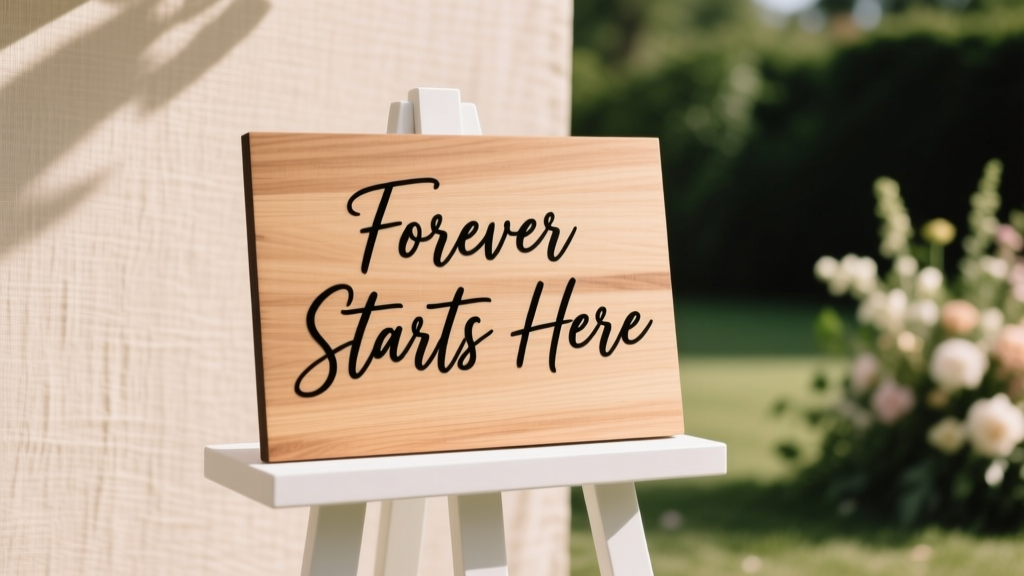 How to Make a Wooden Wedding Sign Without Any Woodworking Experience
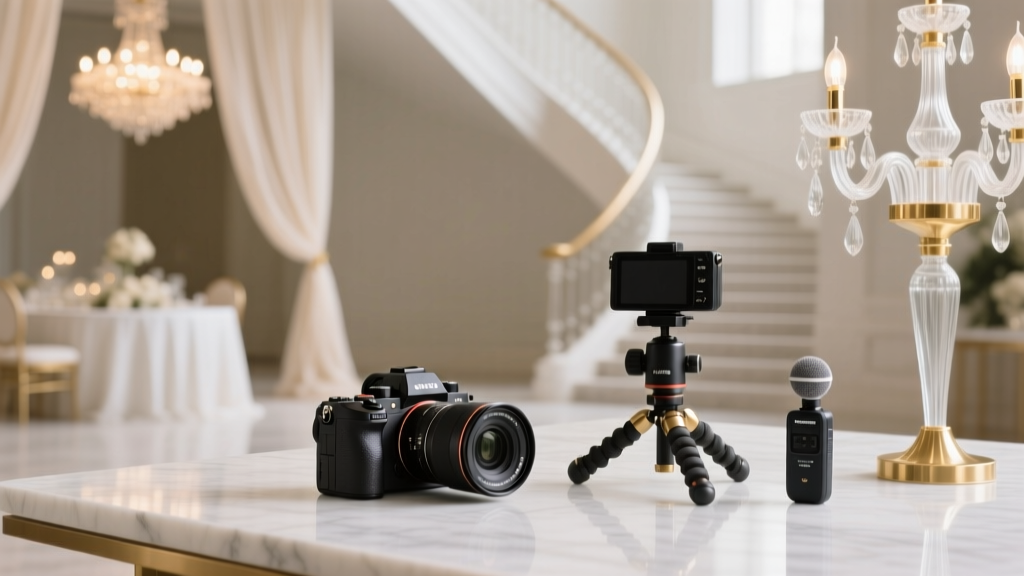 How Much Do Wedding Videographers Make a Year: Real Numbers
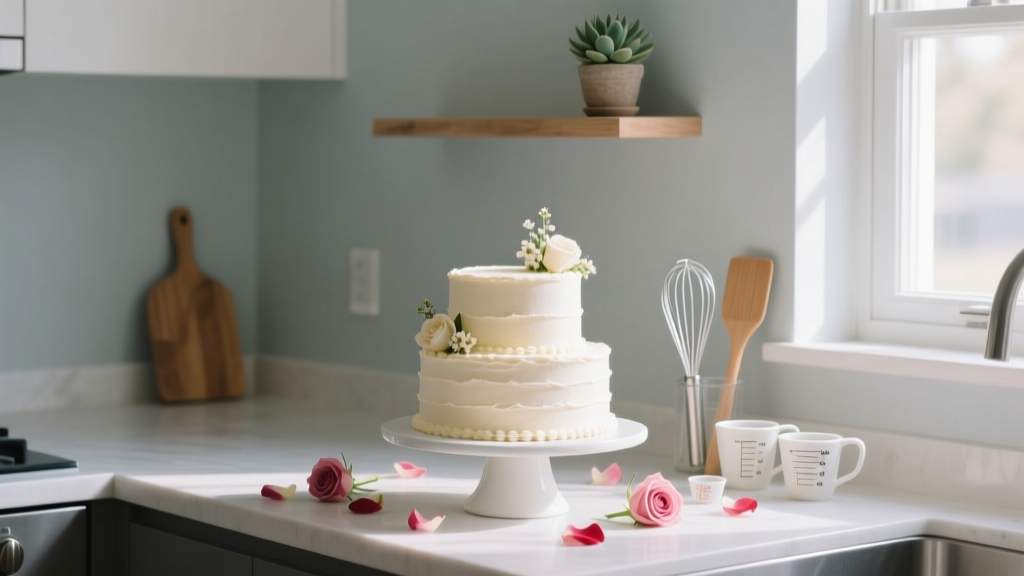 How to Make a Simple Wedding Cake Without Losing Your Mind
 How to Make Wedding Address Labels That Impress Every Guest on Your List