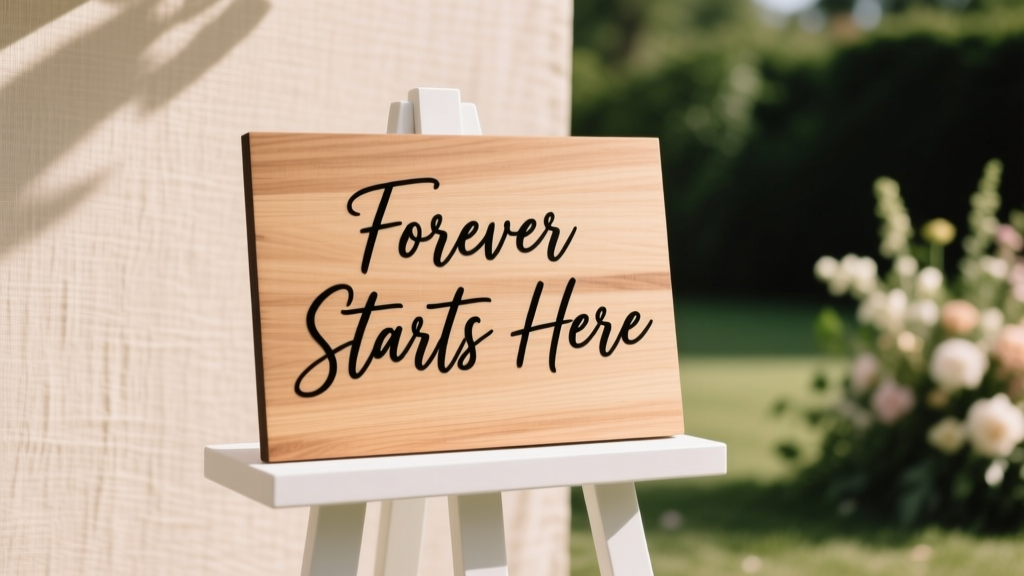
How to Make a Wooden Wedding Sign Without Any Woodworking Experience
## You Don't Need a Workshop to Make a Stunning Wooden Wedding Sign
The average custom wooden wedding sign costs $60–$150 on Etsy. But with $15 in supplies and an afternoon, you can create something more personal — and more impressive. Whether it's a welcome sign, seating chart, or vow display, handmade wooden signs have become the centerpiece of modern wedding décor. Here's exactly how to do it.
---
## What You'll Need
**Materials (total cost: $10–$25):**
- 1 pine or poplar board (1×10×24" or your preferred size) — found at any hardware store
- Sandpaper (120-grit and 220-grit)
- Chalk or transfer paper
- Black acrylic paint or paint pens
- Matte or satin sealant spray
- Optional: wood stain, ribbon or twine for hanging
**Tools:**
- Pencil
- Paintbrush (fine-tip for lettering)
- Printer (for your design template)
---
## Step 1: Prepare Your Wood
Start with a smooth, knot-free board. Sand with 120-grit to remove rough spots, then finish with 220-grit for a silky surface. Wipe away dust with a damp cloth.
If you want a rustic look, apply one coat of wood stain (walnut or ebony are popular for weddings) and let it dry fully — usually 2 hours. For a clean white or natural look, skip the stain entirely.
**Pro tip:** Hobby Lobby and Michaels sell pre-cut, pre-sanded wood rounds and planks specifically for signs — these save 20 minutes of prep.
---
## Step 2: Transfer Your Design
This is where most beginners get stuck — freehand lettering looks harder than it is, but there's a cheat code.
1. Design your text in Canva (free) using a script font like *Great Vibes* or *Playlist Script*
2. Print it at the correct size, then flip it face-down on the wood
3. Rub the back firmly with a pencil — this transfers a faint outline onto the wood
4. Trace over the outline with your paint pen or brush
Alternatively, use chalk transfer paper (sold at craft stores for ~$4) for a cleaner transfer with no smudging.
---
## Step 3: Paint Your Lettering
Use a fine-tip paint pen (Posca or Molotow brands work best) for clean edges, or a size 2 round brush with acrylic paint thinned slightly with water.
- Work in thin layers — two light coats beat one thick coat
- Let each coat dry 15–20 minutes before adding the next
- Fix mistakes immediately with a damp cotton swab before paint dries
For decorative elements like florals or geometric borders, paint pens make it nearly foolproof.
---
## Step 4: Seal and Finish
Once paint is fully dry (wait at least 1 hour), apply 2 light coats of matte sealant spray from 12 inches away. This protects against humidity and handling — critical if your sign will be outdoors.
Add a sawtooth hanger to the back for wall mounting, or drill two small holes at the top corners and thread ribbon through for an easel display.
---
## Common Myths About DIY Wooden Wedding Signs
**Myth 1: "You need a Cricut or vinyl cutter to get clean lettering."**
Not true. The pencil-transfer method produces results indistinguishable from vinyl at a fraction of the cost. Many professional sign makers use this exact technique.
**Myth 2: "Cheap wood warps and looks bad in photos."**
Pine and poplar from hardware stores are perfectly stable for indoor use. Warping happens when wood is stored improperly or gets wet — not because of the wood grade. A $6 board from Home Depot photographs beautifully.
---
## Make Your Sign This Weekend
A handmade wooden wedding sign takes 2–3 hours total and costs under $25. It's one of the highest-impact, lowest-effort DIY wedding projects available — and guests always ask where you bought it.
**Your next step:** Open Canva right now, type your wedding date or a short phrase, and choose a script font. Once you have a design you love, the rest takes one afternoon.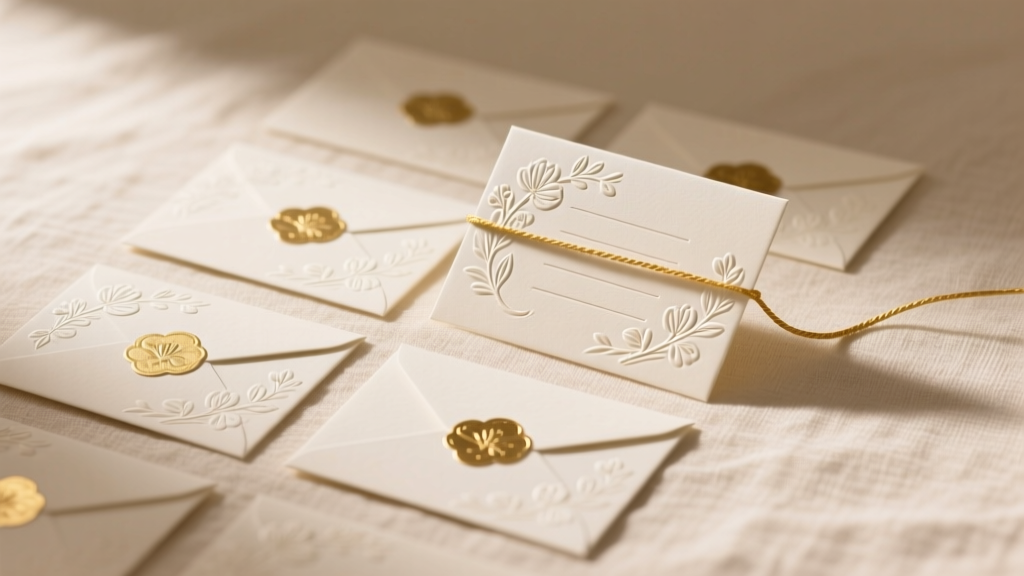 How to Make Wedding Address Labels That Impress Every Guest on Your List
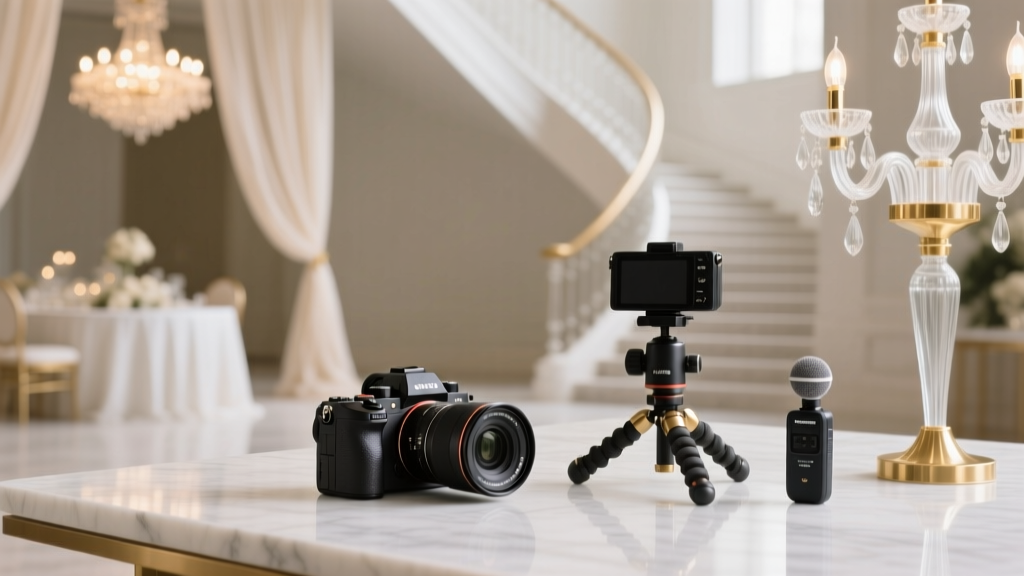 How Much Do Wedding Videographers Make a Year: Real Numbers
 How to Make a Wedding Album Look Professional: 12 Expert Tips That Transform Ordinary Photos Into Heirlooms
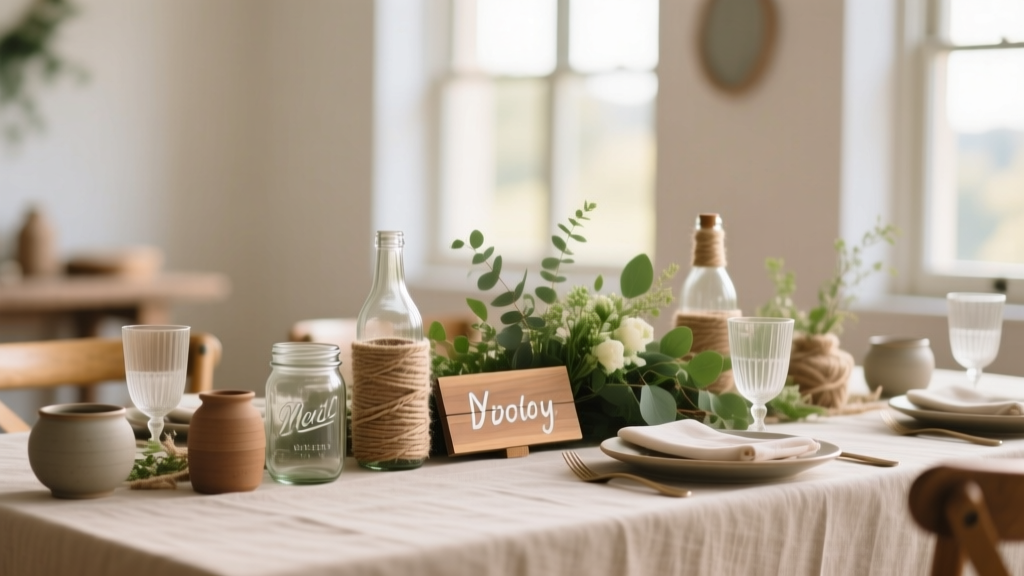 How to Make Your Own Wedding Table Decorations on a Budget
 Do It Yourself Wedding Bouquets Silk: Save Hundreds Today
 How to Make a Wedding Order of Service Without the Stress
 Do Wedding Planners Decorate? The Truth You Need to Know
 How to Decorate a Cross for a Wedding Without Overspending
 How to Make a Wedding Itinerary Without Losing Your Mind
 How Much Can a Wedding Venue Make: Real Revenue Numbers