How to Make Wedding Address Labels That Impress Every Guest on Your List
# How to Make Wedding Address Labels That Impress Every Guest on Your List
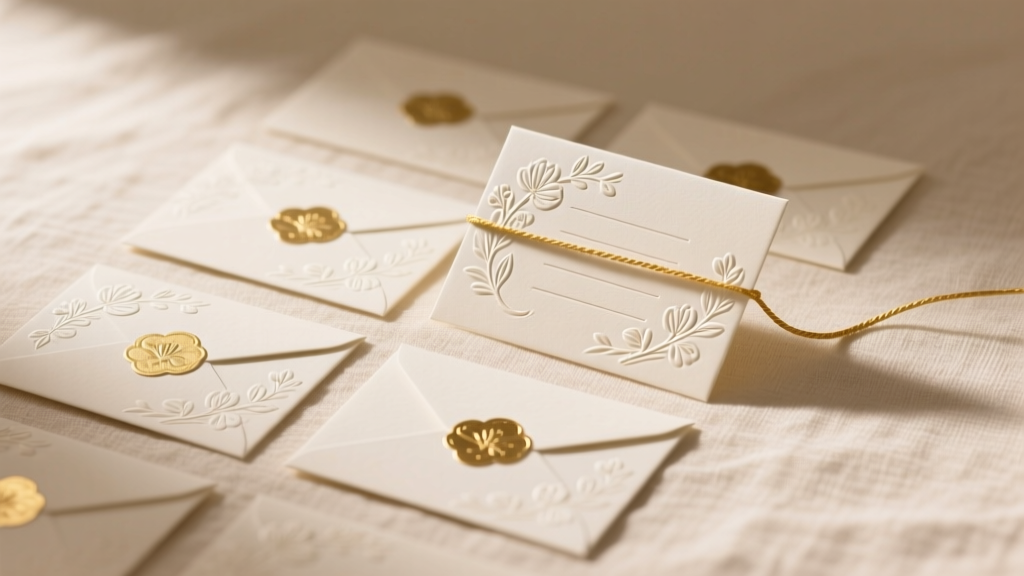
Addressing 150 envelopes by hand sounds romantic until hour three, when your wrist aches and your handwriting starts looking like a doctor's prescription. Wedding address labels solve this problem entirely — and when done right, they look just as elegant as calligraphy. Here's exactly how to make them yourself.
## Choose the Right Label Size and Material
The most common mistake couples make is grabbing whatever labels are on sale. For wedding invitations, size and finish matter.
- **Return address labels**: 1" x 2.625" (Avery 8160 or equivalent) fit neatly on the back flap of A7 envelopes.
- **Guest address labels**: 2" x 4" (Avery 8163) work well for standard A7 invitation envelopes.
- **Finish**: Matte white labels look clean and accept ink without smearing. Clear labels work beautifully on colored envelopes, letting the envelope color show through.
For a premium feel, consider kraft paper labels for rustic themes or glossy white for modern aesthetics. A pack of 300 labels runs $12–$18 at most office supply stores — a fraction of what a calligrapher charges per envelope.
## Design Your Labels Using Free or Low-Cost Tools
You don't need graphic design experience. Several tools make this straightforward:
**Canva (free)**: Search "address label" in templates, select your label size, and customize fonts and colors. Download as a PDF for printing.
**Avery Design & Print (free)**: Go to avery.com/templates, enter your product number, and use their online editor. It auto-formats your layout to match the label sheet perfectly — no guesswork on margins.
**Microsoft Word**: Avery provides free Word templates. Go to Mailings > Labels, select your label product, and use mail merge to pull guest addresses from a spreadsheet automatically.
Font recommendations that photograph well and read clearly: Cormorant Garamond, Playfair Display, or Lato. Keep guest address text at 10–11pt minimum for readability. Script fonts look beautiful for names but use a serif or sans-serif for the address lines below.
## Print, Test, and Align Correctly
Printing is where most DIY label projects go wrong. Follow this sequence:
1. **Print a test sheet on plain paper first.** Hold it up against your label sheet to check alignment before committing.
2. **Use your printer's "actual size" or "100%" setting** — never "fit to page," which rescales and throws off alignment.
3. **Load one sheet at a time** to prevent jams and misfeeds.
4. **Let labels dry 60 seconds** before stacking, especially with inkjet printers.
If your printer consistently prints slightly off-center, Avery's online tool has a fine-tune alignment feature that lets you shift the layout by fractions of an inch. Laser printers generally produce crisper text than inkjet for small fonts.
For a batch of 150 invitations, budget about 45 minutes total for printing — far less than hand-addressing.
## Apply Labels Cleanly and Consistently
Application technique affects the final look more than most people expect.
- Peel labels from the sheet slowly at a low angle to prevent curling.
- Position the label on the envelope before pressing down — you get one shot at placement.
- Use a bone folder or credit card to smooth out any air bubbles after applying.
- For return address labels on envelope flaps, apply them centered on the flap, not the back of the envelope body.
If you want extra polish, run a slightly damp sponge over the label after application and smooth it flat. This eliminates edge lifting, especially in humid climates.
## Two Common Misconceptions About Wedding Address Labels
**Misconception 1: "Labels look cheap compared to calligraphy."**
This was true of generic labels printed in Times New Roman. With the right font, a clean design, and quality label stock, printed labels are indistinguishable from professional addressing at a glance. Many stationery designers now offer digital address label files specifically because the quality gap has closed.
**Misconception 2: "You need to address every envelope the same way."**
Etiquette allows flexibility. Formal invitations use full names and titles ("Mr. and Mrs. James Holloway"), while casual celebrations can use first names. The label format should match your invitation's overall tone — don't mix a formal invitation with a casual label style.
## Start Your Labels Early and Enjoy the Process
Making wedding address labels is one of the most manageable DIY wedding tasks when you give yourself enough time. Set up your address spreadsheet, design your template, print a test run, and you'll have professional-looking labels ready in an afternoon.
Start at least six weeks before your mail date to leave room for reprints if needed. Your guests will notice the care you put into every detail — and your wrist will thank you.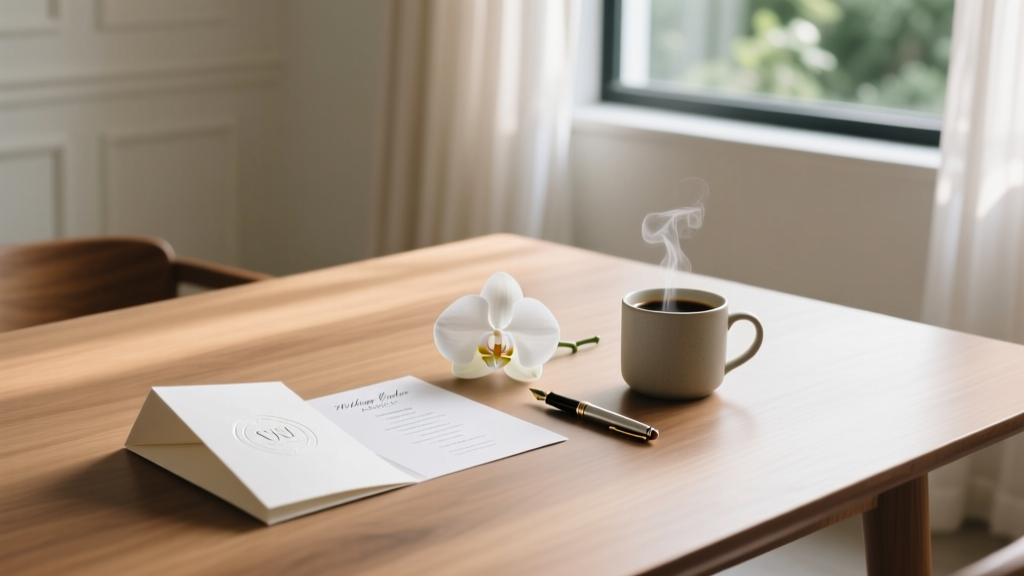 How to Make a Wedding Order of Service Without the Stress
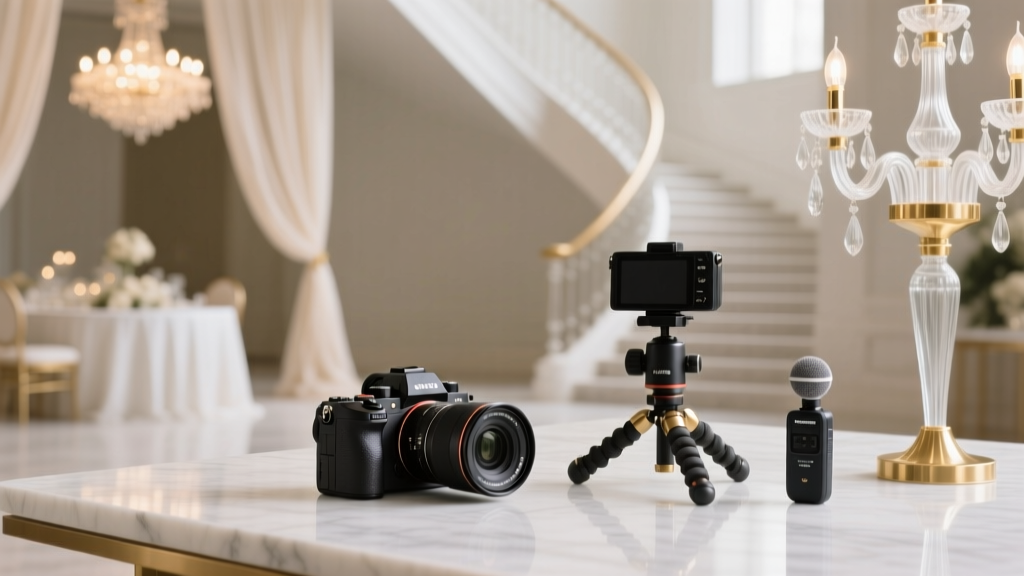 How Much Do Wedding Videographers Make a Year: Real Numbers
 How to Make Church Pew Decorations for a Wedding on Any Budget
 How to Make a Wedding Album Look Professional: 12 Expert Tips That Transform Ordinary Photos Into Heirlooms
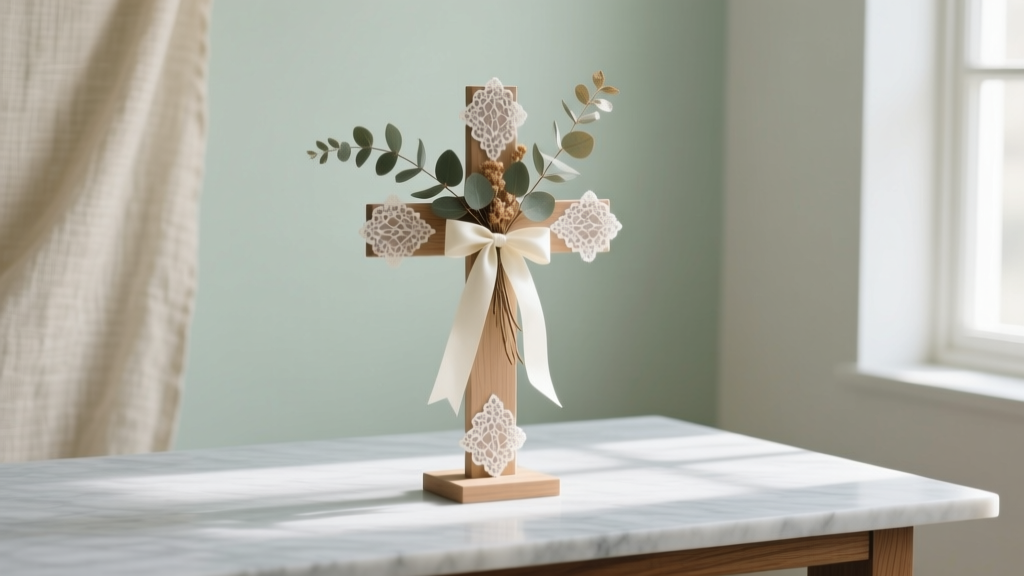 How to Decorate a Cross for a Wedding Without Overspending
 How to Make a Boutonniere for Wedding Without Florist Fees
 Do Your Own Wedding Makeup: 7 Steps to a Flawless Bridal Look That Lasts All Day
 Do It Yourself Wedding Flowers: Save Hundreds Without Sacrificing Beauty
 How to Make Flower Arrangements for Wedding Centerpieces That Wow
 How to Make a Wooden Wedding Sign Without Any Woodworking Experience