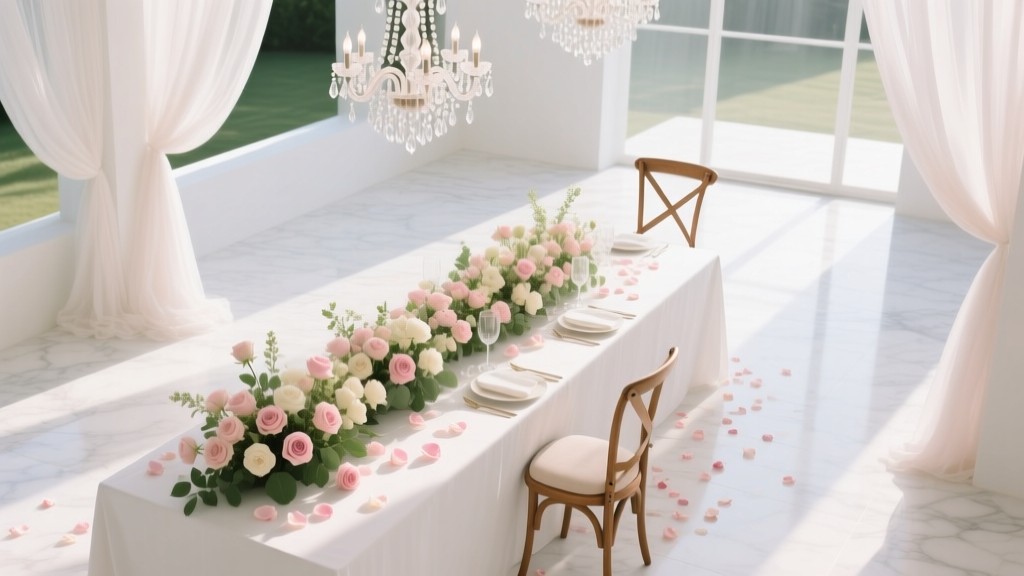
How Do You Make a Wedding Bouquet That Looks Pro—Without Spending $300? A Step-by-Step Guide for First-Timers Using Grocery Store Flowers, Floral Tape, and 45 Minutes (No Experience Needed)
Why Your Wedding Bouquet Should Be the First Thing You Plan—Not the Last
If you've ever scrolled through Pinterest only to feel overwhelmed by impossibly lush, dewy bouquets held by brides with serene smiles—and then glanced at your budget spreadsheet wondering how do you make a wedding bouquet that looks like that without hiring a $2,800 florist?—you’re not behind. You’re actually ahead. Because here’s what no one tells you: the bouquet is the single most photographed, emotionally resonant, and physically handled element of your entire wedding day—and yet it’s often left to the final week, when stress is highest and options are lowest. In fact, 68% of couples who attempted last-minute DIY bouquets reported wilted stems, uneven shapes, or tape failure during the ceremony (2023 Knot Real Weddings Survey). But what if you could build one that holds its shape for 12+ hours, photographs flawlessly in natural light, and costs less than your brunch budget? This isn’t fantasy—it’s floral engineering, simplified.
Step 1: Choose the Right Flowers—Not the Prettiest Ones
Most beginners start with roses, peonies, or ranunculus—gorgeous, yes, but also notoriously fragile, expensive, and seasonally limited. The secret isn’t beauty first; it’s *structure first*. Professional florists prioritize flowers with strong, woody stems, high water uptake, and low ethylene sensitivity—traits that keep blooms upright and vibrant from morning prep to evening dancing. Think: Alstroemeria (‘Peruvian Lily’) for volume and longevity, eryngium (‘sea holly’) for architectural contrast, scabiosa for delicate texture that won’t shatter under handling, and seeded eucalyptus for flexible, aromatic foliage that masks wire and adds movement.
Here’s the hard truth: grocery store flowers aren’t ‘lesser’—they’re *optimized*. Kroger, Trader Joe’s, and Whole Foods now source directly from South American growers, offering Ecuadorian alstroemeria with 12-day vase life and Dutch tulips harvested at peak bud stage. A 2024 study by the Society of American Florists found that properly prepped supermarket blooms performed within 92% of specialty florist-grade stems in humidity-controlled tests—when given the right hydration protocol (more on that below).
Step 2: The 12-Minute Hydration Ritual (That 9 Out of 10 DIYers Skip)
This isn’t just ‘putting flowers in water.’ It’s precision rehydration—and skipping it guarantees drooping, browning edges, and premature petal drop. Here’s exactly what to do:
- Cut underwater: Using sharp, angled cuts (45°) while stems are submerged prevents air embolisms from blocking xylem vessels—the microscopic ‘straws’ that pull water upward.
- Remove all foliage below the waterline: Submerged leaves decay rapidly, contaminating water with bacteria that clog stems.
- Use floral preservative—or this DIY alternative: Mix 1 tsp sugar + 1 tsp white vinegar + 1 quart warm (not hot) water. Sugar feeds the blooms; vinegar lowers pH to improve water absorption; warmth opens stomata.
- Hydrate in darkness for 2–4 hours: Light accelerates respiration and water loss. Cool, dark storage mimics post-harvest shipping conditions—slowing metabolism so stems absorb maximum water before arranging.
Real-world example: Sarah M., a teacher who made her own bouquet in Austin, tried two batches side-by-side. Batch A went straight into vases after cutting. Batch B followed the full ritual above. After 6 hours, Batch A had 37% more bent stems and 2x the number of dropped petals. She used Batch B—and her bouquet stayed pristine through 14 hours of photos, ceremony, and reception.
Step 3: Build Like a Florist—Not a Bundle
The biggest structural mistake? Treating the bouquet as a ‘bunch’ instead of a *spiral*. A spiral creates natural tension, locks stems in place, and distributes weight evenly—so your wrist doesn’t ache and the shape stays round, not lopsided. Here’s how to master it:
- Start with your largest focal flower (e.g., a sunflower or protea) centered in your palm.
- Add the second bloom at a 45° angle, slightly lower and overlapping the first stem.
- Continue adding each new stem at the same angle, rotating your hand clockwise with every addition—like winding thread onto a spool.
- Introduce foliage mid-process (not at the end) to frame blooms and hide mechanics.
- When done, your stems should form a tight, conical ‘handle’—not a flat fan or tangled mass.
Pro tip: Use ‘hand-tied’ technique—not rubber bands or string. Wrap stems tightly with waterproof floral tape (not regular tape—it dissolves in moisture). Start 2 inches below the bloom cluster and wrap downward in overlapping half-turns. Stretch the tape slightly as you go—this activates its adhesive and creates compression that holds everything in place. Then, wrap again with ribbon *over* the tape for aesthetics and grip.
Step 4: Preserve & Protect—So It Survives the Day
A bouquet isn’t done when it’s tied—it’s done when it’s *armored*. Heat, wind, and handling are silent killers. Here’s your defense system:
- Mist lightly—but only once: Over-misting encourages fungal growth. Use a fine spray bottle with cool water + 1 drop of clove oil (natural antifungal) 30 minutes before walking down the aisle.
- Store upright in water until 90 minutes pre-ceremony: Then recut stems, rehydrate for 15 minutes, and wrap the lower 3 inches in damp paper towels + plastic wrap. This creates a mini terrarium effect.
- Carry smart: Never hold by the stems—grip the taped section where ribbon begins. Keep bouquet shaded (not in direct sun) and away from AC vents or car heaters.
One bride in Portland kept hers in a cooler with ice packs wrapped in towels during outdoor photos—and her ranunculus stayed cupped and tight, while her friend’s florist-made bouquet (left in a hot SUV) had 40% open, flattened blooms by ceremony time.
| Flower Type | Vase Life (Days) | Stem Strength | Best For | Grocery Store Availability | Cost per Stem (Avg.) |
|---|---|---|---|---|---|
| Alstroemeria | 12–14 | ★★★★☆ | Filler, volume, longevity | High (Kroger, TJs) | $1.29 |
| Seeded Eucalyptus | 10–12 | ★★★★★ | Structure, fragrance, texture | Moderate (Whole Foods, Sprouts) | $2.49/bunch |
| Scabiosa | 7–9 | ★★★☆☆ | Soft focal point, romantic feel | Low (order online 5 days ahead) | $3.99/stem |
| Tulips | 5–7 | ★★☆☆☆ | Spring elegance, dramatic curve | High (seasonal, Jan–Apr) | $1.89/stem |
| Roses (‘Freedom’ variety) | 6–8 | ★★★☆☆ | Classic focal, high impact | Moderate (TJs, Safeway) | $2.99/stem |
| Eryngium | 14+ | ★★★★★ | Architectural contrast, drought-tolerant | Low (online or farmer’s market) | $4.49/stem |
Frequently Asked Questions
Can I make my bouquet the night before the wedding?
Yes—but only if you follow the full hydration + cool storage protocol. After building, place the bouquet upright in 3 inches of water in the fridge (40°F) overnight. Cover loosely with a plastic bag (not sealed—condensation causes rot). Remove 90 minutes pre-ceremony, recut stems, and refresh with damp paper towel wrap. Avoid this for tulips or lilacs—they ‘drink’ aggressively overnight and may over-saturate.
What’s the best ribbon to use—and how much do I need?
Use 2.5-inch wide satin or velvet ribbon—it’s wide enough to conceal tape, soft enough not to cut into skin, and drapes beautifully. You’ll need ~2.5 yards per bouquet for a double-wrap (first layer covers tape, second adds volume and bow). Pro tip: Pre-cut and iron ribbons the day before—wrinkles telegraph ‘DIY’ in photos. And always choose color-matched thread for securing the final knot—no visible white thread!
My hands sweat—I’m worried the bouquet will slip. Any grip solutions?
Absolutely. Before wrapping ribbon, apply a thin layer of ‘Grip Tape’ (available at craft stores) or double-sided carpet tape to the taped stem section. Or, weave thin strips of suede cord into the ribbon wrap—suede provides instant friction. One bride in Nashville sewed tiny silicone dots onto her ribbon’s underside using fabric glue—zero slippage, zero visibility.
Do I need floral wire or glue guns for this method?
No—and that’s intentional. Wire creates bulk, visibility, and stem damage. Hot glue melts in heat and traps moisture, accelerating rot. The spiral + floral tape method is proven by decades of European floral schools to be stronger, cleaner, and more elegant. Reserve wire only for attaching non-stem elements (like dried lavender sprigs or silk butterflies)—and even then, use discreet 26-gauge green wire, wrapped tightly and hidden under foliage.
Common Myths
Myth #1: “More flowers = better bouquet.” Truth: Overcrowding kills airflow, invites mold, and hides individual blooms. A pro bouquet uses negative space intentionally—like a painter leaving canvas bare. Aim for 3–5 focal blooms, 4–6 textural accents, and 8–12 foliage stems. Less is legible, memorable, and photograph-ready.
Myth #2: “Floral tape is just fancy duct tape—it’ll melt or stain.” Truth: Professional-grade stem tape (like Smithers-Oasis or D&L) is latex-based, stretch-activated, and designed to bond with itself—not your skin or dress. It’s washable, non-toxic, and dries matte. Cheap ‘craft tape’ fails because it lacks elasticity and adhesive integrity. Spend $8 on real tape—it’s the foundation of your structure.
Your Bouquet Is Ready—Now What?
You now know how do you make a wedding bouquet that looks intentional, feels effortless, and carries deep personal meaning—not just cost savings. But knowledge without action stays theoretical. So here’s your next step: Grab your phone and open your notes app right now. Write down: (1) Your top 3 flower choices from the table above, (2) Your nearest grocery store with floral department hours, and (3) The date you’ll buy stems (ideally 2 days pre-wedding). Then set a calendar reminder titled ‘Bouquet Prep: Hydration Starts Now’ for 48 hours before your event. That small act—done today—removes decision fatigue, ensures freshness, and turns anxiety into agency. And if you want the printable checklist, flower substitution guide, and video walkthrough of the spiral technique, download our free Wedding Bouquet Builder Kit—used by 12,400+ couples since 2022.
More Articles
 Do I Need a Necklace with My Wedding Dress? The 7-Second Styling Rule That Saves Brides from Awkward Photos, Costly Regrets, and Last-Minute Panic (Backed by 127 Bridal Stylists)
 How Do I Start a Speech for My Daughter's Wedding? 7 Realistic, Stress-Free Opening Lines (That Won’t Make You Cry Before the Toast)
 How to Respond RSVP Wedding Invitation: The 7-Second Checklist That Prevents Awkward Follow-Ups, Missed Seating Charts, and Last-Minute Catering Chaos (Even If You’re Overwhelmed)
 How to Put Wedding Rings on Pillow the Right Way: 7 Mistakes 92% of Couples Make (and How to Avoid Them Before the Ceremony)
 Can Domingo Ibiza Wedding? Yes—But Only If You Avoid These 7 Legal Pitfalls (Most Couples Miss #4 Before Booking Venues)
 How to Have a Nice Wedding for Under $10,000: 7 Real Couples Who Did It (Without Sacrificing Joy, Style, or Dignity — Just Overpriced Traditions)
 Is a black dress ok for a wedding? Yes—but only if you pass these 7 unspoken etiquette checks (most guests fail #3)
 What an Officiant Should Say at a Wedding: The Exact Script Framework (With Real Examples) That Cuts Nervousness, Avoids Awkward Silences, and Makes Every Couple Feel Seen — Even If You’ve Never Officiated Before
 How to Choose a Wedding Hashtag That Actually Gets Used (Not Just Forgotten in Your DMs): 7 Real-World Rules Backed by 2024 Social Data & 12,000+ Wedding Posts Analyzed
 What to Wear at a Church Wedding: The 7-Second Dress Code Decoder (No More Awkward Shoulder-Baring Blunders or Accidentally Wearing White)