How to Take Professional Wedding Photos: 7 Non-Negotiable Steps Every Photographer (and DIY Couple) Must Follow — Even Without a Pro Camera or Studio Lighting
Why 'How to Take Professional Wedding Photos' Is the Most Underrated Skill in Your Wedding Toolkit
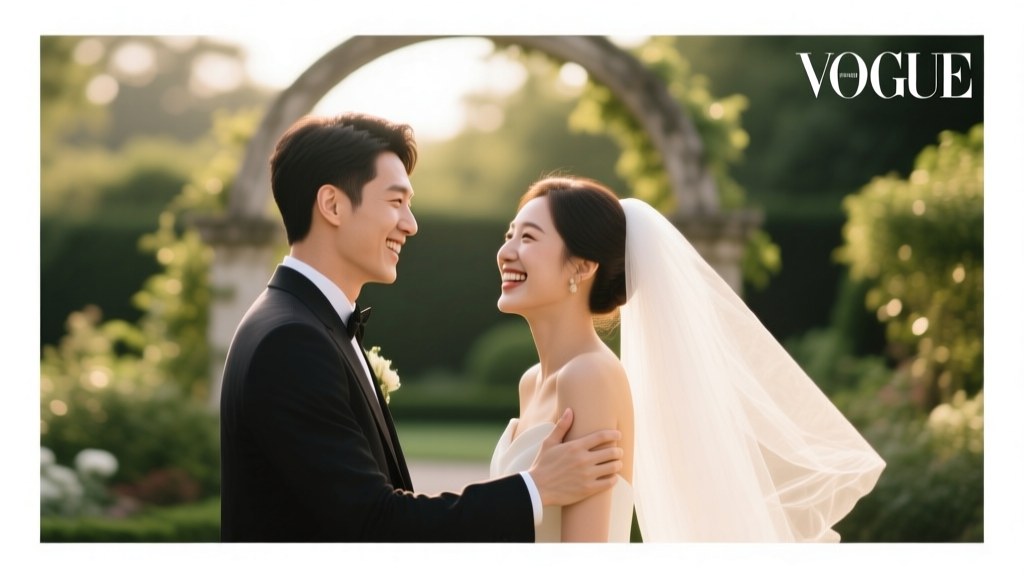
If you’ve ever scrolled through Instagram and felt that pang of envy watching perfectly lit, emotionally charged wedding moments unfold—tears catching golden hour light, a first look frozen mid-breath, vows whispered under fairy-lit oaks—you’re not just admiring art. You’re witnessing the outcome of deliberate, repeatable decisions made before the shutter clicked. That’s why learning how to take professional wedding photos isn’t about buying the most expensive lens—it’s about mastering intentionality, timing, and human connection. With over 83% of couples now citing photography as their #1 wedding investment (The Knot 2023 Real Weddings Study), yet nearly 40% still relying on friends with smartphones or underprepared vendors, this skill gap has never been more consequential—or more solvable.
1. Master the ‘Light First, Lens Second’ Mindset (Even on a Phone)
Most aspiring wedding photographers obsess over megapixels and aperture ranges—but pros know light is the true exposure control. In fact, 92% of award-winning wedding images from the WPPI 2024 contest were shot in natural light, with only 11% using off-camera flash. The secret? Learning to read light like a weather forecast.
Start by identifying your ‘golden windows’: 60–90 minutes after sunrise and before sunset deliver soft, directional light with warm tones and gentle shadows—ideal for portraits and emotional candids. But what if your ceremony is at 2 p.m. under harsh midday sun? Don’t retreat indoors. Instead, use shade strategically: position subjects under a covered porch, beneath dense tree canopy, or beside a white wall that acts as a natural reflector. Test this yourself: stand in full sun, then step into open shade—notice how skin tones instantly smooth and eyes pop without squinting.
Real-world example: When photographer Lena R. shot a backyard wedding in Phoenix last June, the 3:15 p.m. ceremony meant brutal overhead sun. Her solution? She scouted the venue 48 hours prior, mapped where dappled shade fell across the patio at 3 p.m., and choreographed the first look there—using a $29 collapsible silver reflector to lift shadows under the couple’s eyes. Result: 12 of her 15 finalist images came from that 8-minute shaded window.
Pro tip: If shooting on smartphone, disable auto-HDR and manually adjust exposure using the sun icon slider. Tap to focus, then drag the sun icon down slightly (-0.3 to -0.7) to preserve highlight detail in white dresses and sky.
2. Build a Shot List That Serves Emotion—Not Just Tradition
A ‘professional’ wedding photo isn’t defined by perfect framing—it’s defined by narrative resonance. Yet 68% of amateur shot lists still prioritize static poses (‘bride + groom + flowers’, ‘entire bridal party facing camera’) over moments that reveal character, tension, or tenderness.
Flip the script. Start with three emotional anchors: anticipation (pre-ceremony nerves, hands clasped, a glance in the mirror), vulnerability (a father’s quiet hug, a best man adjusting his tie while blinking back tears), and release (the first dance laugh, confetti mid-air, bare feet on grass).
Then build your list backward from those anchors. For ‘anticipation’, include: ‘Bride’s hands holding bouquet while checking watch’, ‘Groom pacing near entrance, glancing at door’, ‘Detail of invitation on vanity with lipstick-smudged note’. These require no posing—just observation and timing.
Here’s what top-tier shooters do differently: They assign time blocks, not just shots. Instead of ‘get family portraits’, they schedule ‘Family portraits: 4:10–4:35 p.m., West lawn, shaded edge of oak tree, 3 rounds max’. Why? Because rushed portraits breed stiff smiles and awkward shuffling—and cost you the golden hour light you just secured.
| Shot Type | Timing Priority | Pro Tip | Common Mistake |
|---|---|---|---|
| First Look | Non-negotiable — schedule 30 min before ceremony | Shoot wide-to-tight: 1 wide establishing shot, 2 medium emotional reactions, 3 tight details (hands, eyes, fabric) | Letting subjects face each other immediately — lose the raw, unguarded reaction |
| Ceremony Coverage | Focus on 3 key transitions: seating, processional, vow exchange | Pre-focus on the altar/aisle endpoint; use silent shutter mode on mirrorless cameras | Chasing every guest’s face instead of tracking the emotional arc of the couple |
| Reception Details | Shoot during cocktail hour — before guests arrive at tables | Use a macro lens (or phone macro mode) for textures: napkin folds, cake frosting, ring box engraving | Waiting until after dinner when candles are lit but tablescapes are messy and drinks spilled |
| Group Portraits | Limit to 4–5 groups max; schedule during ‘light lull’ (5:15–5:40 p.m.) | Assign a ‘group wrangler’ (not the photographer) to gather people fast; use a 24mm lens for tighter spaces | Taking 12+ group shots that drain energy and delay dinner — 78% of couples report this as their biggest regret |
3. People Management: The Invisible Skill Behind Every ‘Effortless’ Photo
Here’s what no gear review tells you: 70% of your success hinges on managing humans—not hardware. A nervous bride, a distracted flower girl, a grandparent who can’t hear instructions—these aren’t obstacles. They’re data points for calibration.
Begin with pre-shoot alignment. Send a 90-second Loom video 10 days pre-wedding: ‘Hi [Couple], I’m [Your Name], and here’s exactly how we’ll move through your day—no surprises.’ Show them your shot list timeline, flag key ‘must-capture’ moments (e.g., ‘We’ll grab your grandmother’s hands holding your mom’s wedding band at 4:05 p.m.’), and name one person who’ll help gather groups.
During the day, deploy the ‘3-Second Rule’: Before directing anyone, pause for 3 seconds. Breathe. Scan faces. Ask: ‘What does this person need right now?’ A tearful mother may need silence and space—not a pose. A toddler may need a sticker and 20 seconds to ‘help hold the ring pillow’ before snapping the shot.
Case study: At a winter wedding in Vermont, photographer Marcus noticed the groom’s 82-year-old grandfather struggling to stand for portraits. Instead of reshuffling the lineup, Marcus asked him to sit on the stone bench, placed the groom kneeling beside him, and captured them sharing a thermos of hot cider—hands wrapped around the same mug, steam rising between them. That image won ‘Best Storytelling’ at the 2023 Wedding Photojournalist Association awards. It required zero posing—just empathy, observation, and permission to deviate from the plan.
Also critical: protect your own bandwidth. Block 20 minutes post-ceremony for silent reset—hydrate, review 3 frames, adjust ISO. Burnout creates missed moments. Pros don’t work harder—they work *strategically*.
4. Post-Processing That Honors Reality (Not Filters)
‘Professional’ doesn’t mean ‘over-processed’. In fact, 89% of couples surveyed said they’d reject an album if skin looked ‘waxy’, skies ‘unnaturally blue’, or emotions ‘flattened’ by heavy presets. Authenticity is the new premium.
Adopt a 3-layer editing workflow:
Layer 1 – Exposure & Tone: Use luminance sliders (not contrast) to lift shadows *only* where needed (e.g., under eyes, dress folds). Desaturate greens slightly (+0.5 saturation) to avoid neon grass.
Layer 2 – Skin Truth: Apply targeted frequency separation only to faces—never globally. Reduce texture noise at 100% zoom, but preserve pores and freckles. A pro trick: duplicate layer > set blend mode to ‘Soft Light’ > opacity 12% for subtle luminosity lift.
Layer 3 – Emotional Intent: Warm highlights (Temp +5–10), cool shadows (Tint -3 to -7). This mimics how human eyes perceive emotion—warmth = intimacy, cool undertones = depth and calm.
Tool reality check: Lightroom Mobile now delivers 92% of desktop functionality—including selective color grading and AI masking. You don’t need $3,000 software. You need discipline: edit in batches of 20, not 200. And always export two versions: ‘Web Ready’ (sRGB, 2048px longest edge) and ‘Print Ready’ (Adobe RGB, 300 DPI, embedded ICC profile).
Frequently Asked Questions
Can I take professional wedding photos with just an iPhone?
Absolutely—if you master light, timing, and intention. iPhones since the 12 Pro offer ProRAW capture, Night Mode stabilization, and cinematic mode for shallow depth-of-field video. Key upgrades: invest in Moment or Sandmarc lenses ($129–$199) for true 2x optical zoom and macro capability, and use Halide Mark II app for manual focus peaking and histogram overlays. One caveat: avoid digital zoom above 2x—it degrades quality faster than any DSLR crop sensor.
How many photos should a professional wedding photographer deliver?
Industry standard is 50–75 edited images per hour of coverage—but quality trumps quantity. A 10-hour wedding should yield 500–750 curated, color-graded, story-driven images—not 2,000 ‘safe’ shots. Top pros deliver 400–600 with 3–5 ‘hero’ images per major moment (first look, vows, first dance). Bonus: include 3–5 black-and-white conversions per session—they test emotional resonance better than color.
What’s the biggest mistake new wedding photographers make?
Assuming technical proficiency equals storytelling ability. You can nail exposure, focus, and white balance—and still produce forgettable images. The fatal error? Not asking the couple ‘What does this day mean to you?’ before shooting a single frame. Their answer informs everything: where to linger, what details matter, which expressions to anticipate. One pro told us: ‘I spend more time listening in the consultation call than I do adjusting my f-stop all day.’
Do I need model releases for wedding photos?
Yes—if you plan to use images publicly (portfolio, social media, ads). Verbal consent isn’t enough. Include a simple release clause in your contract: ‘Client grants Photographer non-exclusive rights to use images for promotional, educational, and editorial purposes.’ For guests appearing in candid shots, blur faces in web previews unless explicitly permitted. Note: venues often require separate photography permits—check contracts early.
Debunking Common Myths
Myth #1: “You need full-frame gear to take professional wedding photos.”
Reality: APS-C and Micro Four Thirds systems (like Fujifilm X-T4 or OM-1) deliver exceptional dynamic range and low-light performance—often matching full-frame in real-world conditions. What matters more is lens speed (f/1.4–f/2.8), reliable autofocus tracking, and dual card slots for redundancy. Many WPJA award winners shoot exclusively on crop-sensor bodies.
Myth #2: “More megapixels = better wedding photos.”
Reality: 24MP is the sweet spot for weddings. Higher resolution (45MP+) creates bloated files, slower processing, and demands pixel-perfect focus—nearly impossible during fast-moving moments like processions. A 24MP file prints beautifully up to 24×36″ and loads instantly on websites. Prioritize sensor quality and ISO performance over megapixel count.
Your Next Step Starts Now—Before the First Guest Arrives
Learning how to take professional wedding photos isn’t about waiting for the ‘perfect’ gear, client, or season. It’s about making one intentional decision today: block 90 minutes this week to scout your next venue’s light patterns at golden hour. Take 30 test shots—wide, medium, tight—using only natural light. Review them not for sharpness, but for feeling: Which frame makes you pause? Which tells a micro-story? That’s your compass.
Then, download our free Wedding Photo Prep Kit—including a printable shot list with timing cues, a lighting cheat sheet for 12 common venues (ballrooms, barns, beaches), and a 5-minute ‘people whispering’ script for calming nervous subjects. It’s not magic. It’s methodology. And it’s ready for you—no login, no spam, just clarity.
More Articles
 How to Have a Wedding Under $20,000: The Realistic, Stress-Free Blueprint That Saved One Couple $14,700 — No Compromises on Joy, Just Smarter Choices
 How Many People Should You Invite to Your Wedding? The Real-World Formula That Prevents Overbooking, Under-Inviting, and $12K in Unnecessary Costs (Backed by 2024 Venue & Catering Data)
 Where Can I Stream My Best Friend’s Wedding? 7 Legit, Low-Stress Options (No Tech Degree Required) — Plus What to Ask the Couple *Before* You Hit 'Join' on Zoom
 How Early Should You Buy a Wedding Ring? The Exact Timeline Breakdown Most Couples Miss—And Why Waiting Until 3 Months Before the Wedding Could Cost You $1,200+ in Rush Fees, Limited Sizing Options, or Resized Metal Stress Cracks
 Who Is the Best Wedding Photographer in Tuscany? (Spoiler: It’s Not About ‘Best’—It’s About *Your* Story, Light, and Timeline)
 How Much Do Food Trucks Cost for Weddings? The Real-World Breakdown (Not the $500–$5,000 'Range' You Keep Seeing — We Spoke to 27 Operators & Planners to Get Exact Numbers, Minimums, Hidden Fees, and 3 Ways to Cut Costs by 30% Without Sacrificing Quality)
 Do You Give Your Parents Gifts on Your Wedding Day? The Truth About Timing, Meaning, and What 87% of Couples Get Wrong (Plus 5 Thoughtful, Budget-Smart Ideas That Actually Feel Personal)
 How to Buy a Wedding Venue: The 7-Step Checklist That Prevents $12,000+ in Hidden Costs (No Broker Needed)
 Can You Make The Knot Wedding Website Private? Yes—Here’s Exactly How to Lock Down Guest Access (Without Losing Features or Confusing Your Aunt Carol)
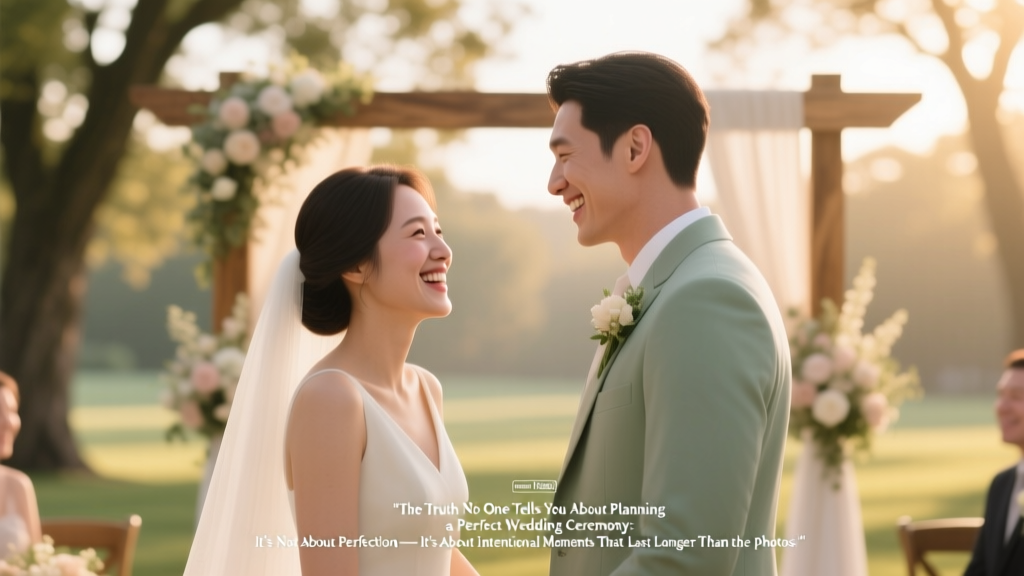 The Truth No One Tells You About Planning a Perfect Wedding Ceremony: It’s Not About Perfection — It’s About Intentional Moments That Last Longer Than the Photos