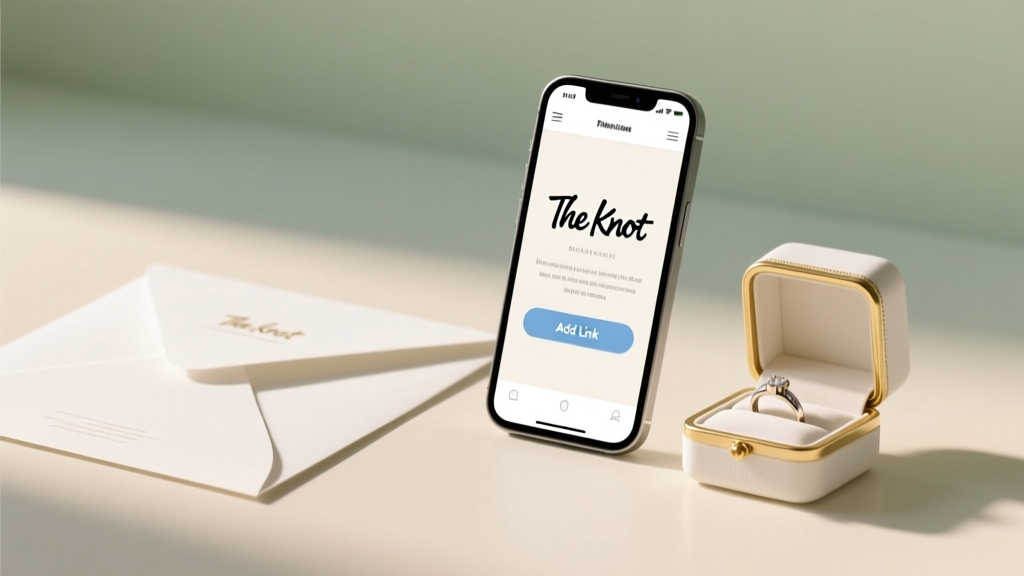
How to Add a Link to The Knot Wedding Website Easily
## Your Guests Are Waiting — Get Your Knot Link Live Today
You've spent hours perfecting your wedding details on The Knot, but if you can't share a working link, none of it matters. Whether you're adding your wedding website URL to invitations, email signatures, or social media, knowing how to add and share a link to your Knot wedding website is one of the first things every couple needs to nail down. Here's exactly how to do it.
---
## Step 1: Find Your Unique Wedding Website URL
Before you can share or embed a link, you need your personalized URL.
1. Log in to [theknot.com](https://www.theknot.com) and go to your **Wedding Website** dashboard.
2. Click **Website** in the top navigation, then select **Share Your Website**.
3. Your default URL will look like: `www.theknot.com/us/firstname-lastname-date`
4. To customize it, click **Edit URL** and choose a memorable slug (e.g., `sarah-and-james-2026`).
5. Copy the full URL — this is the link you'll add everywhere.
**Pro tip:** Customize your URL before printing invitations. Changing it afterward breaks any links you've already shared.
---
## Step 2: Add Your Knot Link to Digital Channels
Once you have your URL, adding it to digital touchpoints takes under two minutes each.
### Email Signature
- Open your email client settings → Signature.
- Type anchor text like *"Our Wedding Website"* and hyperlink it to your Knot URL.
- Every email you send becomes a passive RSVP reminder.
### Instagram & Social Media Bio
- Go to **Edit Profile** on Instagram.
- Paste your Knot wedding website link in the **Website** field.
- Add a line in your bio: *"Wedding details in link 💍"* (emoji optional — keep it you).
### Facebook Event
- Create a Facebook Event for your wedding.
- In the event description, paste your full Knot URL with a note: *"RSVP and details at [your link]"*.
---
## Step 3: Add Your Knot Link to Physical Invitations
For printed materials, you have two clean options:
**Option A — Print the full URL:**
Write it as: `theknot.com/us/your-custom-name` — short enough to type, clear enough to read.
**Option B — Use a QR code:**
1. Go to a free QR generator (e.g., qr-code-generator.com).
2. Paste your Knot URL and download the PNG.
3. Send the QR image file to your stationer or drop it into your Canva invite design.
QR codes are especially useful for older guests who prefer scanning over typing long URLs.
---
## Step 4: Embed or Link Within The Knot Itself
The Knot also lets you add external links *inside* your wedding website pages — useful for linking to your registry, hotel blocks, or venue maps.
1. From your dashboard, go to **Website → Edit Website**.
2. Click the page or section you want to edit (e.g., Travel, Registry).
3. Use the text editor's **link icon** (looks like a chain link) to highlight text and insert any URL.
4. Save and preview to confirm the link is clickable.
This is how couples link directly to their Zola or Amazon registry, Google Maps directions, or hotel booking pages — all from within their Knot site.
---
## Common Myths About The Knot Wedding Website Links
**Myth 1: "You need a paid plan to get a shareable link."**
Not true. Every couple gets a free, shareable wedding website URL on The Knot. The paid upgrade (The Knot Premium) unlocks a custom domain (like `www.sarahandjames.com`), but the free `theknot.com/us/...` link is fully functional and shareable at no cost.
**Myth 2: "Guests need a Knot account to view your wedding website."**
Also false. Your Knot wedding website is publicly accessible by default. Anyone with the link can view your RSVP form, registry, schedule, and travel info — no login required. You can optionally add a password under **Website Settings → Privacy** if you want to restrict access.
---
## Ready to Share? Do This One Thing Right Now
Adding a link to your Knot wedding website is genuinely simple — the hardest part is remembering to do it before your invitations go to print. Here's your one next action:
> **Log in to The Knot → customize your URL → copy it → paste it into your email signature today.**
That single step means every email you send from now until your wedding day quietly points guests to your RSVP page. Everything else — social bios, QR codes, invitation copy — flows from having that link ready to go.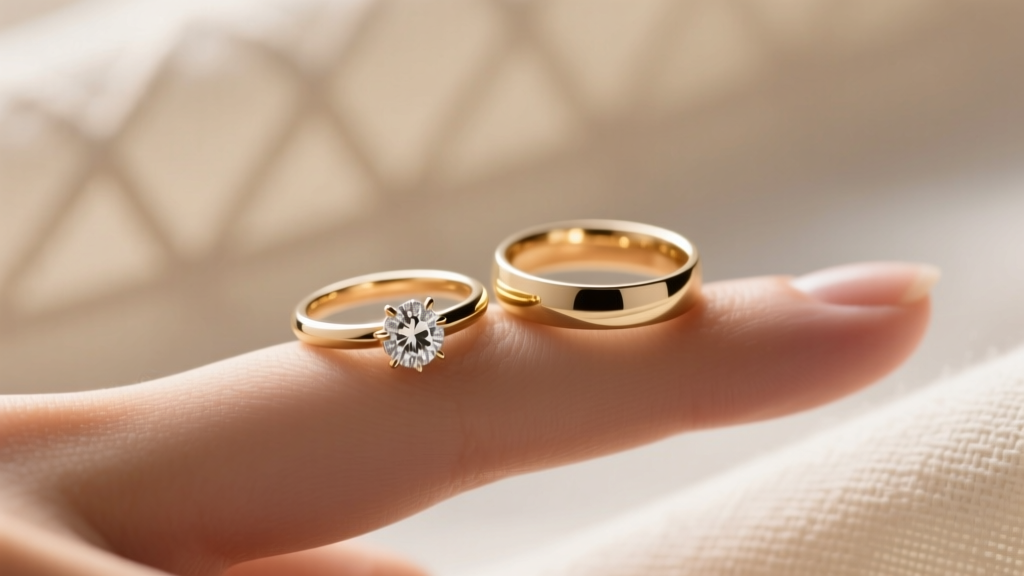 Do women wear their engagement ring or wedding ring? The truth about stacking, switching, and what 87% of couples get wrong (plus 5 real-life rules that actually work)
 How Much Did Princess Diana's Wedding Ring Cost? The Real 1981 Price—Adjusted for Inflation, Replicas, and Why Modern Buyers Are Shocked by the Answer
 Do You Have To Give A Gift At A Wedding? The Truth About Etiquette, Budgets, and What Guests *Actually* Expect (Spoiler: It’s Not What You Think)
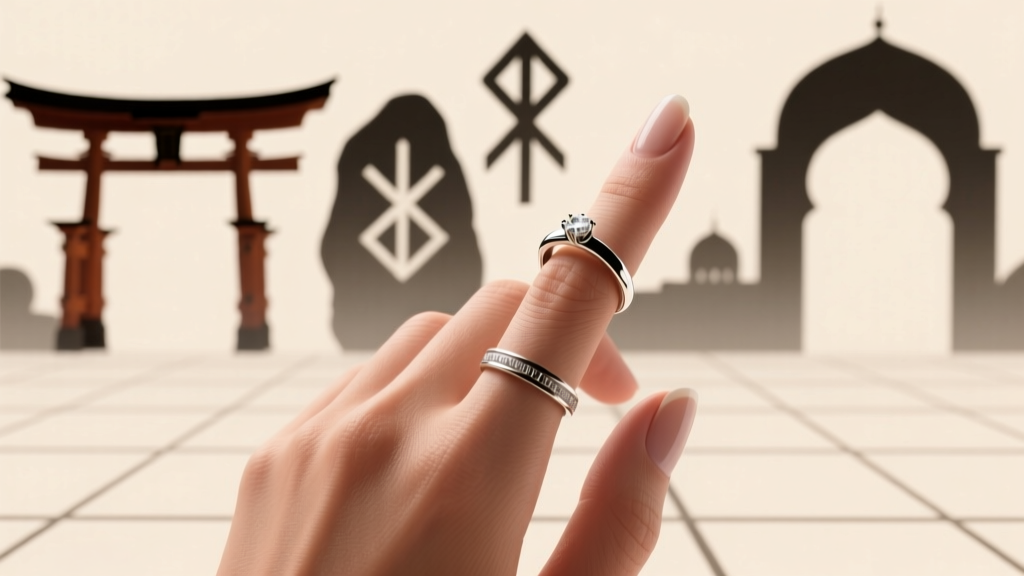 What Hand Is a Wedding Ring Worn? The Global Truth (Spoiler: It’s Not Always the Left)—Plus When & Why Tradition Shifts, How Culture Changes Meaning, and What to Do If You’re Breaking Norms Without Confusion
 Did Scott Go to Kourtney’s Wedding? The Truth Behind the Absence, the Rumors, and Why It Still Matters to Fans (and What It Reveals About Modern Celebrity Relationships)
 What Is the Money Dance at a Wedding? (And Why 73% of Couples Who Skip It Regret It—Here’s How to Do It Right Without Awkwardness, Offense, or Empty Pockets)
Is Hattie in Madea's Destination Wedding? The Truth Behind the Cast Confusion (Spoiler-Free Breakdown for Fans Who Keep Getting It Wrong)
What Is the Money Dance at a Wedding? (And Why 73% of Couples Who Skip It Regret It—Here’s How to Do It Right Without Awkwardness, Offense, or Empty Pockets)
Is Hattie in Madea's Destination Wedding? The Truth Behind the Cast Confusion (Spoiler-Free Breakdown for Fans Who Keep Getting It Wrong)
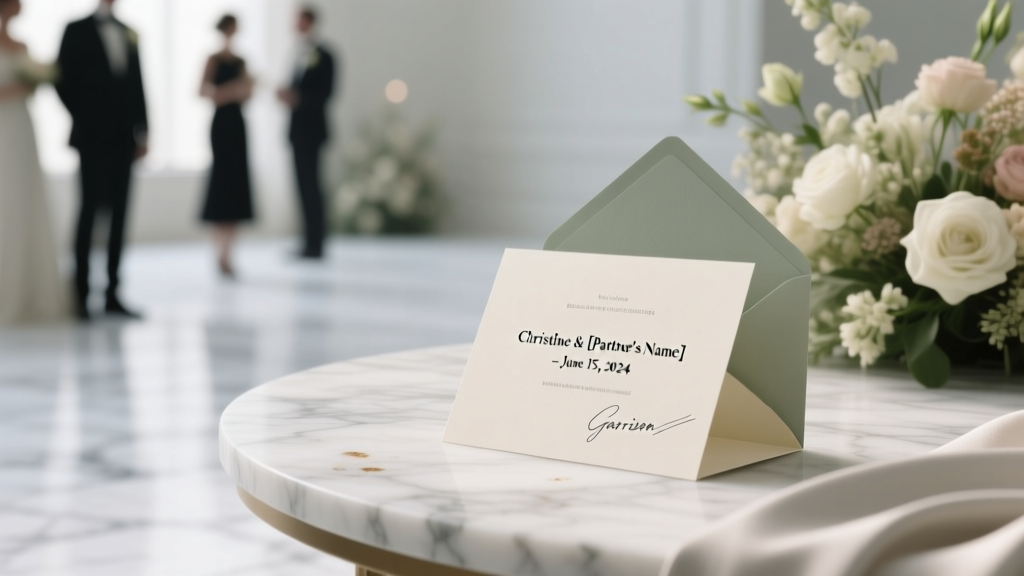 Was Garrison at Christine’s Wedding? The Truth Behind the Viral Speculation—What Guests, Invites, and Social Media Evidence Actually Reveal (No Guesswork, Just Verified Facts)
 What Is a Shotgun Wedding? The Real History, Modern Reality, and Why the Term Misleads More Than It Explains (Spoiler: It’s Rarely About Guns)
 How Much Do Wedding Planners Get Paid Per Wedding? The Real Numbers (Not What Pinterest Says) — From $500 Micro-Weddings to $25K Luxury Packages, Plus Exactly How Your Location, Services & Contracts Change Everything