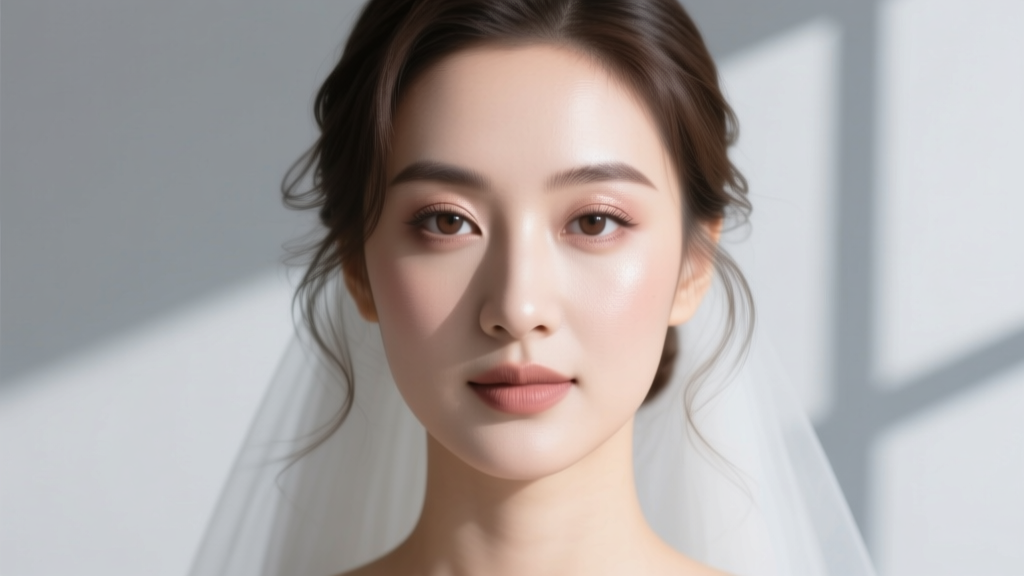
Do Your Own Wedding Makeup: 7 Steps to a Flawless Bridal Look That Lasts All Day
# Do Your Own Wedding Makeup: 7 Steps to a Flawless Bridal Look That Lasts All Day
Hiring a professional makeup artist can cost $150–$600 or more — and that's before touch-up fees. The good news? With the right prep and products, doing your own wedding makeup is completely achievable. Thousands of brides do it every year and look stunning. Here's exactly how.
## Step 1: Start With Skincare, Not Foundation
The single biggest factor in how your makeup looks and lasts is your skin going into the day. Begin a consistent skincare routine at least 4–6 weeks before the wedding: cleanser, moisturizer, and SPF daily. The week before, avoid new actives like retinol or acids that could cause irritation or peeling.
On the morning of your wedding:
- Apply a hydrating primer after moisturizer — this fills pores and gives foundation something to grip
- Let each layer dry fully before the next (2–3 minutes per step)
- Use a setting spray on bare skin before foundation for extra longevity
Well-prepped skin means your makeup won't crack, separate, or look cakey in photos.
## Step 2: Build a Long-Wear Base
For a wedding, you need products specifically formulated to last 8–12 hours. This is not the day for your everyday tinted moisturizer.
**Foundation:** Choose a long-wear or transfer-resistant formula. Popular picks among DIY brides include Estée Lauder Double Wear, L'Oréal Infallible 24H, and Charlotte Tilbury Airbrush Flawless. Apply with a damp beauty sponge for a skin-like finish that photographs beautifully.
**Concealer:** Go one shade lighter under the eyes and blend upward. Set immediately with a finely-milled translucent powder to prevent creasing.
**Setting powder + spray:** Bake the under-eye and T-zone with loose powder for 5 minutes, then dust off. Finish with a long-wear setting spray like Urban Decay All Nighter. This combination can add 4–6 hours of wear.
## Step 3: Eyes and Lips That Read on Camera
Wedding photography — especially flash photography — flattens features. You need slightly more definition than your everyday look.
**Eyes:**
- Use an eyeshadow primer (NYX or Too Faced) to prevent creasing
- Stick to neutral-to-warm tones: champagne, taupe, soft brown, and a deeper shade in the crease
- Tight-line your upper waterline with a black or brown pencil — this defines eyes without looking heavy
- Waterproof mascara is non-negotiable; consider individual lash clusters at the outer corners for a natural lift
**Lips:**
- Line slightly outside your natural lip line for fullness
- Layer: liner, lipstick, blot, lipstick again — this builds transfer resistance
- For all-day wear, liquid lipsticks (Fenty Beauty, Maybelline SuperStay) outlast traditional formulas
**Blush and highlight:** Cream blush applied before powder blends seamlessly and photographs warmly. Add a subtle highlight to the tops of cheekbones, the bridge of the nose, and the cupid's bow.
## Step 4: Do a Full Trial Run — Twice
This is the step most DIY brides skip, and it's the most important one. Do a complete trial at least 3–4 weeks before the wedding:
1. Apply the full look exactly as you plan to on the day
2. Wear it for 8 hours — eat, drink, and go outside
3. Take photos in natural light and flash
4. Note what faded, moved, or didn't photograph well
Do a second trial 1–2 weeks out to refine. By the time your wedding day arrives, you'll have done this look twice and know exactly what to expect.
---
## Common Mistakes to Avoid
**Mistake 1: "I'll just use my regular makeup."**
Everyday makeup isn't formulated for 10-hour wear, tears, heat, and humidity. Invest in at least a long-wear foundation and waterproof eye products specifically for the day. You don't need to replace everything — just the high-stakes pieces.
**Mistake 2: "More coverage means better photos."**
Heavy, cakey foundation actually looks worse on camera, especially with flash. It emphasizes texture and can look mask-like. A medium-coverage, skin-like base with strategic concealing where needed photographs far more naturally than a full-coverage layer applied everywhere.
---
## You've Got This
Doing your own wedding makeup isn't a compromise — it's a skill you can absolutely develop with the right products and practice. Start your skincare routine now, invest in a few long-wear staples, and commit to two full trial runs. By your wedding morning, you'll feel confident, in control, and genuinely excited to do your own look.
**Ready to start?** Build your product list based on the recommendations above, schedule your first trial for this weekend, and take photos to track your progress. Your wedding face is closer than you think. How to Make Church Pew Decorations for a Wedding on Any Budget
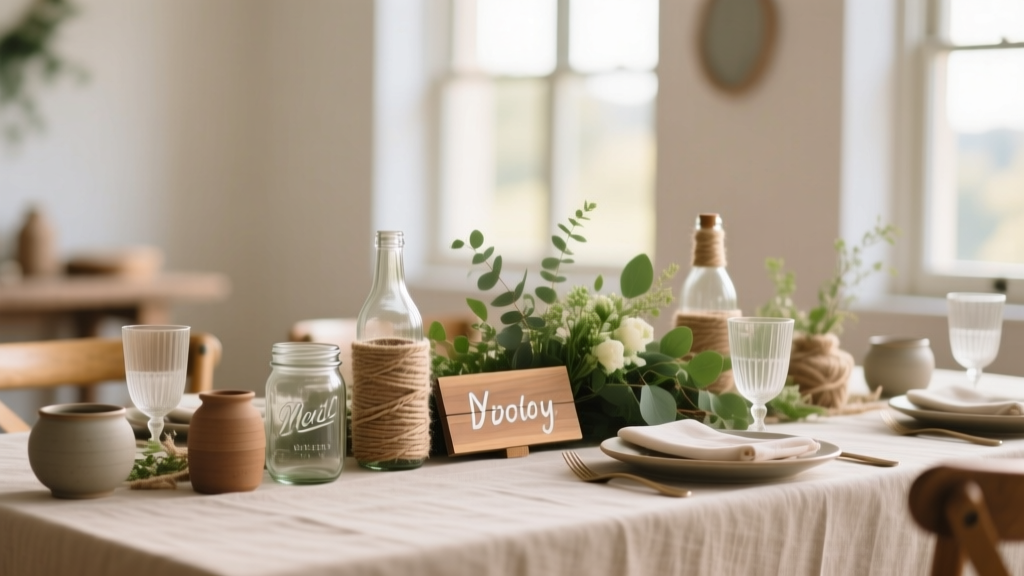 How to Make Your Own Wedding Table Decorations on a Budget
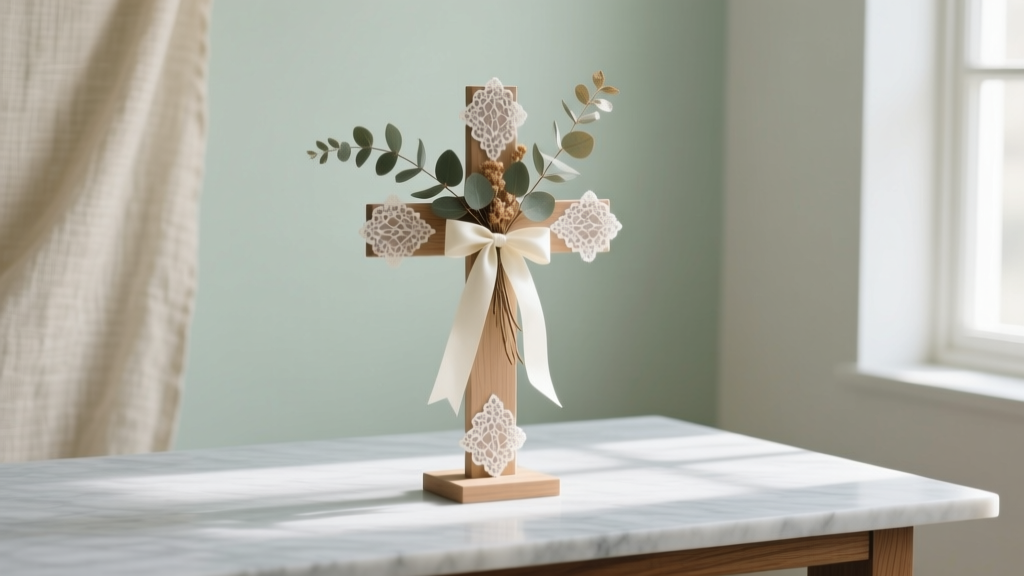 How to Decorate a Cross for a Wedding Without Overspending
 Do Wedding Planners Decorate? The Truth You Need to Know
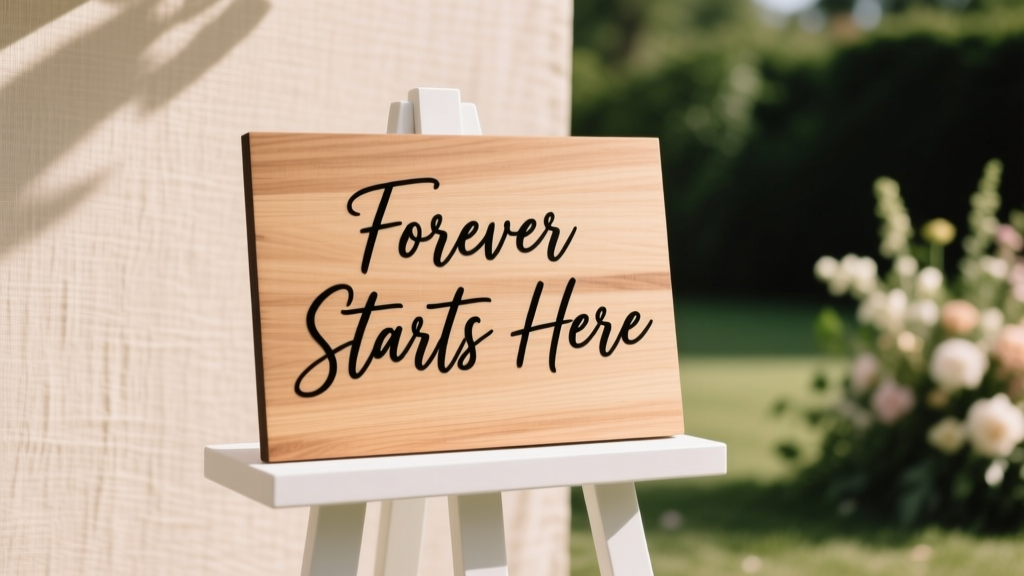 How to Make a Wooden Wedding Sign Without Any Woodworking Experience
 How to Make Flower Arrangements for Wedding Centerpieces That Wow
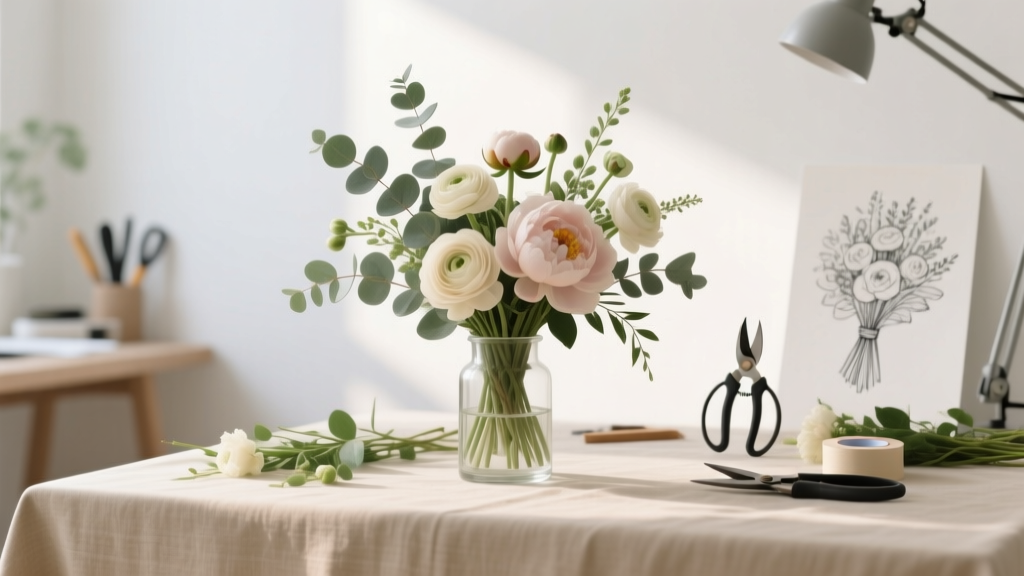 Do It Yourself Wedding Flowers: Save Hundreds Without Sacrificing Beauty
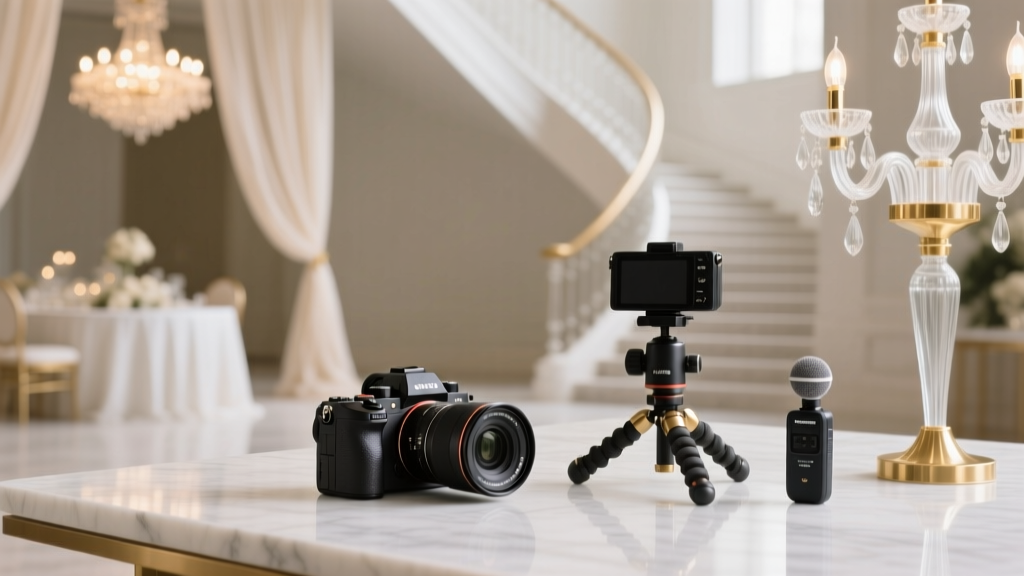 How Much Do Wedding Videographers Make a Year: Real Numbers
 How to Make a Wedding Order of Service Without the Stress
 How Much Can a Wedding Venue Make: Real Revenue Numbers