DIY Hand-Lettered Wedding Signs Made Easy
The Charm of Hand-Lettered Signs
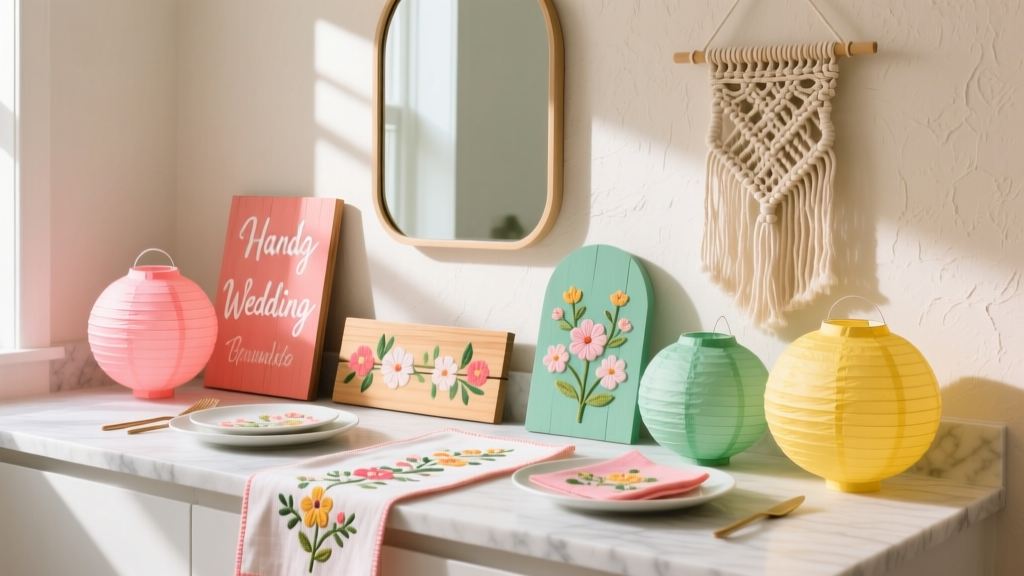
Hand-lettered signs add a personal, artisan touch to your wedding that printed signs simply can't match. Welcome signs, seating charts, menu boards, and directional signs all benefit from the warmth of hand lettering.
You Don't Need Calligraphy Skills
The secret? Tracing. With a light box or a sunny window, you can trace pre-designed templates onto your sign surface. The result looks hand-crafted because it is — you're doing the physical lettering, just with a guide.
Supplies You'll Need
- Sign surface: wood board, acrylic sheet, chalkboard, or mirror
- Printed template (letter-sized, your chosen font)
- Graphite transfer paper or chalk
- Paint pens (Posca or Sharpie Oil-Based)
- Clear sealant spray (for outdoor signs)
- Optional: gold leaf pen for accents
Step-by-Step Process
Step 1: Choose Your Font and Layout
Use Google Fonts or Canva to design your text layout. Script fonts like Great Vibes or Pinyon Script work beautifully for wedding signs. Print at actual size on regular paper.
Step 2: Transfer the Design
Place graphite transfer paper between your printout and the sign surface. Trace over each letter with a ballpoint pen, pressing firmly. For chalkboards, rub chalk on the back of your printout instead.
Step 3: Paint the Letters
Use paint pens to fill in the traced letters. Go slowly — one smooth stroke per letter segment. For brush-script fonts, press harder on downstrokes and lighter on upstrokes.
Step 4: Add Embellishments
Gold leaf corners, watercolor washes behind text, or small botanical illustrations around the edges elevate the sign from simple to stunning.
Step 5: Seal and Display
For outdoor signs, spray with clear acrylic sealant. Mount on an easel, lean against a wall, or hang with twine and clips.
Sign Ideas for Every Part of the Day
- Welcome sign: "Welcome to the beginning of forever"
- Seating chart: Names on clothespins or cards in a frame
- Menu board: Dinner options with fun descriptions
- Bar sign: Signature cocktail names and ingredients
- Directional signs: Ceremony, Reception, Photo Booth arrows
- Card box: "Cards and wishes" with a decorative frame
Time and Cost
Budget 2-3 hours per sign for first-timers. Supplies cost $15-$40 per sign depending on the surface. Compare that to $80-$200 for professionally lettered signs — you're saving 75% or more.
More Articles
 How to Make Your Own Wedding Table Decorations on a Budget
 Engagement Safety Tips: Protecting Your Ring, Hand, and Daily Life
 Average vs. Hourly Pay in Home Improvement: What DIYers and Contractors Really Earn
 DIY Wedding Favors Under $3 Per Guest
 7 Year Wedding Anniversary: DIY Copper and Wool Gifts
 DIY Wedding Centerpieces: 10 Ideas Under $20
 Handmade Wedding Favors Guests Will Keep
 How to Make a Boutonniere for Wedding Without Florist Fees
 DIY Wedding Flower Centerpieces: Save Money (2026)
 How To Clean Your Garden: A Practical, Season-Ready Step-by-Step Guide