
How to Make Flower Arrangements for Wedding Centerpieces That Wow
# How to Make Flower Arrangements for Wedding Centerpieces That Wow
Planning a wedding is expensive enough — the average couple spends $2,000–$5,000 on florals alone. But here's what most florists won't tell you: with the right technique, you can create breathtaking centerpieces yourself for a fraction of the cost. Whether you're a DIY bride or helping a friend, this guide walks you through exactly how to make flower arrangements for wedding centerpieces that look professionally done.
---
## 1. Plan Before You Buy: Choosing Your Flowers and Style
The biggest mistake DIYers make is buying flowers without a plan. Start here:
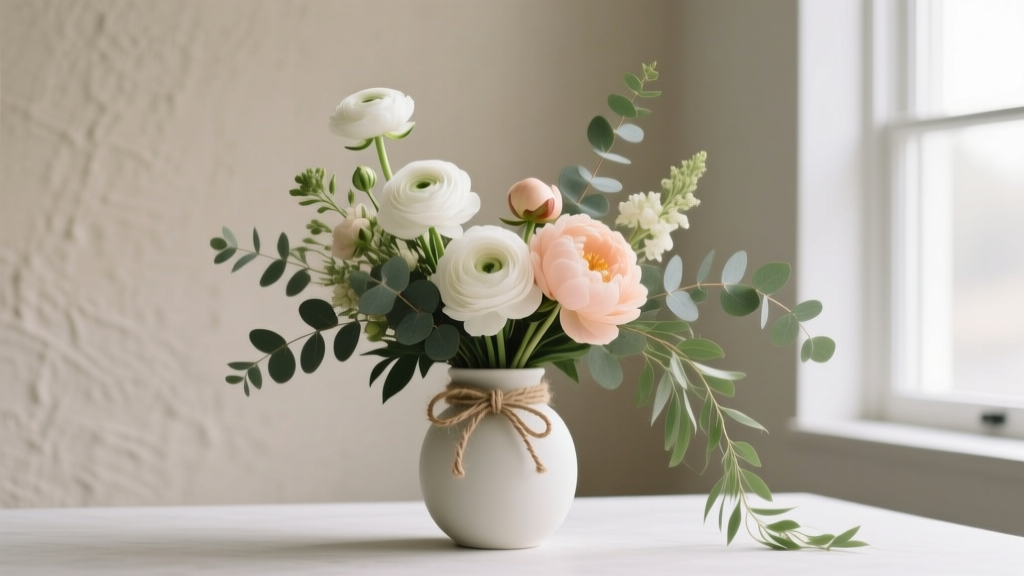
**Choose a focal flower** — one statement bloom that anchors each arrangement. Popular choices:
- Garden roses (lush, romantic)
- Peonies (full, soft texture)
- Dahlias (bold, structured)
- Hydrangeas (great filler and focal)
**Pick a color palette** — limit yourself to 2–3 colors. A tight palette looks intentional; too many colors looks chaotic.
**Decide on height** — low arrangements (under 12 inches) encourage table conversation; tall arrangements (24+ inches) create drama. Don't mix heights at the same table.
**Estimate quantity** — a standard 60-inch round table needs one centerpiece. For a 6-inch-diameter arrangement, plan for 8–12 stems of focal flowers and 15–20 stems of filler and greenery.
---
## 2. Gather Your Supplies
You don't need a florist's studio. Here's the essential toolkit:
| Supply | Purpose |
|---|---|
| Floral foam (soaked) or chicken wire | Holds stems in place |
| Waterproof tape or floral tape | Secures foam to vessel |
| Sharp floral snips or scissors | Clean cuts prevent wilting |
| Vessel (vase, compote, lantern) | Defines the look |
| Flower food packets | Extends bloom life |
| Greenery (eucalyptus, ferns, ruscus) | Fills gaps, adds texture |
**Pro tip:** Buy flowers 2–3 days before the wedding. Cut stems at a 45-degree angle under running water and let them hydrate overnight in a cool room.
---
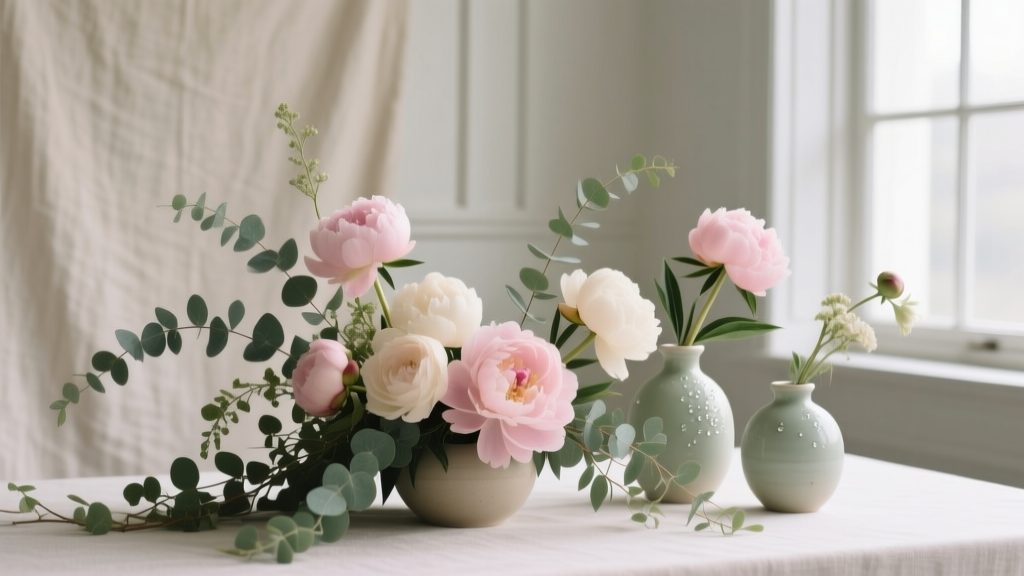
## 3. Step-by-Step: Building the Arrangement
Follow this sequence for a balanced, professional result:
**Step 1 — Prep your vessel.** Soak floral foam for 60 seconds (don't over-soak — it weakens). Secure it in your vessel with waterproof tape in a cross pattern.
**Step 2 — Add greenery first.** Insert eucalyptus or filler greens around the perimeter at a slight downward angle. This creates a natural base and hides the foam.
**Step 3 — Place focal flowers.** Insert your statement blooms in an odd-numbered cluster (3 or 5) slightly off-center. Vary heights by 1–2 inches for depth.
**Step 4 — Fill with secondary blooms.** Add spray roses, ranunculus, or lisianthus between focal flowers. Rotate the arrangement as you work to check all angles.
**Step 5 — Fill gaps with texture.** Tuck in small fillers — waxflower, astilbe, or baby's breath — to eliminate any visible foam or empty pockets.
**Step 6 — Final check.** View from seated height (about 3 feet). That's your guests' perspective. Adjust any stems that look awkward from that angle.
---
## 4. Keeping Arrangements Fresh on the Wedding Day
DIY wedding centerpiece arrangements are vulnerable to heat and handling. Protect your work:
- **Transport in water** — use buckets with 2–3 inches of water, not dry boxes.
- **Keep cool** — store in an air-conditioned room or cooler (not freezing) until setup.
- **Mist lightly** — a fine water mist on petals (not leaves) helps in warm venues.
- **Avoid direct sunlight** — even 30 minutes in a sunny window can wilt delicate blooms.
- **Set up last** — place centerpieces no more than 2–3 hours before guests arrive.
For outdoor summer weddings, choose heat-tolerant flowers: zinnias, sunflowers, marigolds, and tropical varieties hold up far better than peonies or sweet peas.
---
## Common Myths About DIY Wedding Centerpieces
**Myth 1: "You need professional training to make them look good."**
Not true. The mechanics of a good arrangement come down to three things: a clean base of greenery, odd-numbered focal clusters, and consistent stem angles. These are learnable in an afternoon. Many couples practice once with grocery store flowers before the real thing — that single rehearsal makes an enormous difference.
**Myth 2: "DIY floral arrangements always look cheap."**
This confuses execution with concept. A poorly executed professional arrangement looks cheap too. The difference is vessel quality and flower freshness — not who assembled it. Invest in quality vases and buy from a wholesale flower market (most are open to the public) rather than a grocery store, and your arrangements will be indistinguishable from a florist's work.
---
## Ready to Create Your Own Wedding Centerpieces?
Learning how to make flower arrangements for wedding centerpieces is genuinely achievable — and the savings are real. Couples who DIY their centerpieces typically save $800–$2,500 compared to full-service florals, with results they're often more proud of because they made them.
**Your one next step:** Visit a local wholesale flower market this weekend. Buy a small mixed bundle, grab a vase from a thrift store, and build one practice arrangement using the steps above. You'll know within an hour whether DIY is right for your wedding — and you'll have a beautiful arrangement for your home either way.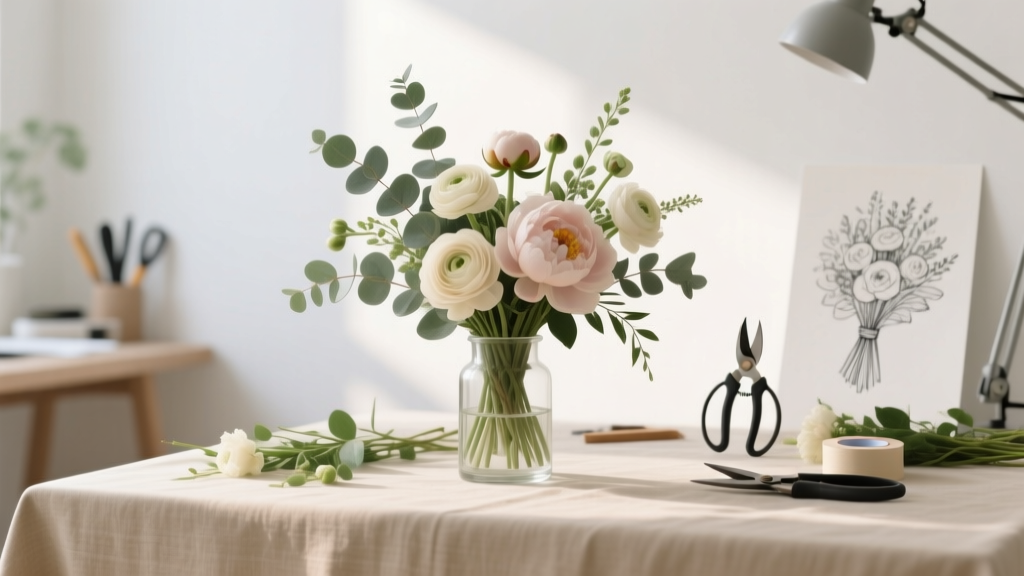 Do It Yourself Wedding Flowers: Save Hundreds Without Sacrificing Beauty
 How to Make Wedding Address Labels That Impress Every Guest on Your List
 Do Your Own Wedding Makeup: 7 Steps to a Flawless Bridal Look That Lasts All Day
 Do Wedding Planners Decorate? The Truth You Need to Know
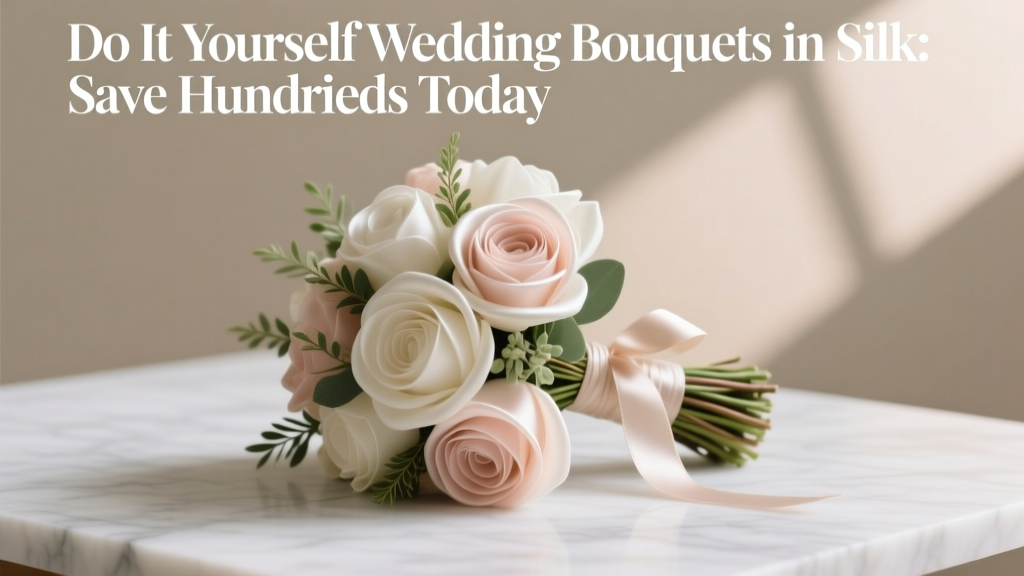 Do It Yourself Wedding Bouquets Silk: Save Hundreds Today
 How Much Do Wedding Videographers Make a Year: Real Numbers
 How to Make a Wedding Order of Service Without the Stress
 How to Arrange Wedding Flowers Centerpiece Without Wasting Money
 How Much Can a Wedding Venue Make: Real Revenue Numbers
 DIY Wedding Flowers: Save Up to 70% Without Sacrificing Beauty on Your Big Day