
How to Build a DIY Wedding Photo Booth That Guests Will Love (Without Spending a Fortune)
# How to Build a DIY Wedding Photo Booth That Guests Will Love (Without Spending a Fortune)
Renting a professional photo booth can cost $800–$1,500 for a single evening. But with a weekend afternoon and under $150 in supplies, you can build one that looks just as polished — and gives you full creative control. Here's exactly how to do it.
## 1. Choose and Build Your Backdrop
The backdrop is the visual anchor of your booth. Popular options include:
- **Fabric drape:** Hang a 8×10 ft piece of sequin, velvet, or linen fabric from a freestanding backdrop stand ($30–$60 on Amazon). Sequin fabric photographs beautifully under flash.
- **Balloon wall:** Rent or build a balloon mosaic frame. A 6×6 ft balloon wall costs roughly $40–$80 in balloons and takes 2–3 hours to assemble.
- **Greenery wall:** Attach faux eucalyptus or boxwood panels to a wooden frame. Panels run $15–$25 each; a full backdrop needs 6–8 panels.
- **Paper flower wall:** Pre-made giant paper flowers ($8–$15 each) attached to foam board create a dramatic, Instagram-worthy backdrop.
**Pro tip:** Match your backdrop color to your wedding palette. Neutral ivory and sage photograph well in almost any lighting condition.
## 2. Set Up Lighting That Flatters Everyone
Lighting makes or breaks photo quality. Avoid relying on overhead venue lighting — it casts unflattering shadows.
- **Ring light:** A 18-inch ring light ($40–$80) placed at face height eliminates shadows and gives eyes a flattering catchlight. This is the single best investment for a DIY booth.
- **Softbox lights:** Two softboxes flanking the backdrop at 45-degree angles create even, professional-looking illumination.
- **String lights:** Warm Edison bulbs strung across the backdrop add ambiance but should supplement, not replace, a primary light source.
- **Avoid:** Harsh direct flash pointed straight at subjects. It flattens faces and blows out details.
For outdoor daytime booths, position the backdrop so subjects face open shade — never direct sun.
## 3. Camera and Capture Setup
You have three main options depending on your budget and tech comfort level:
**Option A — Smartphone + tripod ($0–$30 extra)**
Mount a recent iPhone or Android on a sturdy tripod. Use a Bluetooth remote shutter ($8–$15) so guests can trigger shots themselves. Enable portrait mode for flattering background blur.
**Option B — DSLR or mirrorless camera ($0 if you own one)**
Set to aperture priority (f/4–f/5.6), ISO 400–800, and use a remote trigger or tethering software. This produces the sharpest, most professional results.
**Option C — Dedicated photo booth app**
Apps like Darkroom Booth or Simple Booth HALO ($30–$50/event) turn an iPad into a full booth with countdown timers, filters, and instant print or text-to-share features. This is the closest DIY equivalent to a rented booth.
**Print station:** A wireless photo printer like the Canon Selphy ($80–$100) lets guests walk away with a 4×6 print in under 60 seconds.
## 4. Props, Signage, and Guest Experience
Props drive engagement. A well-stocked prop box encourages even shy guests to participate.
- **Classic props:** Oversized sunglasses, mustaches on sticks, speech bubble signs, feather boas, hats
- **Personalized props:** Signs reading "Mr. & Mrs. [Last Name]" or "Est. [Year]", custom hashtag boards
- **Themed props:** Match your wedding theme — boho feathers and dreamcatchers, vintage pearls and gloves, tropical leis and sunglasses
**Signage essentials:**
- A "Photo Booth" arrow sign directing guests to the area
- Instruction card: "1. Grab props 2. Strike a pose 3. Press the button"
- Your wedding hashtag displayed prominently
Keep the prop table organized with a shallow basket or tray. Messy prop tables discourage use.
## Common Mistakes (And the Myths Behind Them)
**Myth #1: "More props = more fun"**
Overloading the prop table creates decision paralysis and a cluttered look in photos. Curate 10–15 high-quality props rather than 40 cheap ones. Guests engage more when choices are clear and items are well-made.
**Myth #2: "Any backdrop will work as long as it looks pretty in person"**
A backdrop that looks stunning to the eye can photograph terribly. Highly reflective materials create glare; very dark colors absorb light and muddy the image; busy patterns compete with subjects' faces. Always test your backdrop with your actual camera and lighting setup before the wedding day — ideally in similar lighting conditions.
## Conclusion
A DIY wedding photo booth is one of the highest-ROI reception additions you can make. For $100–$200 in materials, you create an interactive experience guests remember for years — and walk away with hundreds of candid photos your photographer won't capture.
Start with the backdrop and lighting; everything else is secondary. Test your full setup at least one week before the wedding so you have time to troubleshoot.
**Ready to start building?** Pin this guide, share your wedding hashtag in the comments, and tag us in your finished booth photos — we'd love to see what you create.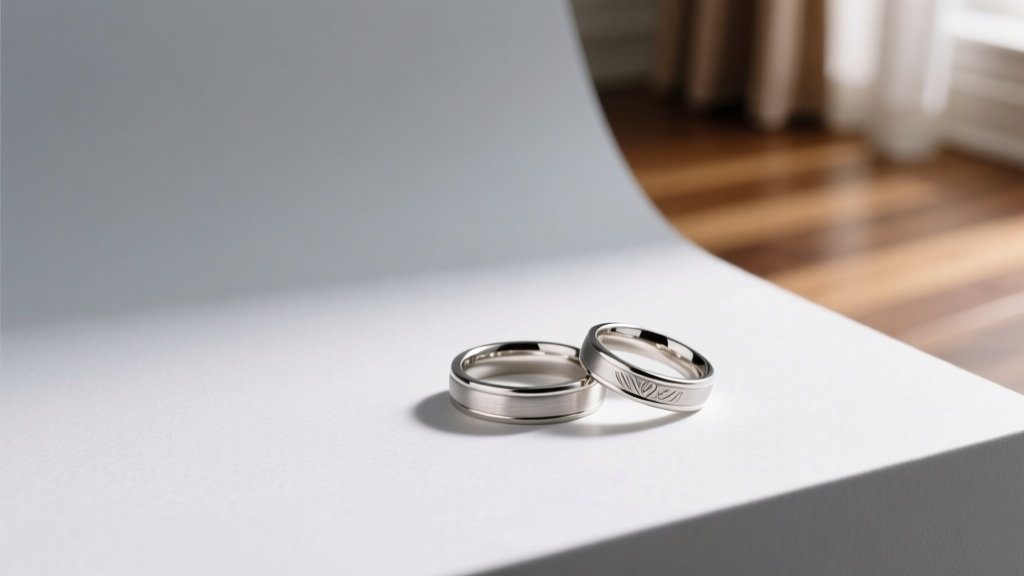 How to Choose the Perfect Wedding Ring: 7 Non-Negotiable Steps Most Couples Skip (That Cause Regret, Resizing Fees & Mismatched Metals)
 Stuck on what gift to give for wedding anniversary? Here’s the exact 7-step planning framework real couples used to pick gifts that deepened connection—not just checked a box.
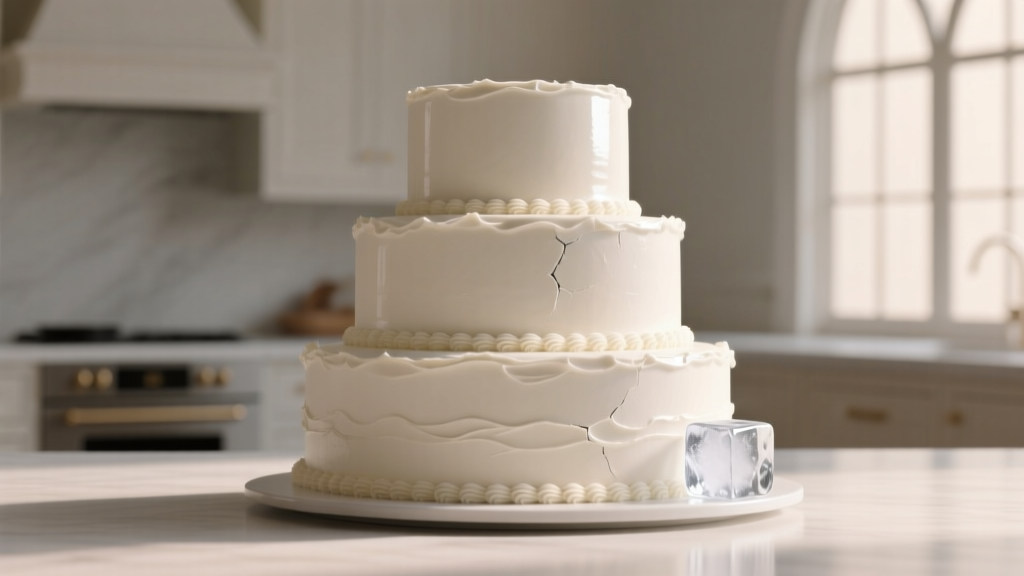 How to Freeze Your Wedding Cake Top the Right Way: A Step-by-Step Preservation Guide That Prevents Dryness, Frosting Cracks, and Flavor Loss (Backed by 12 Years of Pastry Conservator Data)
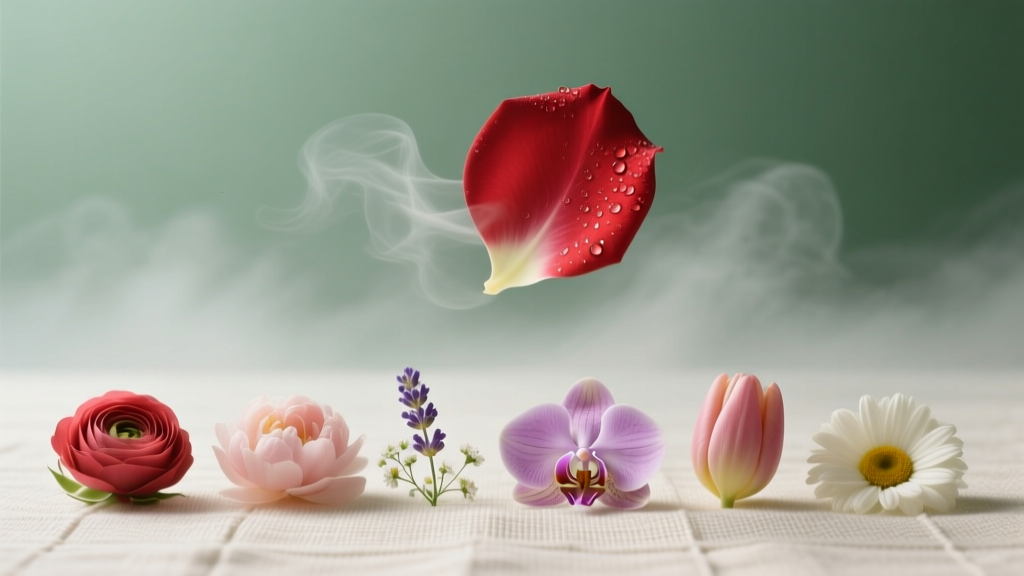 How to Save Flower Petals for Wedding: 7 Proven Methods That Actually Preserve Color & Fragrance (Not Just Dry Them Into Dust Like Everyone Else)
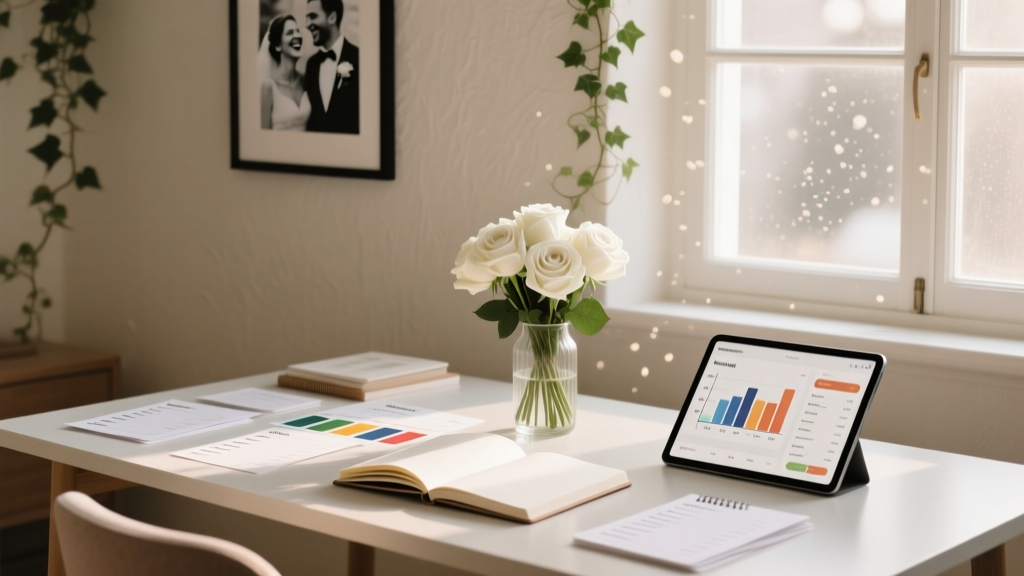 How to Wedding Plan Without Losing Your Mind or Budget
 How Much Cash for Wedding Gift 2025? The Real-World Guide That Saves You From Awkward Envelopes, Over-Gifting, and Regret—Backed by 12,400+ Guest Surveys & Regional Data
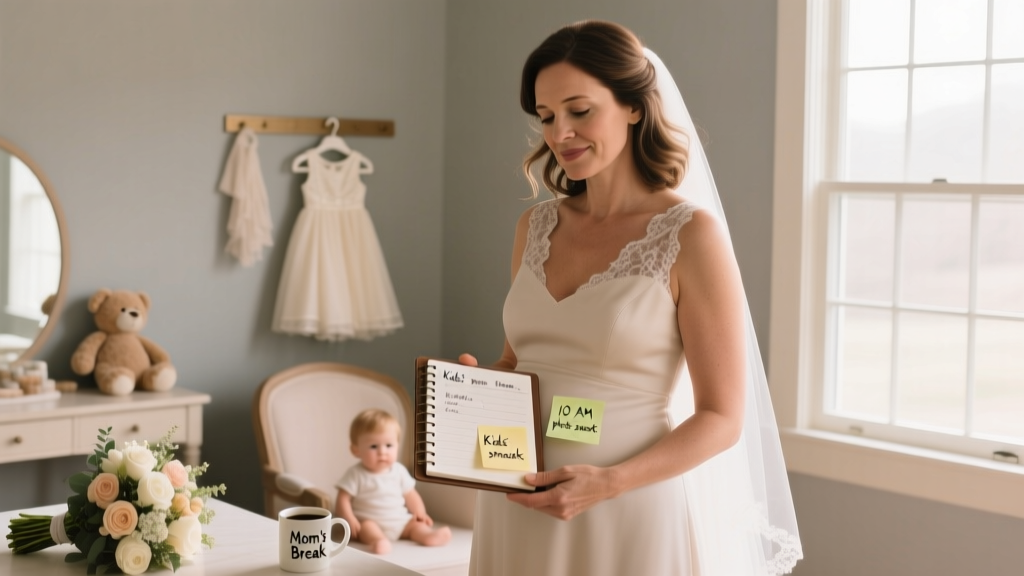 A Mother's Wedding: 7 Realistic Planning Steps You Won’t Find in Traditional Bridal Magazines (Because They Assume You’re 28 and Have No Kids)
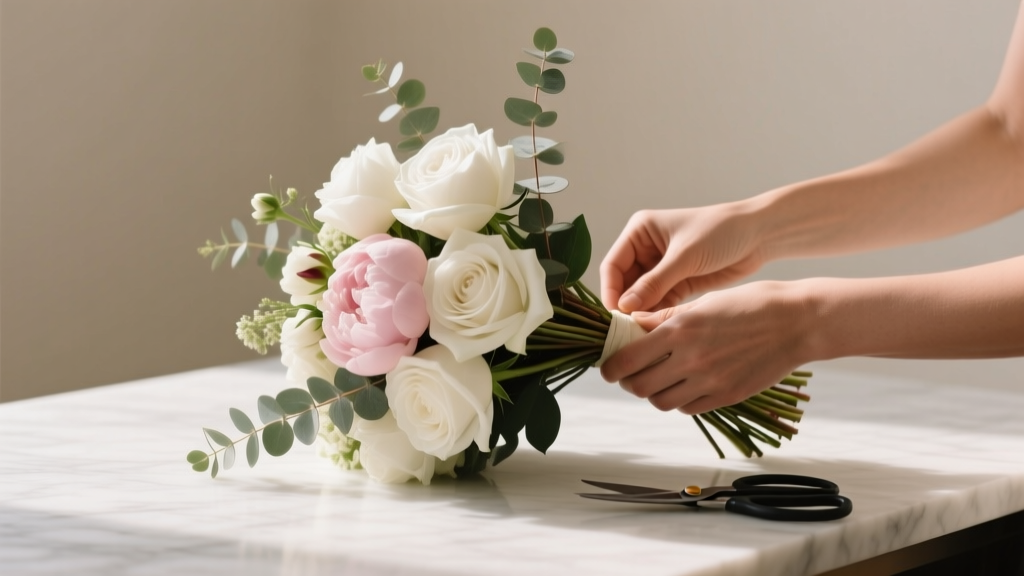 How to Assemble a Wedding Bouquet Like a Pro: 7 Foolproof Steps (Even If You’ve Never Held Floral Shears Before) — No Experience, No Stress, Just Stunning Results
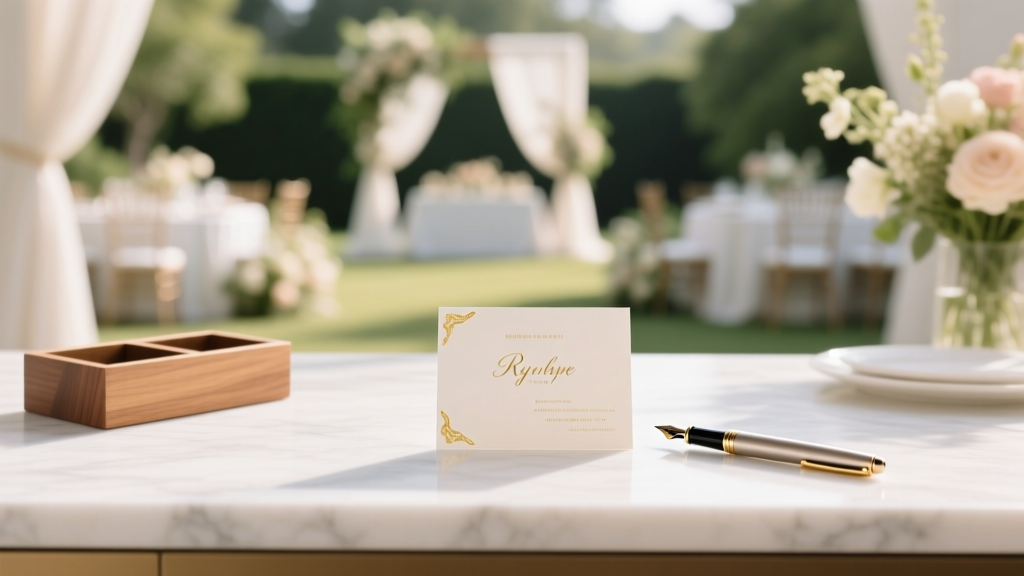 How Far in Advance Should Wedding RSVP Date Be? The Exact Timeline (Backed by 127 Real Weddings + Planner Data) That Prevents Last-Minute Chaos, Vendor Shortages, and Guest No-Shows
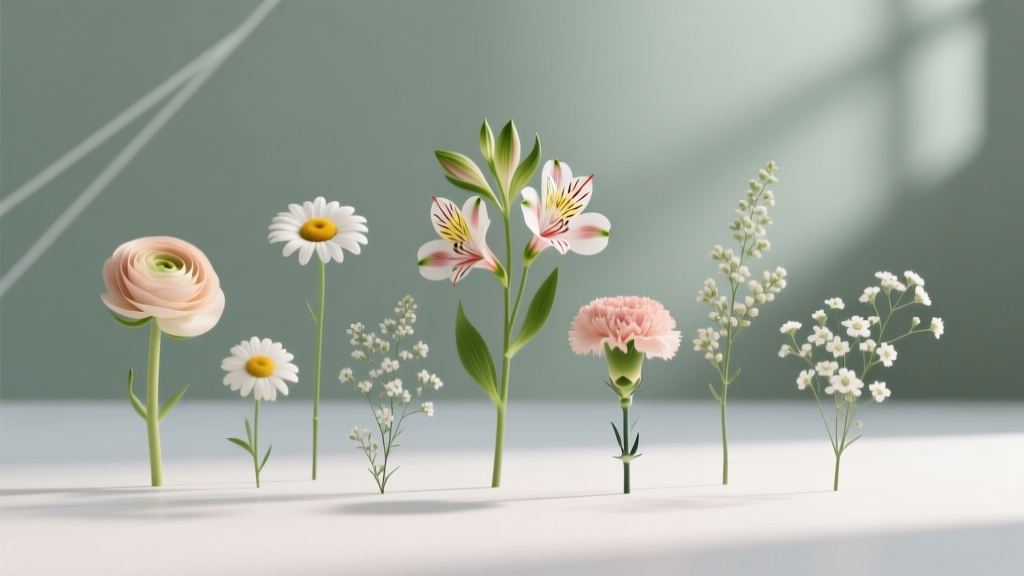 What Are the Cheapest Wedding Flowers? 7 Real-World Options That Save $1,200+ Without Looking 'Cheap' (Backed by 2024 Vendor Quotes & DIY Case Studies)