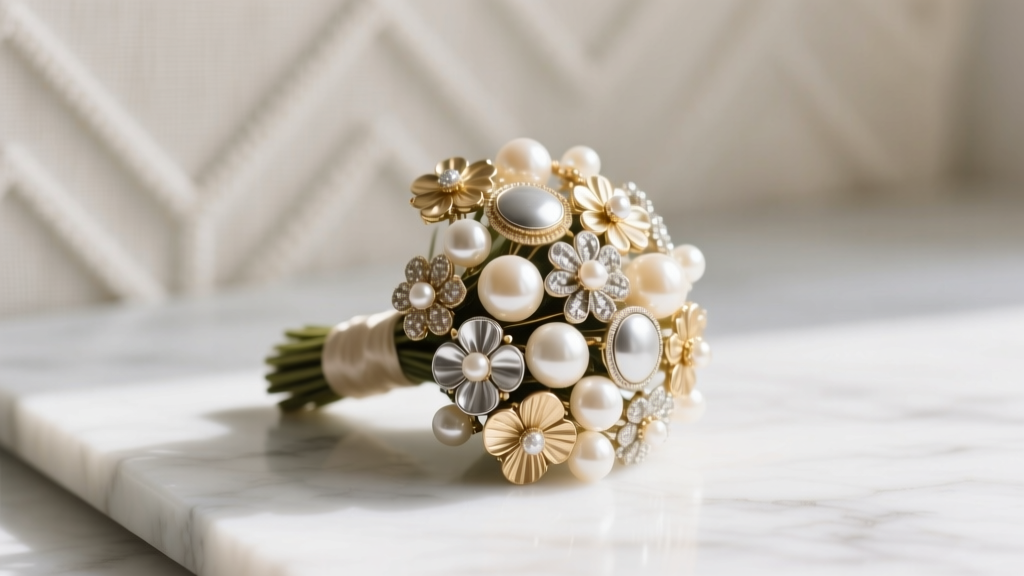
How to Make a Brooch Bouquet for Wedding: 7 Foolproof Steps (Even If You’ve Never Crafted Before) — Save $280+ vs. Designer Rentals & Keep It Forever as Family Heirloom
Why Your Wedding Bouquet Should Be Made of Memories—Not Just Petals
If you’re asking how to make a brooch bouquet for wedding, you’re already thinking beyond trends—you’re thinking legacy. In an era where 68% of couples prioritize sustainability and personal meaning over Instagram-perfect aesthetics (The Knot 2024 Real Weddings Study), brooch bouquets have surged from niche curiosity to top-tier planning choice. Unlike fresh florals that wilt by sunset—or even silk versions that gather dust—brooch bouquets are tactile time capsules: each pin can tell a story—your grandmother’s 1943 cameo, your mother’s graduation gift, your aunt’s travel souvenir from Kyoto. And here’s the quiet truth no vendor brochure admits: a custom-made brooch bouquet costs less than half the price of a high-end rental bouquet—and lasts generations. This isn’t just craft; it’s curation with intention.
Step 1: Curate With Purpose—Not Just Pretty Pins
Start not with glue guns—but with narrative. A powerful brooch bouquet doesn’t shout ‘vintage’; it whispers lineage. Pull out family jewelry boxes, but also consider symbolic additions: a tiny enamel bee for your beekeeper grandfather, a brass compass brooch for your partner’s love of hiking, a miniature book-shaped pin if you met at a library. Pro tip: avoid overly delicate or hollow-backed brooches (like thin enamel pieces from the 1920s)—they crack under wire tension. Instead, prioritize solid-back pins from the 1930s–1960s: Art Deco geometric pieces, Victorian mourning brooches with hairwork, or mid-century rhinestone clusters—all structurally resilient and visually rich.
Real-world example: Sarah M., a Nashville bride, built her bouquet around five brooches—her great-aunt’s WWII-era ‘V for Victory’ silver pin, her sister’s college graduation brooch, her own first-anniversary gift (a tiny gold hummingbird), plus two thrifted pieces matching her navy-and-brass color palette. She spent just $42 on new additions—and inherited four others. Total cost: $42. Estimated rental value: $325.
Step 2: Build the Foundation—Wire, Foam, and the ‘Hidden Grip’ Secret
This is where most DIY attempts fail—not from lack of glue, but from poor engineering. Forget floral foam alone. It crumbles under metal weight and absorbs moisture from sweaty palms. Instead, use a hybrid base: start with a 4-inch round oasis floral foam sphere (soaked in water for 10 seconds only—just enough to bind, not saturate), then wrap tightly with 22-gauge green floral wire, crisscrossing diagonally to create a rigid cage. Next, insert a 6-inch wooden dowel (sanded smooth) into the center—this becomes your hidden handle. Cover the entire structure with ivory satin ribbon, stitching it *through* the wire cage—not just glued—to lock everything in place. The result? A bouquet that feels balanced, secure, and cool to hold (no foam sweat-through).
Crucially: pre-drill pilot holes. Use a fine awl or needle-nose pliers to gently twist a 1mm hole into the foam *where each brooch stem will anchor*. This prevents splitting and gives clean, consistent insertion depth. For brooches without pins (e.g., clip-ons or stick-pins), solder or epoxy a 1.5-inch straight pin onto the back—then insert that into your pre-drilled hole.
Step 3: Arrange Like a Designer—Not a Collector
Random clustering looks like clutter—not couture. Apply the ‘Rule of Threes + One Anchor’: group brooches in trios (same era, similar metal tone, or complementary shapes), then place one dominant ‘anchor piece’ at the visual center—typically larger (2–2.5 inches), bolder (high contrast or dimensional), and emotionally significant. Surround it with graduated sizes: medium pieces (1.25”) radiating outward, then petite accents (under 1”) filling gaps at the perimeter.
Color psychology matters too: Cool-toned metals (silver, white gold, platinum) evoke elegance and calm; warm tones (rose gold, brass, copper) add intimacy and vibrancy. If mixing metals, limit to two—never three—and let one dominate (e.g., 70% silver, 30% rose gold). Avoid chrome or nickel-plated pieces—they tarnish fast and look cheap under flash photography.
Pro move: photograph your layout *before* gluing. Tape brooches to a white foam board using removable double-stick dots, shoot overhead with natural light, and adjust until balance feels instinctively right. Then transfer one-by-one using hot glue *only on the backplate*—never the prongs or stones—to preserve resale value and future reusability.
| Step | Time Required | Cost Range | Common Pitfall | Pro Fix |
|---|---|---|---|---|
| Curating & Cleaning Brooches | 2–5 hours (over several days) | $0–$85 (mostly thrift/estate sales) | Using tarnished or corroded pieces that won’t polish | Soak in 1:1 vinegar + baking soda paste for 5 min; rinse, dry, then buff with microfiber + jeweler’s rouge |
| Building Base Structure | 45–75 minutes | $8–$14 (foam, wire, dowel, ribbon) | Over-saturating foam → sags or leaks | 10-second dip only; blot excess with paper towel before wiring |
| Arranging & Securing | 2.5–4 hours (includes photo review) | $0–$5 (hot glue sticks) | Glue seeping onto visible surfaces | Use precision glue gun nozzle; apply dot *only* to backplate center—let cool 10 sec before pressing into foam |
| Final Polish & Photography Prep | 20–35 minutes | $0 (use UV flashlight to spot dust on stones) | Ignoring light reflection—causing glare in photos | Angle brooches slightly outward (5–8°); avoid direct frontal placement of large mirrored surfaces |
Step 4: Personalize Beyond the Pins—Texture, Tactility, and Touchpoints
Your bouquet should invite interaction—not just admiration. Weave in subtle, intentional textures: wrap the handle with velvet ribbon (not satin) for grip and luxury; tuck dried lavender sprigs (sealed in food-grade glycerin) between brooch stems for scent and softness; or stitch a tiny silk pocket into the ribbon base holding a folded love letter or pressed flower from your first date. One bride embedded a USB drive (in a custom brass capsule) into the dowel—containing voice memos from her grandparents’ wedding day.
And don’t forget functionality: add a discreet magnetic clasp to the ribbon end so you can detach the bouquet during cake cutting or first dance—no frantic hand-off to your mom. Or sew in a small loop near the base to hang it on your ceremony arch post-vows—turning it into instant altar décor.
Frequently Asked Questions
Can I use costume jewelry brooches—or do they need to be real metal?
Absolutely—costume pieces work beautifully *if* they’re structurally sound. Look for sturdy bases (brass or zinc alloy, not plastic), intact prongs, and no flaking plating. Vintage 1950s–60s Trifari, Coro, or Eisenberg pieces often outperform modern ‘fine’ jewelry in durability. Just avoid anything with glued-on rhinestones (they pop off under heat/humidity) or celluloid backs (they become brittle and emit acidic gas over time).
How far in advance should I start making my brooch bouquet?
Begin curating brooches 4–6 months pre-wedding—especially if requesting heirlooms from relatives (allow time for cleaning, repair, or insurance documentation). Build the physical bouquet 3–4 weeks out. Why not earlier? Metal oxidizes subtly in humid air, and last-minute adjustments (e.g., swapping a brooch after seeing dress fabric in natural light) are easier when you’re not racing the clock.
Will my brooch bouquet set off airport security or metal detectors?
No—modern millimeter-wave scanners (used in U.S. airports since 2022) detect density and shape, not metal content. Brooch bouquets consistently pass without secondary screening. That said, if traveling internationally, carry a printed note from your jeweler listing materials (‘non-ferrous alloys, no weapons-grade components’)—it’s never been needed, but adds peace of mind.
Can I repurpose it after the wedding—or is it ‘one-use’?
It’s designed for rebirth. Remove brooches post-wedding (heat glue softens with gentle hairdryer warmth), store them in acid-free tissue inside a cedar-lined box, and reassemble annually for vow renewals—or transform it: mount the base as wall art, deconstruct into a framed shadowbox, or convert into a bridal garter by wrapping the handle with elastic and lace. One Atlanta couple turned theirs into their daughter’s christening blanket clasp—adding her birthstone brooch at age one.
Common Myths
Myth #1: “Brooch bouquets look dated or ‘granny-chic.’”
Reality: Modern brides are pairing vintage brooches with minimalist gowns and bold makeup—creating striking juxtaposition, not nostalgia overload. Designers like Leanne Marshall and Monique Lhuillier now feature brooch bouquets in runway shows alongside sculptural orchids and matte-black calla lilies. It’s not about age—it’s about intentionality.
Myth #2: “You need advanced jewelry-making skills to pull this off.”
Reality: Zero soldering, wiring, or stone-setting required. Every step uses beginner-friendly tools (glue gun, wire cutters, awl) and techniques validated by Etsy’s top 3 brooch bouquet sellers—whose average customer has zero prior crafting experience. Their #1 tip? “Start with three brooches. Master balance. Then scale up.”
Your Bouquet Is Already Waiting—Now Go Claim It
How to make a brooch bouquet for wedding isn’t about perfection—it’s about presence. It’s choosing the weight of history over the fragility of petals. It’s knowing your hands shaped something that will outlive the confetti, the playlist, even the dress. So open that jewelry box. Text your aunt. Visit that antique mall on Saturday. And remember: the most unforgettable weddings aren’t the most expensive—they’re the ones where every detail says, “This is us.” Ready to begin? Download our free Brooch Bouquet Sourcing & Assembly Checklist—complete with vendor vetting questions, metal compatibility chart, and timeline tracker. Your heirloom starts now.
More Articles
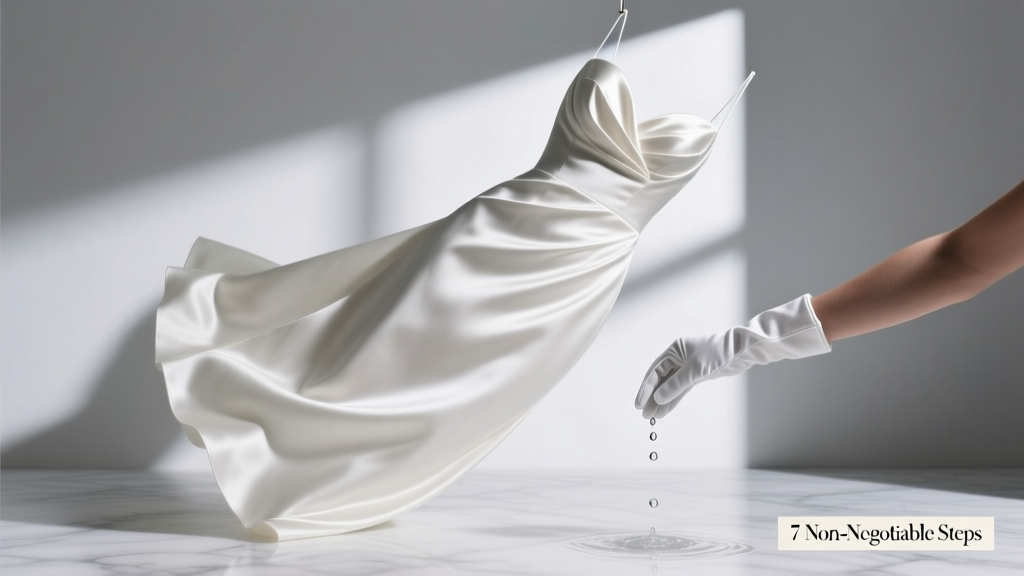 How to Wash a Satin Wedding Dress Without Ruining It: 7 Non-Negotiable Steps Experts Won’t Tell You (But Your Dry Cleaner Hopes You Skip)
 How Do You Write a Date on a Wedding Invitation? The 7-Second Rule That Prevents RSVP Confusion, Avoids Last-Minute Guest Panic, and Saves Your Stationer $280 in Reprints (Backed by 127 Real Invitations Audited)
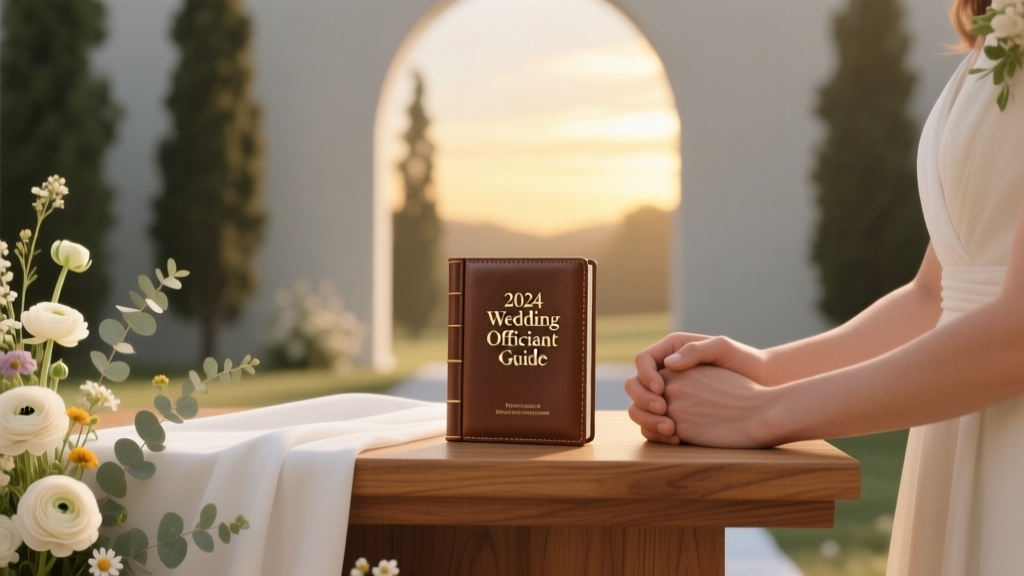
 Can Anyone Perform a Wedding? The Truth About Who’s Legally Allowed to Officiate (and How to Avoid Invalidating Your Marriage)
 Does Father of the Bride Pay for Wedding? The Truth About Modern Wedding Costs (and Why Assuming He Does Could Cause Real Family Tension)
 How to Livestream a Wedding for Free in 2024: 7 Real-World Steps That Actually Work (No Hidden Fees, No Tech Degree Required)
 What Are Wedding Arches Called? The Real Names (and Why Calling Yours a 'Gazebo' Could Cost You $1,200 in Miscommunication with Vendors)
 How to Become a Wedding Officiant in 2024: A Step-by-Step Minimal Checklist (No Seminary, No License Exam, Just Legitimacy & Heart)
 Can You Wear Red at a Wedding? The Truth About Color Etiquette in 2024 (Spoiler: It’s Not About the Dress—It’s About Context, Culture, and Communication)
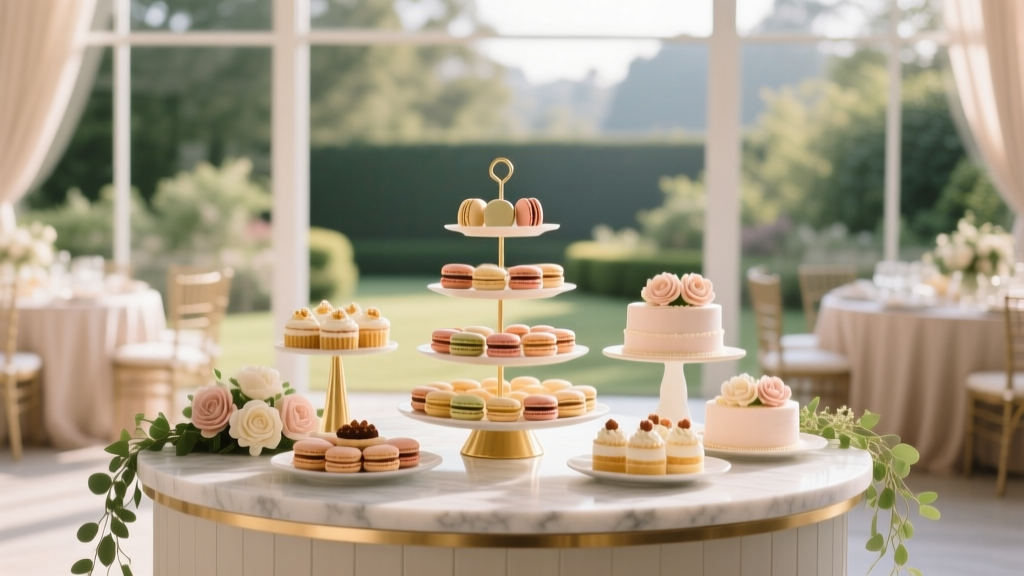 How to Plan a Wedding With a Dessert Bar
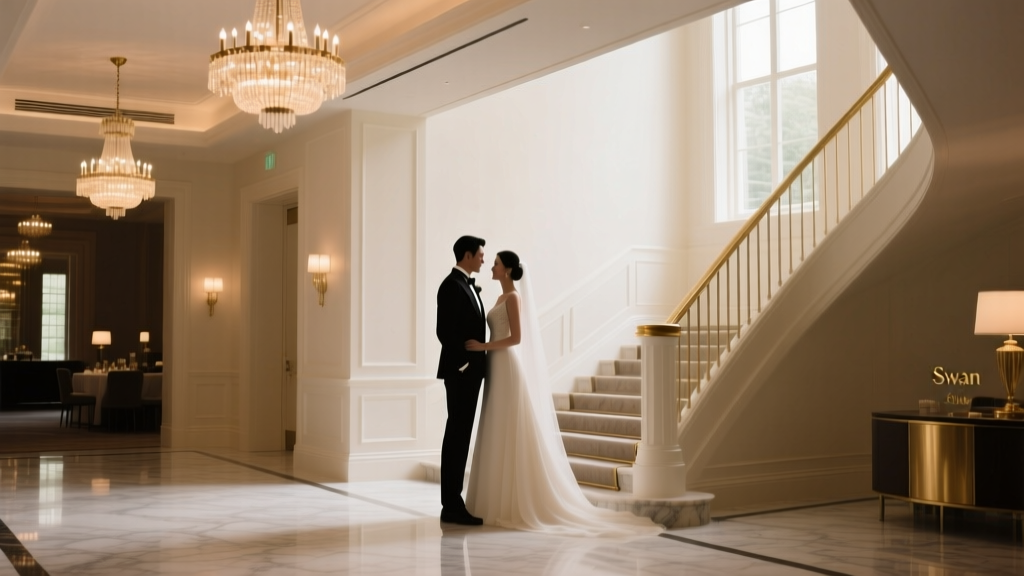 How Much Is a Wedding at The Swan Club Reddit? Real Couples Break Down Costs (2024), Hidden Fees, & Why $18K–$32K Is the True Range — Not the Website’s 'From $12K' Quote