How to Plan a Wedding With a Dessert Bar
You’ve probably pictured the big moments already: walking into your reception, seeing your favorite people in one room, hearing the clink of glasses, and feeling that “we did it” rush. Then you start planning and realize the reception details can feel like a hundred tiny decisions—what to serve, how to feed everyone, and how to make it feel like you.
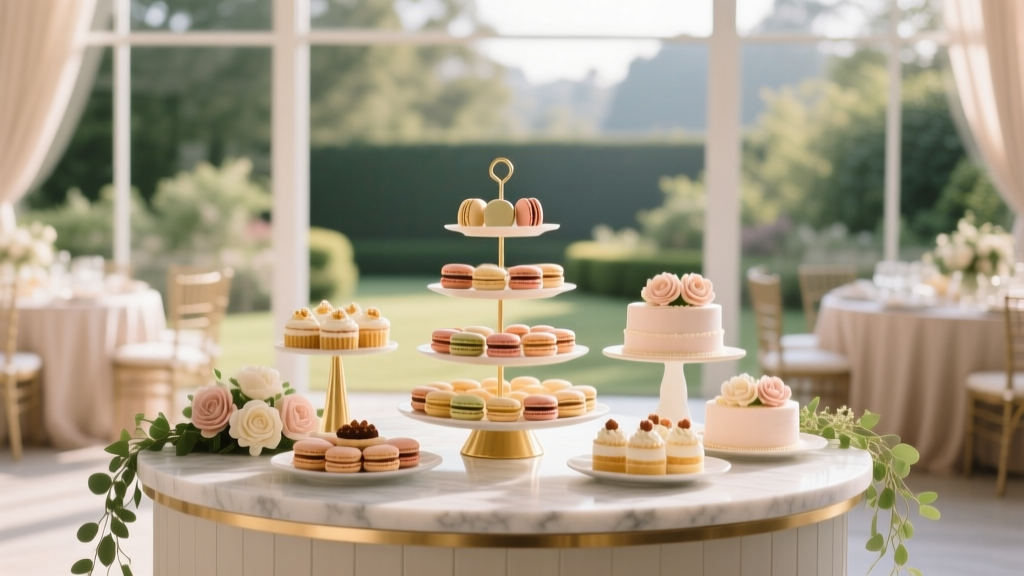
A dessert bar is one of those choices that checks a lot of boxes at once. It’s flexible for different budgets and guest counts, it’s a crowd-pleaser (yes, even for guests who “don’t really do cake”), and it’s a beautiful design moment that doubles as entertainment. Most importantly, it can be personal—your grandma’s cookies, your first-date donuts, a nostalgic candy station, or elegant mini pastries that feel like a modern party.
If you’re considering a wedding dessert bar, this guide walks you through the planning from start to finish—menu, quantities, setup, timeline, costs, and the little details that make it feel polished and easy for guests.
Why Couples Love Dessert Bars (and When They’re the Right Fit)
A dessert bar can replace a traditional wedding cake, complement it, or become a late-night treat. It works especially well when:
- You have a mix of tastes (some guests want chocolate, others want fruit, some want gluten-free options).
- Your guest list includes lots of kids (bite-sized desserts are easier than plated slices).
- You want a more social reception flow (guests mingle at the dessert table like they do at a cocktail hour).
- You’re skipping a formal sit-down meal (dessert bars pair well with cocktail-style receptions).
- You want a photo-friendly focal point without adding another “big production” moment.
When might it be less ideal? If your venue has limited table space, strict outside-food policies, or you’re planning an outdoor summer wedding without reliable temperature control. (More on solutions below.)
Step-by-Step: Planning Your Wedding Dessert Bar
Step 1: Decide the Dessert Bar’s Role in Your Reception
Start with one key decision: is the dessert bar the main dessert, an add-on to cake, or a late-night snack? Your answer shapes portions, timing, and budget.
- Dessert bar as the main dessert: Best for couples who want variety and a relaxed vibe.
- Dessert bar + small cutting cake: A popular middle path—cute cake photos without paying for cake for everyone.
- Late-night dessert bar: Ideal if dinner is more formal and you want a fun second wind around 9–10 p.m.
Real-world scenario: A 120-guest wedding with a plated dinner and a short dance set after dinner often benefits from a dessert bar that opens after the first dances. Guests have something to do while the dance floor warms up, and you avoid desserts sitting out too long.
Step 2: Set Your Dessert Bar Budget (With Smart Trade-Offs)
Most dessert bars land between $4–$12 per guest, depending on your menu, whether items are custom, and how much staffing is needed. Here’s what moves the budget:
- Labor: Mini tarts and piped desserts cost more than brownies or cookies.
- Display rentals: Stands, risers, signage, and specialty linens can add up.
- Portion count: Two bites per person costs far less than five.
- Season and location: Pricing varies widely by region and wedding season.
Budget-saving ideas that still feel luxe:
- Choose 2 “wow” items (like mini cheesecakes and macarons) and fill the rest with crowd-friendly classics.
- Use a small cutting cake and do sheet cake in the kitchen only if you still want cake for many guests.
- Skip custom monogram cookies unless they’re a priority; use simple iced sugar cookies in your wedding colors instead.
- Repurpose décor: use your ceremony florals or bud vases on the dessert table.
Step 3: Build a Balanced Dessert Bar Menu
The best dessert bars feel intentional, not like a random assortment. Aim for variety across flavor, texture, and dietary needs.
A solid menu formula:
- 1 chocolate-forward option (brownies, chocolate mousse cups, chocolate-dipped strawberries)
- 1 fruit or citrus option (lemon bars, berry tarts, fruit pavlovas)
- 1 creamy option (mini cheesecakes, pudding parfaits, panna cotta)
- 1 crunchy or cookie option (assorted cookies, biscotti, churro bites)
- Optional: 1 interactive element (s’mores station, build-your-own sundae, donut wall)
Dietary inclusivity (without overcomplicating it):
- Offer at least one gluten-free dessert (flourless chocolate cake bites, macarons, GF cookies from a dedicated bakery).
- Offer at least one nut-free option and label anything containing nuts clearly.
- If you have vegan guests, one vegan-friendly choice (sorbet cups, vegan brownies) goes a long way.
Real-world scenario: If one parent has a severe nut allergy, skip open bowls of mixed nuts or unlabeled almond flour pastries. Choose nut-free cookies and clearly label macarons (often almond-based) so the whole evening stays stress-free.
Step 4: Calculate Quantities (So You Don’t Run Out—or Waste a Ton)
Portion planning depends on timing and your crowd. Use this as a practical starting point:
- If dessert bar is the main dessert: plan 2–3 pieces per guest
- If you also have wedding cake: plan 1–2 pieces per guest
- If it’s late-night dessert: plan 1–1.5 pieces per guest
Adjust based on your guests:
- If many guests don’t drink alcohol and love sweets (or you have lots of kids), lean higher.
- If dinner is heavy and dessert is late, lean lower.
- If you’re offering mini portions (two-bite size), guests will often take more than one—plan accordingly.
Pro tip: Not every item needs the same quantity. Make your “safe bets” (cookies, brownies) more plentiful and keep pricier items (macarons, mini tarts) in smaller counts.
Step 5: Choose the Right Setup and Layout
A dessert table should be beautiful, but it also needs to handle traffic smoothly. Think like a guest holding a plate and a drink.
Layout checklist:
- Placement: somewhere visible but not blocking the bar or dance floor
- Flow: leave room for a line without bottlenecks
- Height: use risers and stands so desserts don’t look flat
- Lighting: add soft lighting or place near ambient light for photos
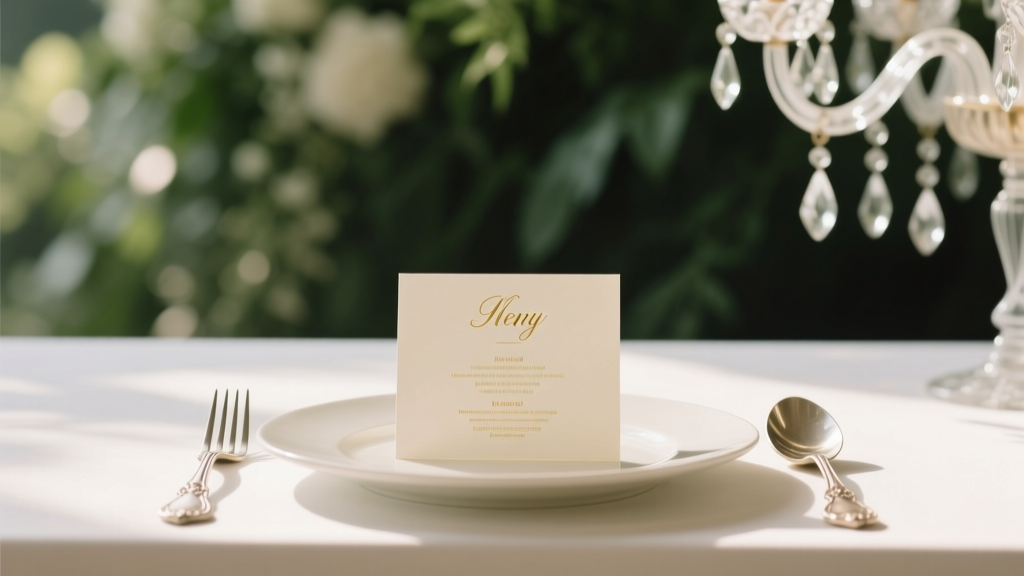
- Signage: labels for flavors and allergens, plus one sign that says “Dessert Bar”
- Tools: tongs, small plates, napkins, forks/spoons, and a trash bin nearby
Two-table strategy for bigger weddings: For 150+ guests, consider duplicating the dessert bar on two smaller tables. It reduces lines and looks intentional.
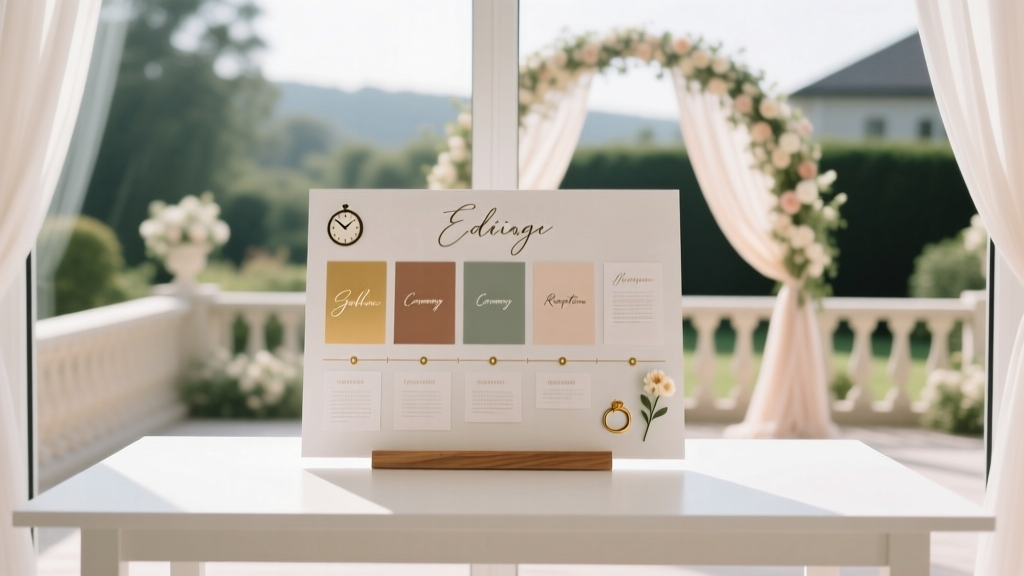
Step 6: Plan the Timeline (So Desserts Are Fresh and the Room Stays Smooth)
Dessert timing is one of the biggest make-or-break details—especially for outdoor weddings or venues without strong A/C.
Recommended timing options:
- Open after dinner: classic and easy; staff can flip the room from dinner service to dessert
- Open after first dances: keeps guests engaged while the dance floor builds
- Staggered approach: put out shelf-stable items early (cookies, brownies), then add delicate items later (cream pastries)
Sample timeline (reception starts at 5:30 p.m.):
- 5:30–6:30: Cocktail hour (dessert bar not open yet)
- 6:45: Dinner begins
- 7:45: Toasts
- 8:00: First dances
- 8:15: Dessert bar opens + coffee station
- 9:30: Late-night mini refresh (bring out a second tray of the favorites if needed)
Pro tip: Pair your dessert bar with a coffee and tea station. It elevates the experience and encourages guests to linger and mingle.
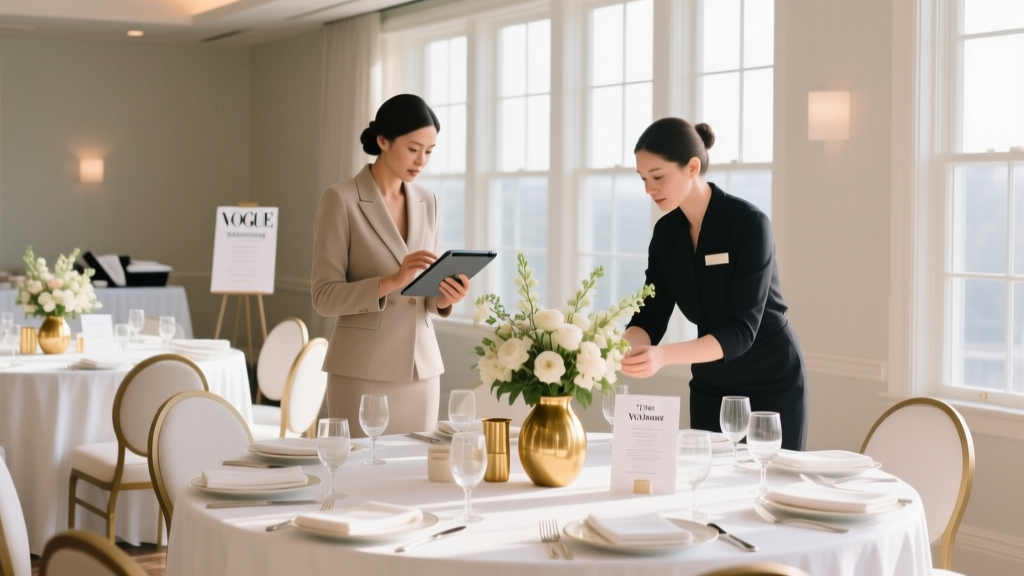
Step 7: Coordinate Vendors and Logistics
Even a simple dessert bar needs a few behind-the-scenes answers so you’re not troubleshooting on your wedding day.
Ask your venue/caterer:
- Do you allow outside desserts? Is there a cutting/plating fee?
- Is there a refrigerator or cool space for storage?
- Who sets up the dessert table—your team, the caterer, or the bakery?
- Do you provide serving utensils and plates, or should we?
- What’s the cleanup plan at the end of the night?
Ask your bakery/dessert vendor:
- Delivery window and setup time
- How long items can safely sit out
- Ingredient/allergen list for labels
- Best transport method if someone is picking up
Real-world scenario: If you’re hosting a barn wedding in July, confirm whether there’s reliable refrigeration. If not, build a menu with heat-friendly desserts (cookies, bars, donut bites) and avoid anything whipped-cream heavy until the moment it’s served.
Designing a Dessert Bar That Matches Your Wedding Style
Done well, the dessert bar becomes part of your wedding décor. Keep it cohesive with your overall wedding theme and colors.
- Modern minimal: monochrome desserts, clear signage, sleek risers, simple florals
- Romantic garden: berry tarts, floral accents, soft linens, vintage cake stands
- Rustic chic: wood risers, pie bites, cookies, handwritten labels
- Classic ballroom: mini éclairs, petit fours, gold accents, polished signage
Pro tip: Use repetition—two or three materials (wood + glass + gold, for example) and stick to them. That’s what makes the table feel “styled,” not cluttered.
Common Dessert Bar Mistakes to Avoid
- Putting everything out too early: cream-based items melt, chocolate blooms, and pastries go stale.
- Not having enough plates or utensils: guests will skip dessert if it feels inconvenient.
- No labels: allergens and flavors matter—labels reduce questions and prevent mishaps.
- Over-ordering trendy items: macarons can be pricey and not everyone loves them. Balance trends with familiar favorites.
- Forgetting traffic flow: one set of tongs for a 120-person crowd creates a line fast.
- Choosing messy desserts without a plan: powdered sugar, drippy sauces, and sticky candy can get everywhere—add napkins and small forks, and keep wipes nearby for kids.
Wedding Planner Pro Tips for a Smooth, Crowd-Pleasing Dessert Bar
- Do mini portions: two-bite desserts make guests feel free to sample without waste.
- Duplicate utensils: put tongs on both ends of the table or use two identical trays of the same dessert.
- Keep a “refill stash”: ask your vendor to hold back 25–30% to refresh the table midway (it stays looking full and fresh).
- Have takeaway boxes ready: especially if you’re doing cookies, donuts, or candy. Guests love a sweet ride-home moment.
- Assign someone to pack leftovers: a coordinator, caterer, or trusted friend with clear instructions and containers.
- Don’t forget kids: one simple, familiar option (like chocolate chip cookies) keeps little guests happy.
FAQ: Planning a Wedding Dessert Bar
Do we still need a wedding cake if we have a dessert bar?
No—many couples skip cake entirely. If you want the classic cake-cutting photo, order a small cutting cake and let the dessert bar serve everyone else.
How far in advance should we book a dessert vendor?
For peak wedding season, book 4–8 months ahead (earlier in major cities). If you’re working with a popular bakery or want custom items like macarons or detailed cookies, aim closer to 8–10 months.
What desserts hold up best for outdoor weddings?
Choose heat-stable options like cookies, brownies, blondies, rice krispie treats, donut bites, and some bar desserts. Avoid whipped cream, mousse cups without refrigeration, and anything with delicate chocolate décor unless it’s served quickly.
How do we handle dietary restrictions on a dessert table?
Include at least one option that meets the key needs in your guest list (gluten-free, nut-free, vegan if needed). Label everything clearly and consider keeping allergen-friendly desserts on a separate tray to reduce cross-contact.
Should the dessert bar be self-serve or staffed?
Self-serve is common and budget-friendly. If you’re offering messy items (ice cream sundaes, hot fudge, s’mores) or want a more formal feel, staffing helps keep lines moving and the display tidy.
How do we make a dessert bar feel elevated, not like a casual buffet?
Use consistent serving pieces, add height with risers, keep signage polished, and limit the number of dessert types to a curated selection. A coordinated coffee/espresso station also adds a “hosted” feel.
Your Next Steps: A Simple Dessert Bar Planning Checklist
- Decide the dessert bar’s role: main dessert, add-on, or late-night.
- Set a per-guest budget range and guest count estimate.
- Choose 4–6 dessert types using the balanced menu formula.
- Confirm quantities (1–3 pieces per guest, based on your plan).
- Check venue rules, refrigeration, setup responsibilities, and serving ware.
- Finalize your timeline for when desserts are displayed and refreshed.
- Create labels for flavors and allergens, and plan your table styling.
- Assign someone to oversee setup, refills, and leftover packing.
A wedding dessert bar is one of those details guests genuinely remember—because it’s delicious, interactive, and feels like a treat you chose just for them. Keep the plan simple, make room for a couple of meaningful favorites, and build in a little flexibility for timing and temperature. You’ll end up with a dessert moment that looks beautiful and feels easy.
If you’d like more reception planning help—from timelines to budget breakdowns to guest experience tips—browse more planning guides on weddingsift.com.
More Articles
 Wedding Planning How to Coordinate With Multiple Vendors
 How to Plan a Wedding That Fits Your Personality
 Wedding Day Setup and Breakdown Who Handles What
 Wedding Planning How to Choose the Perfect Menu Cards
 Destination Wedding Planning Everything You Need to Know
 Wedding Planning How to Manage the Wedding Day Timeline
 How to Choose Between Indoor and Outdoor Wedding Venues
 How to Choose Between All-Inclusive Venues and Blank Canvas Spaces
 Wedding Vendor Reference Checks How to Do Them
 How to Plan a Wedding That Reflects Your Cultural Heritage