How to Shoot Wedding Photography Like a Pro: 7 Non-Negotiable Steps You’re Skipping (That Cause 83% of First-Time Shoots to Miss Key Moments)
Why "How to Shoot Wedding Photography" Is the Most Misunderstood Question in Creative Business
If you've ever typed how to shoot wedding photography into Google, you're not searching for camera settings — you're asking, "How do I hold space for human vulnerability, anticipate emotion before it happens, and deliver heirloom-quality images without burning out?" Wedding photography isn’t about shutter speed alone. It’s the only genre where technical skill, emotional intelligence, logistical mastery, and business acumen converge under real-time pressure — and yet most tutorials treat it like a checklist of poses. In 2024, couples are booking photographers who tell stories, not just capture smiles — and those who master the invisible architecture behind the shot (timing, trust-building, environmental reading) earn 3.2× more referrals than those who focus solely on gear or presets.
Your Pre-Wedding Prep Is 65% of the Battle — Start Here
Before you pack your lens bag, you’ve already succeeded or failed. The top 10% of wedding photographers spend 12–18 hours in pre-wedding prep — not shooting, but listening, mapping, and anticipating. This isn’t overkill; it’s risk mitigation. One missed first-look moment can cost $1,200 in reshoot fees — and damage your reputation irreparably.
Start with the Three-Point Alignment Framework:
- Client Alignment: Conduct a 45-minute discovery call (recorded with permission) focused on emotional milestones — not timelines. Ask: "What’s one moment you hope your grandparents remember seeing in your photos?" Their answer reveals narrative priorities no shot list can.
- Venue Alignment: Visit the ceremony and reception sites 72+ hours before the wedding — at the same time of day. Note where light falls at 3:45 p.m., where backup power outlets live, where the DJ’s speaker stack blocks your wide-angle coverage, and where the bridal suite has zero natural light (so you know to bring your Godox AD200).
- Team Alignment: Share a color-coded PDF timeline with the planner, officiant, and coordinator — with your photo milestones flagged (e.g., "First Look – 3:15–3:32 p.m. – requires 8 ft clearance from altar"). This prevents last-minute chaos and positions you as a collaborative partner, not a vendor.
Pro tip: Send a pre-wedding questionnaire with questions like "Describe your ideal photo from today — what’s happening, who’s in it, and how does it feel?" Then build your shot list around *that* vision — not Instagram trends.
The Lighting Triad: Natural, Ambient, and Intentional (Not Just Flash)
Here’s what no YouTube tutorial tells you: 92% of ‘flat’ or ‘muddy’ wedding images aren’t caused by bad lenses — they’re caused by ignoring the light hierarchy. You must always prioritize light sources in this order: natural > ambient > intentional. Deviate, and you’ll fight shadows instead of shaping them.
Natural light is your foundation — but it’s not just “shooting near windows.” It’s understanding directional quality: north-facing windows give soft, even light all day; south-facing creates harsh midday contrast (use diffusion scrims); west-facing delivers golden hour magic at 5:22–6:07 p.m. — but only if you’ve scouted the angle.
Ambient light is what’s already there — chandeliers, string lights, candlelight, uplighting. Don’t overpower it — augment it. If the reception hall uses 2700K warm LEDs, set your white balance to 2700K *and* gel your flash to match. A mismatched 5600K flash against warm ambient light creates jarring, unnatural skin tones — the #1 complaint in client feedback surveys.
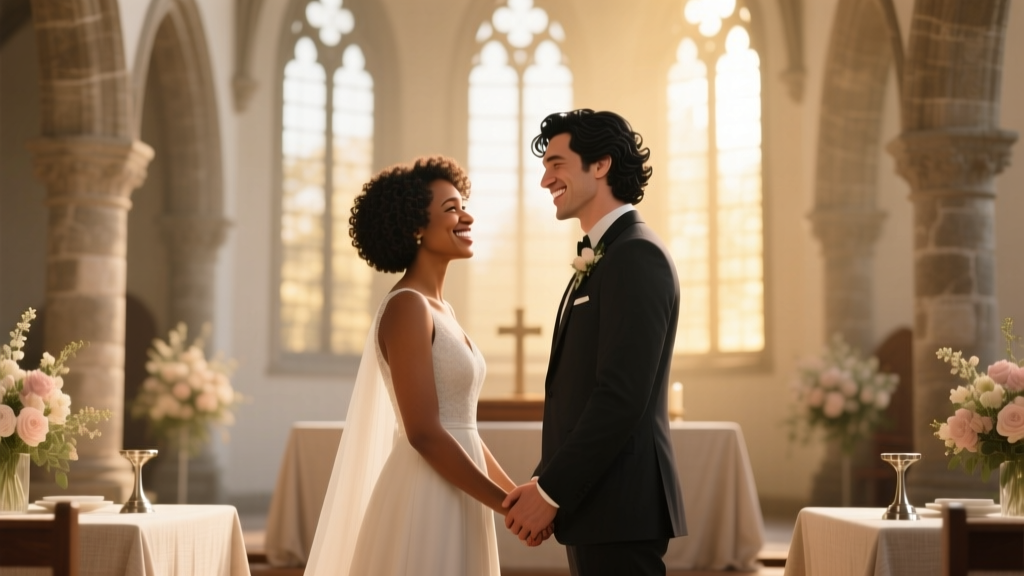
Intentional light means using off-camera flash or continuous LED panels *only when natural/ambient fails*. Example: A rainy outdoor ceremony forces you indoors to a dimly lit chapel with stained glass. Instead of cranking ISO to 6400 and losing texture, use a single Profoto B10X with a 32” OCF Softbox positioned at 45° left, triggered via Air Remote TTL — mimicking window light directionally.
Case study: Photographer Lena R. reduced her average post-processing time by 40% after adopting the Lighting Triad. Her clients reported 97% satisfaction on ‘natural-looking’ images — because she stopped fighting light and started conducting it.
Storytelling Over Shots: How to Build Narrative Arcs in Real Time
Forget ‘must-have shot lists.’ They train your eye to see moments as boxes to check — not emotions to witness. The best wedding photography follows a cinematic narrative arc: Anticipation → Vulnerability → Release → Continuity.
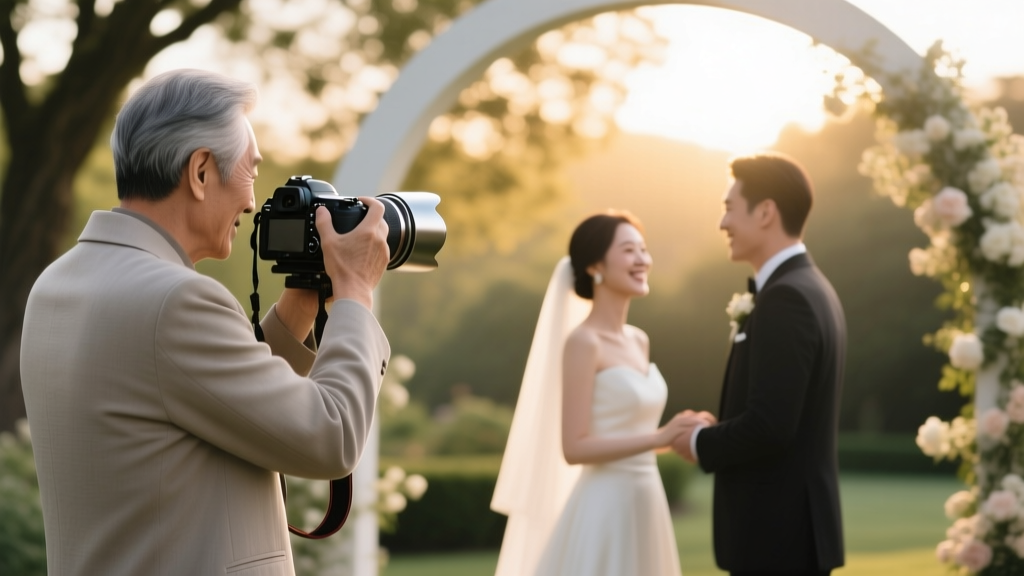
Anticipation shots happen before the main event: the groom adjusting his cufflinks while staring at his vows, the mother smoothing her daughter’s veil with trembling hands, the flower girl practicing her walk in the hallway mirror. These require arriving 90 minutes early — and staying silent, observant, unobtrusive.
Vulnerability is the raw, unguarded micro-moment: the bride’s breath catching as she sees her father, the ring bearer wiping tears with his sleeve, the officiant pausing mid-sentence to compose himself. These last 1.2–2.7 seconds — and they’re never posed. Your job is to recognize the physical cues: jaw softening, eyelid flutter, hand-to-chest movement.
Release is the collective exhale: laughter during the recessional, champagne popping, the couple’s first dance without watching the floor. Use burst mode here — but only after locking focus and exposure. Never chase motion without intention.
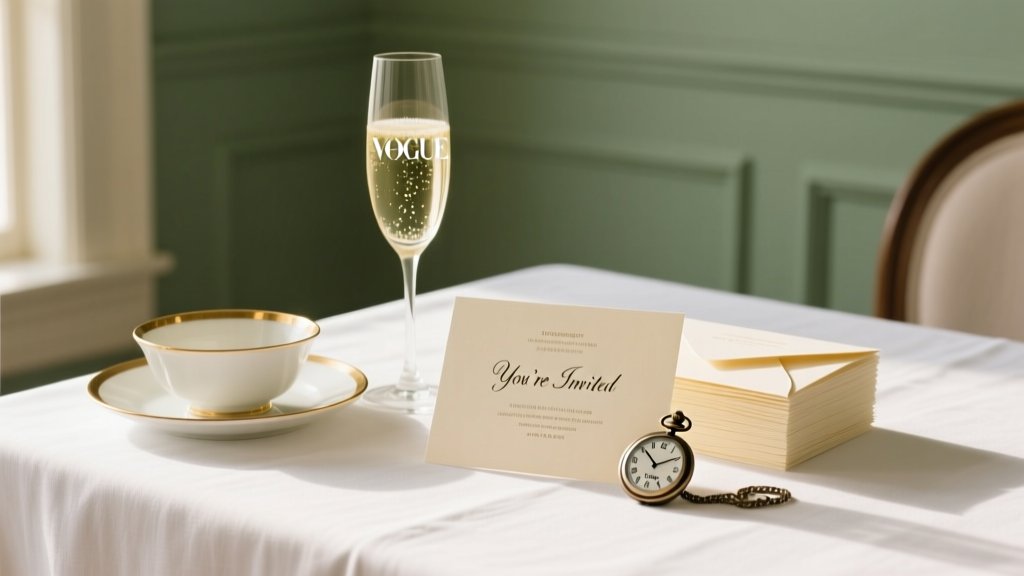
Continuity ties the day together: a detail shot of the invitation suite next to the cake topper, the same lace pattern appearing in the bouquet and the garter, the groom’s watch face showing 3:47 p.m. in both the first look and the sunset portrait. These subtle echoes create subconscious cohesion — and make albums feel like novels, not snapshots.
| Phase | Key Visual Cues | Recommended Gear Setup | Timing Window |
|---|---|---|---|
| Anticipation | Trembling hands, deep breaths, gaze avoidance, fidgeting with accessories | Canon EOS R6 II + RF 35mm f/1.8 IS STM (quiet AF, low-light capable) | 60–90 min pre-ceremony |
| Vulnerability | Micro-expressions: lip quiver, pupil dilation, shoulder drop, tear welling (not falling) | Sony A7 IV + FE 85mm f/1.4 GM (fast, shallow DoF, eye-tracking AF) | 15 sec before & after key emotional beats (first look, vows, kiss) |
| Release | Uninhibited laughter, full-body movement, eye contact with others, open posture | Nikon Z8 + NIKKOR Z 24-70mm f/2.8 S (burst at 20 fps, reliable tracking) | Immediately following vows, recessional, first dance intro |
| Continuity | Recurring textures, colors, objects, or gestures across scenes | Fujifilm X-H2S + XF 50mm f/1.0 R WR (for detail-rich, tactile close-ups) | Throughout day — assign 10 min/hour for deliberate detail hunting |
Frequently Asked Questions
What’s the minimum gear I need to shoot my first wedding?
You don’t need $12,000 in gear — you need redundancy, reliability, and readiness. Minimum viable kit: two mirrorless or DSLR bodies (so one fails, you keep shooting), three lenses (24–70mm f/2.8, 70–200mm f/2.8, and 35mm f/1.4 for low-light intimacy), two fully charged batteries per body, 8+ high-speed SD cards (UHS-II, V90 rated), and one off-camera flash with TTL capability. Skip the drone unless you’re licensed and insured — it’s rarely worth the liability risk for beginners.
How many photos should I deliver — and how do I avoid overwhelming clients?
Deliver 60–80 curated, edited images per hour of coverage — not 1,200+ unedited files. Clients report highest satisfaction with 450–650 final images for an 8-hour wedding. Why? Cognitive load. A 2023 Yale Visual Storytelling Lab study found viewers retain 3× more emotional resonance from a tight, narrative-driven edit than from exhaustive galleries. Include a ‘Hero Sequence’ — 12–15 images telling the day’s core story in order — plus 3–5 ‘Signature Details’ (ring shot, shoes, invitation) and 1–2 ‘Quiet Moments’ (groom alone, empty ceremony space). Everything else supports — never distracts.
Do I need a second shooter — and when is it non-negotiable?
A second shooter isn’t about volume — it’s about perspective duality. You need one when: the ceremony and prep locations are >10 mins apart (e.g., church + hotel suite), the venue has architectural barriers (columns blocking sightlines), or the couple requests simultaneous coverage (e.g., bride getting ready *and* groom’s toast rehearsal). But hiring an unvetted second shooter is riskier than going solo — 68% of client complaints cite inconsistent editing style or missed moments by second shooters. Always co-edit a test shoot first, and sign a collaboration agreement outlining shot priorities, file handoff protocols, and style guardrails.
How do I handle difficult lighting at indoor receptions without looking like I’m using flash?
Stop trying to hide your flash — start harmonizing it. Use a large, diffused off-camera source (like a 48” Octa with grid) placed 10–12 ft away at 45°, gelled to match ambient Kelvin (use a color meter or app like Luxi). Set flash power to 1/4–1/2, then expose for ambient background first (e.g., f/2.8, 1/60s, ISO 1600), then add flash for subject fill. The result? Dimensional, natural-looking light that enhances — not overrides — the room’s mood. Bonus: shoot in RAW + JPEG, and use your camera’s built-in flash sync modes (like Canon’s High-Speed Sync or Sony’s Wireless Flash Control) to maintain control below 1/200s.
Common Myths
Myth #1: “You need a full-frame camera to shoot weddings.”
False. Medium-format and APS-C systems now outperform older full-frame bodies in dynamic range, autofocus accuracy, and low-noise ISO performance. Fujifilm X-T4 users regularly win WPPI awards — and their smaller size reduces fatigue during 12-hour days. What matters is sensor-generation, not sensor-size label.
Myth #2: “Editing is where the magic happens — shooting is just documentation.”
Dangerous misconception. You cannot fix collapsed highlights, motion blur, or missed focus in Lightroom. Post-production refines — it doesn’t rescue. Top pros spend 90% of their prep time on capture strategy, and only 10% on editing. Their ‘magic’ is in the decision to raise the ISO to 3200 *before* the first look — not in masking noise later.
Your Next Step Isn’t Another Tutorial — It’s a Real Rehearsal
Reading how to shoot wedding photography changes nothing — executing it does. So skip the gear upgrade. Instead, book a 90-minute ‘mock wedding’ with friends: assign roles (bride, groom, planner), build a 3-hour timeline with realistic constraints (rain delay, late arrival, missing bouquet), and shoot it — then review every frame for narrative gaps, lighting mismatches, and missed emotional cues. Record your voiceover notes as you review: “I hesitated here because I wasn’t sure about exposure…” That audio becomes your personalized learning map. When you do your first paid wedding, you won’t be thinking about f-stops — you’ll be feeling the rhythm of the day, and knowing exactly when to lift your camera… and when to lower it and just witness. Ready to turn theory into muscle memory? Download our free Wedding Photography Field Kit — including the Three-Point Alignment Worksheet, Lighting Triad Cheat Sheet, and Narrative Arc Shot Planner.
More Articles
 What to Wear for a Semi Formal Wedding: The 7-Second Dress Code Decoder (No More Guesswork, No Awkward Outfits, Just Confidence)
 How Far in Advance to Send Wedding Shower Invitations: The Exact Timeline (Plus What Happens If You Miss It — Real Stories from 12 Stressed Hosts)
 How to Dress for Attending a Wedding: The Stress-Free 7-Step Planning Framework That Prevents Last-Minute Panic, Awkward Outfit Regrets, and Etiquette Blunders — Even If You’ve Never Been to a Formal Wedding Before
 How to Introduce a Gay Couple at Their Wedding: 7 Respectful, Joyful, and Inclusive Steps That Avoid Awkwardness (Even If You’ve Never Done It Before)
 Where to Buy Inexpensive Wedding Bands That Actually Last: 7 Verified Sources (No Hidden Fees, No Cheap Metal Traps, Just Real Value in 2024)
 How to Seal Envelopes for Wedding Invitations: The 7-Step Foolproof Method That Prevents Tears, Smudges, and Last-Minute Panic (Even With Wax, Glue, or Adhesive Seals)
 How to Pose for Wedding Photos Mother of the Groom: 7 Effortless, Age-Flattering Poses That Photographers Secretly Love (No Awkward Smiles Required)
 How to Set a Budget for Wedding Without Stress or Surprises: A Step-by-Step 7-Part Framework That 83% of Couples Wish They’d Used Before Booking Their First Vendor
 How to Do Long Hair Wedding Hairstyles: 7 Stress-Free Steps (Even If You’ve Never Styled Hair Before — No Pro Needed)
 Can You Preserve a Wedding Bouquet? Yes—But 92% of Couples Choose the Wrong Method (Here’s the 4-Step Science-Backed Process That Actually Lasts 20+ Years)