
How to Draw a Wedding Gown: Step-by-Step Guide for Beginners
# How to Draw a Wedding Gown: Step-by-Step Guide for Beginners Drawing a wedding gown feels intimidating — until you break it down. Whether you're a fashion student sketching your dream dress, a bride visualizing her big day look, or an artist exploring bridal illustration, learning how to draw a wedding gown is more accessible than you think. With the right approach, you can create a stunning bridal sketch in under an hour. --- ## Section 1: Start with the Fashion Figure (Croquis) Every great wedding gown drawing begins with a solid foundation: the fashion croquis. This elongated figure (typically 9–10 heads tall) gives your gown the elegant proportions it deserves. **Steps:** 1. Lightly sketch a vertical center line on your paper. 2. Mark the head, shoulders, bust, waist, hips, knees, and feet using equal head-height intervals. 3. Keep the waist narrow and hips slightly wider — this creates the classic bridal silhouette. 4. Sketch the pose: a slight three-quarter turn adds depth and movement to your gown drawing. **Pro tip:** Use a light pencil (HB or 2H) for the croquis so you can erase it cleanly once the gown is drawn. --- ## Section 2: Choose and Sketch Your Gown Silhouette The silhouette is the soul of any wedding dress sketch. The five classic bridal silhouettes each have distinct drawing characteristics: | Silhouette | Key Drawing Feature | |---|---| | A-line | Flares gently from waist to hem | | Ball gown | Full, voluminous skirt from the waist | | Mermaid | Fitted through hips, flares at knee | | Sheath | Straight, body-skimming lines | | Empire waist | High seam just below bust, flowing skirt | **Steps:** 1. Decide your silhouette before drawing a single line. 2. Sketch the bodice first — neckline, straps or sleeves, and waistline seam. 3. Draw the skirt shape flowing naturally from the waist or hip seam. 4. Add a train if desired: cathedral trains extend 6–8 feet; sweep trains just brush the floor. For beginners, the **A-line wedding gown** is the easiest to draw because its gradual flare is forgiving and universally flattering on the figure. --- ## Section 3: Add Details — Lace, Embellishments, and Fabric Texture This is where your wedding gown drawing comes alive. Details transform a basic outline into a breathtaking bridal illustration. **Lace and embroidery:** - Use small, irregular curved lines and floral motifs along the bodice and hem. - Don't try to draw every lace thread — suggest the pattern with clusters of detail, leaving some areas open. - Concentrate detail at focal points: neckline, waist, and hem edge. **Fabric texture:** - *Satin*: smooth shading with soft highlights down the center of the skirt. - *Tulle*: light, overlapping curved lines suggesting layers of sheer fabric. - *Chiffon*: flowing, diagonal folds that follow the body's movement. **Embellishments:** - Beading: tiny dots or dashes scattered across the bodice. - Buttons: a row of small circles down the back adds classic elegance. - Bow or sash: a simple tied shape at the waist adds dimension. **Steps:** 1. Work from top to bottom: bodice details first, then skirt, then hem. 2. Use a fine-tip pen or 0.3mm mechanical pencil for delicate lace work. 3. Add shading last — light source from the upper left is a standard fashion illustration convention. --- ## Section 4: Ink, Color, and Finish Your Bridal Sketch Once your pencil sketch is complete, it's time to refine and render your wedding gown drawing. **Inking:** - Trace your final lines with a fine liner (0.1–0.5mm). - Use thicker lines for outer silhouette edges, thinner lines for interior details. - Erase all pencil lines after the ink dries completely. **Coloring options:** - *Watercolor*: the gold standard for bridal illustration. Use ivory or warm white washes, building up layers for shadow. - *Colored pencils*: great for beginners. Layer cream, light gray, and pale yellow for a realistic white gown. - *Digital*: apps like Procreate offer bridal illustration brushes and easy undo — ideal for practicing how to draw wedding dresses repeatedly. **Final touches:** - Add a soft blush or champagne tint to the gown for warmth. - Sketch simple hair and a veil to complete the bridal look. - Sign your illustration — you've earned it. --- ## Common Myths About Drawing Wedding Gowns **Myth 1: "You need formal art training to draw a wedding dress."** Not true. Fashion illustration is a learnable skill. Thousands of brides and hobbyists sketch their own gown ideas with no formal training. The croquis method gives you a reliable structure, and practice builds confidence faster than any class. **Myth 2: "White gowns are boring and hard to make look interesting on paper."** Actually, white is one of the most dynamic colors to render. The interplay of light, shadow, and fabric texture on a white wedding gown creates rich visual depth. The key is using off-white, cream, and soft gray tones rather than leaving the paper blank — pure white with no shading looks flat, not elegant. --- ## Start Your Wedding Gown Sketch Today Drawing a wedding gown comes down to four steps: build your croquis, choose your silhouette, add fabric details, and render with color. You don't need expensive supplies — a pencil, fine liner, and basic watercolors are enough to create a beautiful bridal illustration. **Your next action:** Grab a pencil and sketch one A-line silhouette today. Don't aim for perfection — aim for completion. Your second sketch will already be better than your first, and by your tenth, you'll have a signature style all your own.More Articles
How to Draw a Wedding Dress for Beginners: 7 Foolproof Steps That Take You From Blank Page to Bridal Sketch in Under 45 Minutes (No Art Degree Required!)
 When to Tell Vendors About Your Wedding Timeline
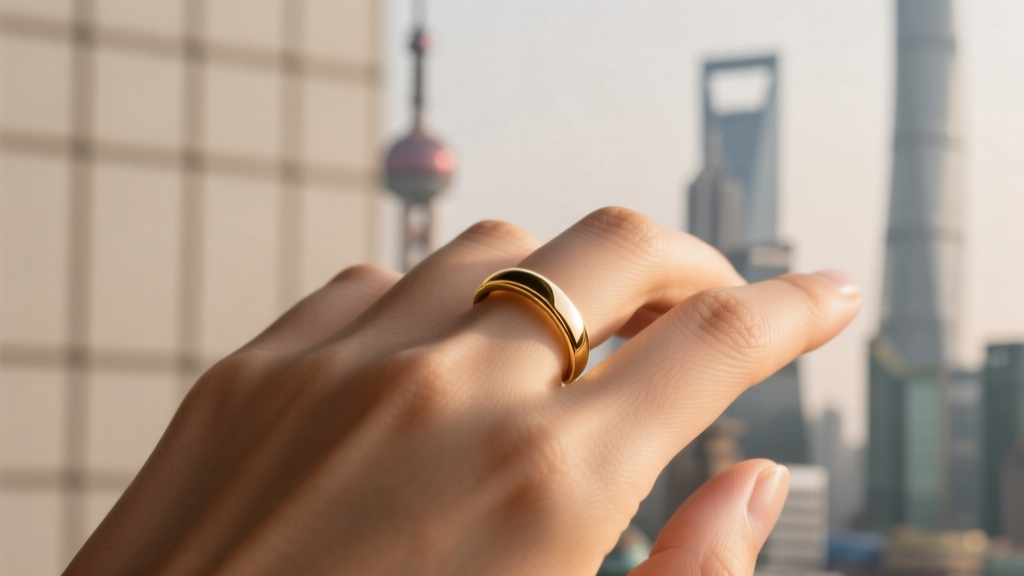 Do Chinese wear wedding rings on the middle finger? The truth behind regional customs, generational shifts, and what your ring placement *actually* signals in modern China — debunked by cultural anthropologists and jewelry historians
What Are Jewish Weddings Like? A Warm, Step-by-Step Guide to the Rituals, Symbols, and Surprising Moments You’ll Actually Experience (Not Just See in Movies)
Do Chinese wear wedding rings on the middle finger? The truth behind regional customs, generational shifts, and what your ring placement *actually* signals in modern China — debunked by cultural anthropologists and jewelry historians
What Are Jewish Weddings Like? A Warm, Step-by-Step Guide to the Rituals, Symbols, and Surprising Moments You’ll Actually Experience (Not Just See in Movies)
 What Is 25th Wedding Anniversary Called? (Spoiler: It’s Not Just ‘Silver’ — Here’s Why That Word Alone Misses the Real Meaning, Symbolism, and 7 Unexpected Ways Couples Are Celebrating It in 2024)
What Are the Noodles in Italian Wedding Soup Called? (Spoiler: It’s Not ‘Wedding Noodles’—Here’s the Real Name, Why They’re Used, and 3 Common Substitutes That Won’t Ruin Your Broth)
What Is 25th Wedding Anniversary Called? (Spoiler: It’s Not Just ‘Silver’ — Here’s Why That Word Alone Misses the Real Meaning, Symbolism, and 7 Unexpected Ways Couples Are Celebrating It in 2024)
What Are the Noodles in Italian Wedding Soup Called? (Spoiler: It’s Not ‘Wedding Noodles’—Here’s the Real Name, Why They’re Used, and 3 Common Substitutes That Won’t Ruin Your Broth)
 Did MrBeast Go to Chandler’s Wedding? The Truth Behind the Viral Rumor, Why Fans Keep Asking, and How Misinformation Spreads on Social Media in 2024
 When to Start Wedding Planning After Getting Engaged
Will Robertson Wedding: What We Know in 2024 — Confirmed Dates, Rumors Debunked, and Why Fans Keep Searching (Spoiler: It’s Not Happening… Yet)
When to Start Wedding Planning After Getting Engaged
Will Robertson Wedding: What We Know in 2024 — Confirmed Dates, Rumors Debunked, and Why Fans Keep Searching (Spoiler: It’s Not Happening… Yet)
 How to Wear a Pencil Skirt to a Wedding Without Looking Wrong
When to Tell Vendors About Your Wedding Timeline
Do Chinese wear wedding rings on the middle finger? The truth behind regional customs, generational shifts, and what your ring placement *actually* signals in modern China — debunked by cultural anthropologists and jewelry historians
What Are Jewish Weddings Like? A Warm, Step-by-Step Guide to the Rituals, Symbols, and Surprising Moments You’ll Actually Experience (Not Just See in Movies)
What Is 25th Wedding Anniversary Called? (Spoiler: It’s Not Just ‘Silver’ — Here’s Why That Word Alone Misses the Real Meaning, Symbolism, and 7 Unexpected Ways Couples Are Celebrating It in 2024)
What Are the Noodles in Italian Wedding Soup Called? (Spoiler: It’s Not ‘Wedding Noodles’—Here’s the Real Name, Why They’re Used, and 3 Common Substitutes That Won’t Ruin Your Broth)
Did MrBeast Go to Chandler’s Wedding? The Truth Behind the Viral Rumor, Why Fans Keep Asking, and How Misinformation Spreads on Social Media in 2024
When to Start Wedding Planning After Getting Engaged
Will Robertson Wedding: What We Know in 2024 — Confirmed Dates, Rumors Debunked, and Why Fans Keep Searching (Spoiler: It’s Not Happening… Yet)
How to Wear a Pencil Skirt to a Wedding Without Looking Wrong