How to Tie a Wedding Cravat Perfectly Every Single Time
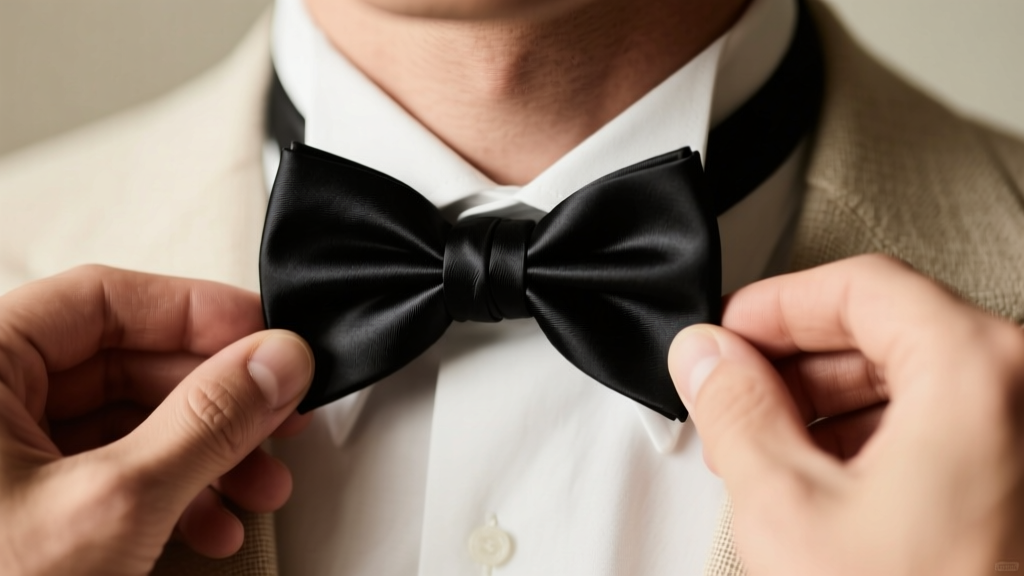
## You've Got the Cravat — Now What? You're standing in front of the mirror an hour before the ceremony, cravat in hand, and suddenly realize no one told you how to actually tie the thing. You're not alone. The wedding cravat is one of the most elegant neckwear choices a groom can make — but it trips up even well-dressed men. This guide walks you through exactly how to tie a wedding cravat, whether you're going for a classic ascot fold or a more relaxed style. --- ## What Is a Wedding Cravat (and Why It's Worth the Effort)? A cravat is a wide, soft neckcloth worn instead of a tie — a staple of formal morning dress and increasingly popular at weddings of all styles. Unlike a pre-tied cravat (which clips on), a self-tie cravat gives a more authentic, tailored look. **Types you'll encounter:** - **Ascot cravat** — the most common wedding style, worn with a morning suit - **Ruche/ruched cravat** — gathered fabric for a fuller, more decorative look - **Cravat pin style** — secured with a decorative pin for extra polish Knowing your style before you start saves time and frustration on the day. --- ## Step-by-Step: How to Tie a Wedding Cravat (Ascot Style) This is the standard method for tying a self-tie wedding cravat with a morning suit. **What you need:** Your cravat, a mirror, and about 5 minutes. 1. **Drape the cravat around your neck** with the wide end on your right side, hanging about 30cm lower than the left end. 2. **Cross the wide end over the narrow end** from right to left. 3. **Wrap the wide end up and around** the narrow end, bringing it back to the right. 4. **Pull the wide end up through the neck loop** from underneath, just as you would with a four-in-hand tie. 5. **Tuck the wide end through the front horizontal band** — the loop created in step 3. 6. **Adjust and spread the fabric** so it fans out evenly across your chest. The wide end should sit on top. 7. **Secure with a cravat pin** through both layers, positioned about one-third down from the knot. **Pro tip:** Practice this twice the week before the wedding. Muscle memory makes a real difference when nerves are high. --- ## Getting the Fit and Drape Right Tying the knot is only half the job. How the cravat sits against your shirt matters just as much. - **Collar choice:** A spread or cutaway collar works best with a cravat — it gives the fabric room to fan out naturally. - **Length:** The tip of the cravat should reach your waistband, not hang below it. - **Tightness:** The knot should sit snugly at the base of your throat without pulling. You should be able to fit two fingers between the cravat and your neck. - **Symmetry:** Step back from the mirror and check both sides of the fan are even. Adjust from the narrow end, not the wide end. If you're wearing a waistcoat (vest), tuck the cravat in so only the top portion shows above the waistcoat's top button. --- ## Cravat Colours and Fabrics for Weddings Once you know how to tie a wedding cravat, choosing the right one elevates the whole look. **Fabric guide:** - **Silk** — the traditional choice; holds its shape and photographs beautifully - **Polyester satin** — more affordable, slightly shinier; good for budget-conscious weddings - **Jacquard** — woven patterns add texture without being loud **Colour tips:** - Match or complement your pocket square and boutonnière - Ivory and champagne cravats photograph warmer than pure white - Dusty rose, sage, and navy are the most popular wedding colours in 2025–2026 - Avoid overly shiny fabrics in outdoor summer weddings — they can look washed out in bright light --- ## Common Myths About Wedding Cravats **Myth 1: "A cravat is just a fancy tie — the knot doesn't really matter."** Wrong. A poorly tied cravat looks noticeably sloppy in photos, especially close-up shots. The knot and drape are visible in nearly every formal portrait. Taking 10 minutes to learn the correct method pays off for a lifetime of wedding photos. **Myth 2: "Pre-tied cravats look just as good as self-tied ones."** Not quite. Pre-tied cravats have a fixed, uniform shape that experienced eyes can spot immediately. Self-tied cravats have a natural, slightly asymmetric drape that reads as intentional and elegant. If you're wearing morning dress or a formal suit, the self-tie version is always worth the small extra effort. --- ## Your Next Step Tying a wedding cravat is a skill that takes one practice session to learn and lasts a lifetime. Here's what to take away: - Use the ascot method for morning dress — it's the most versatile and widely recognized - Practice at least twice before the wedding day - Pair with a spread collar shirt and secure with a cravat pin - Match fabric and colour to your overall wedding palette **One simple action:** Buy or borrow your cravat at least two weeks before the wedding and run through the steps above twice. You'll walk into the ceremony confident — and your photographer will thank you.More Articles
Who Gets the Wedding Ring in a Divorce? The Truth No One Tells You: It’s Not About Sentiment—It’s About Timing, Title, and State Law (and Why 73% of People Get This Wrong)
Are Weddings Biblical? What the Bible Actually Says (and What It Doesn’t) — Debunking 7 Common Misconceptions That Could Change How You Plan Your Marriage
 Can you wear white earrings to a wedding? The 2024 Etiquette Truth No One Tells You — Why 'Yes' Is Correct (But Only If You Follow These 5 Non-Negotiable Rules)
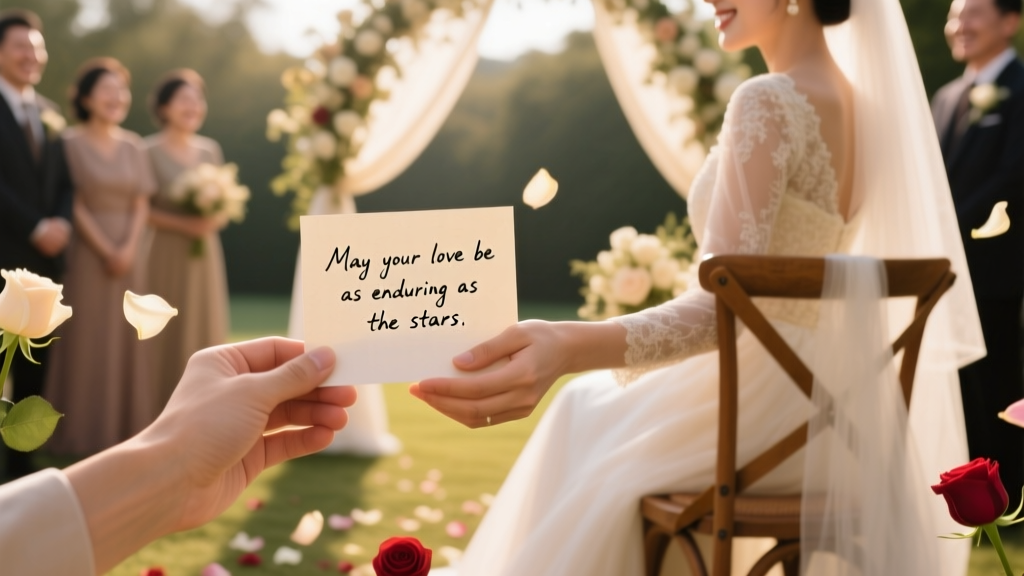
 What Is Wedding Vows Really? (Spoiler: It’s Not Just ‘I Do’ — Here’s the Legal, Emotional & Cultural Truth Most Couples Miss Before Saying Them)
How to Thank After Attending a Wedding: The 7-Step Etiquette Checklist (That 83% of Guests Skip — and Why It Costs Relationships)
What Is Wedding Vows Really? (Spoiler: It’s Not Just ‘I Do’ — Here’s the Legal, Emotional & Cultural Truth Most Couples Miss Before Saying Them)
How to Thank After Attending a Wedding: The 7-Step Etiquette Checklist (That 83% of Guests Skip — and Why It Costs Relationships)
 How Many Years Is Sapphire Wedding Anniversary? The Surprising Truth (It’s Not What Most Couples Assume — and Why Getting It Wrong Could Cost You Time, Sentiment, and Even the Right Ring)
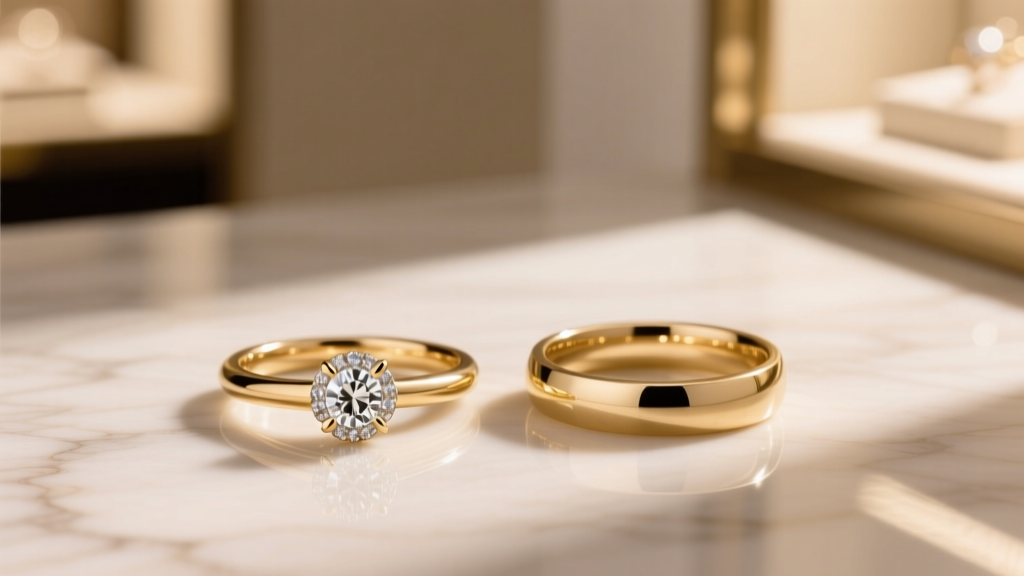 What’s the Real Difference Between Engagement Ring and Wedding Ring? (Spoiler: It’s Not Just Timing — 5 Key Distinctions That Prevent Costly Mistakes)
 I don’t want to go to family wedding—but feel guilty saying no? Here’s how to honor your boundaries *without* burning bridges, losing respect, or spiraling into shame (7 real-life scripts + 3 red flags that mean skipping it is actually healthy)
Was Diana and Charles’ Wedding Arranged? The Truth Behind the Fairy Tale: What Royal Protocol, Family Pressure, and Secret Diaries Reveal About Consent, Timing, and the Real Power Dynamics That Shaped the Most Watched Wedding in History
I don’t want to go to family wedding—but feel guilty saying no? Here’s how to honor your boundaries *without* burning bridges, losing respect, or spiraling into shame (7 real-life scripts + 3 red flags that mean skipping it is actually healthy)
Was Diana and Charles’ Wedding Arranged? The Truth Behind the Fairy Tale: What Royal Protocol, Family Pressure, and Secret Diaries Reveal About Consent, Timing, and the Real Power Dynamics That Shaped the Most Watched Wedding in History
 How to Wish Someone for Wedding: 7 Culturally Smart, Emotionally Resonant Phrases (That Actually Make Them Tear Up—Not Cringe)
Can you wear white earrings to a wedding? The 2024 Etiquette Truth No One Tells You — Why 'Yes' Is Correct (But Only If You Follow These 5 Non-Negotiable Rules)
What Is Wedding Vows Really? (Spoiler: It’s Not Just ‘I Do’ — Here’s the Legal, Emotional & Cultural Truth Most Couples Miss Before Saying Them)
How to Thank After Attending a Wedding: The 7-Step Etiquette Checklist (That 83% of Guests Skip — and Why It Costs Relationships)
How Many Years Is Sapphire Wedding Anniversary? The Surprising Truth (It’s Not What Most Couples Assume — and Why Getting It Wrong Could Cost You Time, Sentiment, and Even the Right Ring)
What’s the Real Difference Between Engagement Ring and Wedding Ring? (Spoiler: It’s Not Just Timing — 5 Key Distinctions That Prevent Costly Mistakes)
I don’t want to go to family wedding—but feel guilty saying no? Here’s how to honor your boundaries *without* burning bridges, losing respect, or spiraling into shame (7 real-life scripts + 3 red flags that mean skipping it is actually healthy)
Was Diana and Charles’ Wedding Arranged? The Truth Behind the Fairy Tale: What Royal Protocol, Family Pressure, and Secret Diaries Reveal About Consent, Timing, and the Real Power Dynamics That Shaped the Most Watched Wedding in History
How to Wish Someone for Wedding: 7 Culturally Smart, Emotionally Resonant Phrases (That Actually Make Them Tear Up—Not Cringe)