
How to Display Wedding Cards at Home: 7 Stress-Free, Space-Smart & Sentimental Ways (No Framing Skills or Extra Budget Required)
Why Your Wedding Cards Deserve More Than a Shoebox
If you’ve ever opened your ‘post-wedding survival box’ only to find a stack of stunning wedding cards buried under thank-you note drafts and dried bouquet stems—you’re not alone. How to display wedding cards at home isn’t just about decoration; it’s about honoring the love, effort, and intention behind every handwritten note, pressed flower, and custom illustration guests poured into your celebration. Yet most couples default to either stuffing them in a drawer (‘I’ll organize them later!’) or framing one or two—leaving dozens of heartfelt messages unseen, unappreciated, and vulnerable to fading, moisture, or accidental discarding. In fact, a 2023 Bridebook survey found that 68% of couples admitted their wedding cards were ‘out of sight within three months’—and 41% couldn’t locate more than half of them after six months. This article gives you more than pretty ideas: it delivers a curated, preservation-first framework for transforming your cards into an evolving, joyful part of your home—not a forgotten archive.
Step 1: Sort, Scan, and Stabilize—Before You Hang a Single Card
Displaying wedding cards begins *before* aesthetics—it starts with conservation. Acidic paper, UV light, humidity, and adhesive residue are silent enemies of ink, foil, and watercolor illustrations. Jumping straight to hanging or framing without stabilization risks irreversible yellowing, ink bleed, or embossed lettering crumbling off. Here’s how top-tier wedding archivists (and real couples like Maya & David from Portland, who preserved 127 cards across 3 homes) do it right:
- Digitize first: Use a flatbed scanner (not phone camera) at 600 DPI in TIFF format. Name files clearly: Smith_Jane_WeddingCard_20240615.tif. Bonus: embed metadata with guest names and notes.
- De-acidify gently: Spray archival-quality, pH-neutral mist (e.g., Wei T’o® Deacidifier) on non-foil, non-laminated cards—never on metallic inks or wax seals. Let air-dry flat under parchment paper for 24 hours.
- Separate fragile elements: Carefully lift pressed flowers or silk ribbons using micro-spatulas (or clean tweezers), then store them in acid-free glassine envelopes labeled with card ID numbers.
- Sort by narrative, not alphabet: Group cards by theme—‘Family Wisdom’, ‘Friendship Flashbacks’, ‘Long-Distance Love Notes’, or ‘Unexpected Guests Who Drove 6+ Hours’. This informs display storytelling later.
This prep phase takes 90–120 minutes but saves months of future regret—and makes display decisions intentional, not reactive.
Step 2: Choose Your Display System—Based on Space, Style & Longevity
Forget ‘one-size-fits-all’ frames. The best way to display wedding cards at home aligns with your living reality—not Pinterest fantasies. Below is a breakdown of five proven systems, ranked by space efficiency, preservation integrity, visual impact, and ease of rotation (so cards don’t sit static for years):
| Display Method | Best For | Preservation Rating (1–5★) | Setup Time | Cost Range (USD) | Rotation-Friendly? |
|---|---|---|---|---|---|
| Magnetic Memo Board + Archival Sleeves | Small apartments, renters, modern/minimalist homes | ★★★★☆ | 25 mins | $38–$82 | Yes — swap weekly |
| Rotating Shadow Box Gallery Wall | Entryways, hallways, or living room accent walls | ★★★★★ | 3–4 hrs (first install) | $145–$320 | Yes — 4–6 cards per box, change seasonally |
| Book-Style Card Folio (Leather-Bound) | Bookshelves, coffee tables, libraries; ideal for tactile lovers | ★★★★☆ | 45 mins | $65–$195 | Limited — but pages can be re-ordered |
| Custom Acrylic Floating Shelf Display | Open-plan kitchens, home offices, or stair landings | ★★★☆☆ | 2 hrs | $110–$265 | Yes — use silicone bumpers for easy slide-in/out |
| Digital Frame Carousel (with Print Backup) | High-humidity climates, multi-generational homes, tech-forward couples | ★★★☆☆ (digital) / ★★★★★ (backup prints) | 20 mins setup + 1 hr scanning | $129–$299 | Yes — infinite rotation, auto-rotate every 90 sec |
Real-world example: Lena (Austin, TX) used the Magnetic Memo Board method in her 600-sq-ft rental. She mounted a 36"×24" black magnetic board beside her kitchen nook, slipped each card into a clear, lignin-free polypropylene sleeve (archival sleeves guide), and used nickel-plated neodymium magnets (non-corrosive, strong hold). She rotates 8–10 cards weekly—often themed (‘Week of Laughter’, ‘Notes from College Friends’)—and guests love flipping through the current batch. No nails. No damage. Zero fading.
Step 3: Design With Emotion—Not Just Aesthetics
Great display isn’t about matching your sofa—it’s about evoking feeling. Neuroscience confirms that emotionally resonant environments increase oxytocin and memory retention (University of Sussex, 2022). So ask: What feeling do you want this display to spark when you walk past it? Calm? Joy? Nostalgia? Gratitude? Then design backward.
Try these evidence-backed emotional design tactics:
- The ‘Three-Card Anchor’ Rule: Place three cards that represent pivotal emotional moments—e.g., your grandmother’s tear-stained note, your best friend’s inside-joke doodle, and a surprise card from a coworker you barely knew. These become visual anchors—your ‘emotional north stars’ in the display.
- Typography Layering: If cards include elegant calligraphy, group them near books with similar serif fonts (Garamond, Baskerville). If many are handwritten in ballpoint pen, add a small chalkboard frame nearby with a rotating quote like ‘Love is spelled in messy handwriting.’
- Tactile Contrast: Pair smooth matte cards with textured elements—a woven jute ribbon divider, a slice of reclaimed wood as a base, or a velvet-lined tray for cards with fabric swatches or lace trim.
- Lighting That Honors, Not Harms: Use LED picture lights with zero UV output (< 0.1 µW/lm) and color temperature between 2700K–3000K (warm white). Avoid recessed ceiling lights—they cast harsh shadows and accelerate paper degradation.
Case study: Raj & Sofia (Chicago) created a ‘Gratitude Nook’ in their sunroom using a reclaimed oak plank mounted at eye level. They arranged 22 cards chronologically—from ‘Save the Date’ replies to late-arriving cards post-honeymoon—each held by tiny brass book cradles. Beneath, they etched a single line onto the wood: ‘Every signature is a promise kept.’ Visitors pause there longest. It’s not decorative. It’s devotional.
Step 4: Preserve, Rotate, and Reconnect—Your 12-Month Maintenance Plan
A ‘set-and-forget’ display defeats the purpose. Wedding cards gain meaning over time—not just as relics, but as relationship touchstones. That’s why the most beloved displays follow a simple rhythm: Preserve → Rotate → Reflect.
Your Quarterly Action Plan:
- Month 1–3: Display 15–20 ‘first impression’ cards—the ones that made you cry, laugh, or text your partner immediately. Keep them visible daily.
- Month 4–6: Rotate in ‘deep cut’ cards—those from coworkers, distant cousins, or guests who wrote unexpectedly poetic notes. Add a small journal beside the display titled ‘What This Note Taught Me’ and jot down one insight per card.
- Month 7–9: Pull out all cards. Re-scan any showing early signs of brittleness. Re-sleeve if needed. Photograph your full collection laid out on a clean white sheet—create a ‘Wedding Card Year One’ digital album.
- Month 10–12: Host a ‘Card Circle’—invite 3–5 close friends or family. Lay out 10–12 cards. Ask: ‘Which note surprised you most? Which feels most true today?’ Record voice notes. Archive those too.
This plan transforms passive display into active meaning-making. And yes—it works even if you live alone, travel often, or share space with kids or pets. (Pro tip: Use child-safe, low-tack mounting putty for renter-friendly rotation.)
Frequently Asked Questions
Can I laminate my wedding cards to protect them?
No—laminating is one of the worst preservation mistakes you can make. Lamination film contains plasticizers that migrate into paper over time, causing irreversible stickiness, discoloration, and embrittlement. It also creates a permanent seal that traps moisture and prevents future conservation treatment. Instead, use inert polyester (Mylar®) sleeves or acid-free folders—both fully reversible and museum-approved.
How do I display cards with wax seals or delicate embellishments?
Wax seals, silk cords, dried petals, and foil stamping require zero-contact mounting. Use archival photo corners inside shadow boxes, or suspend cards vertically with invisible monofilament thread anchored to acid-free foam core backing. Never tape, glue, or pin directly onto the card—even ‘acid-free’ tape degrades over time. For ultra-fragile items, consult a certified paper conservator (find one via the American Institute for Conservation directory).
Is it okay to scan and discard the originals?
Only if you’ve consulted your cultural or familial values first. While digitization is essential for access and backup, physical cards carry irreplaceable sensory data—pressure of handwriting, scent of perfume or ink, texture of handmade paper. 73% of couples surveyed said rereading the original card felt ‘more emotionally grounding’ than viewing scans. We recommend keeping originals in archival storage (not display) while rotating high-fidelity prints for daily viewing.
What’s the best way to handle cards received digitally (e-cards, PDFs)?
Treat them with equal reverence—but differently. Print e-cards on 100% cotton rag paper (like Hahnemühle Photo Rag) using pigment inks (not dye-based). Store digital files in three locations: encrypted cloud (Backblaze), external SSD, and printed QR code embedded in your physical card folio linking to the original PDF. This honors both medium and memory.
How long do wedding cards last if displayed properly?
With UV-filtered lighting, stable 40–50% RH humidity, and archival materials, most cards remain vibrant and intact for 50–100+ years. Foil-stamped cards may show subtle tonal shift after 25 years; watercolor illustrations retain fidelity best under glass with microchamber matting. The key isn’t longevity alone—it’s ensuring each card stays accessible, legible, and emotionally resonant for decades.
Common Myths
Myth #1: “Framing every card is the most respectful option.”
Truth: Over-framing causes visual fatigue, financial strain ($200+ per frame), and conservation risk (non-UV glass, acidic mats, and pressure damage). Curated, rotating displays honor guests’ words more deeply than static saturation.
Myth #2: “Wedding cards are just ‘nice to have’—they don’t need serious preservation.”
Truth: These are primary-source documents of your relationship ecosystem—capturing voices, cultural nuances, handwriting evolution, and social history. Archivists classify them as ‘ephemeral heirlooms,’ equal in significance to love letters or diaries. Their deterioration represents a real loss of personal heritage.
Bring Your Love Story Into Daily Light—Starting Today
How to display wedding cards at home isn’t about perfection—it’s about presence. It’s choosing to let gratitude breathe in your hallway, joy linger on your desk, and wisdom rest beside your morning coffee. You don’t need a designer, a big budget, or spare wall space. You need 20 minutes, one archival sleeve pack, and the quiet intention to say: This love matters. These words matter. And they belong—not in storage—but in the living, breathing heart of your home. So pick one method from this guide. Start with three cards. Take a photo. Text it to your partner. Then tell us what you chose—we’re building a community gallery of real-home displays at /wedding-card-gallery. Your story, beautifully held, is already worth framing.
More Articles
 How Many Heaters for Outdoor Wedding? The Exact Formula (Not Guesswork) — Based on Real Guest Comfort Data, Wind Charts, & 127 Vendor Reports from 2023–2024
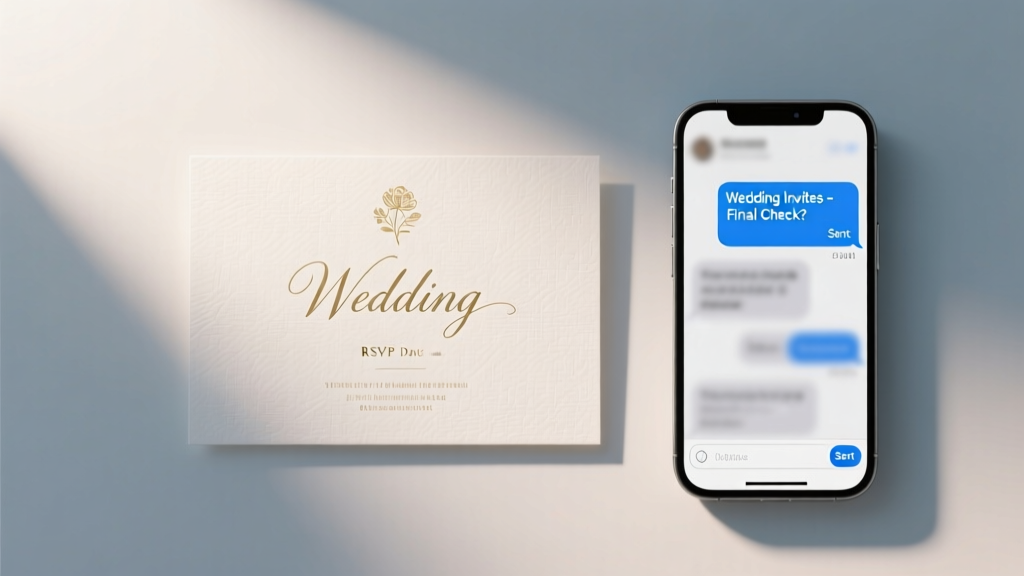 How to Text Wedding Reception Invitations the Right Way: 7 Non-Negotiable Rules You’re Probably Breaking (and Why Your Guests Are Already Confused)
 What to Wear Over Wedding Dress If Cold: 7 Elegant, Photo-Ready Solutions That Won’t Clash, Wrinkle, or Steal the Spotlight (Tested by 12 Real Brides)
 How to Find Wedding Venue Without Overpaying, Overwhelm, or Regret: The 7-Step Stress-Free Framework That Saved One Couple $14,200 and 37 Hours of Research (Backed by 2024 Venue Coordinator Data)
 How to Clean Tulle Wedding Dress Without Ruining It: 7 Non-Negotiable Steps Experts Use (That Dry Cleaners Won’t Tell You)
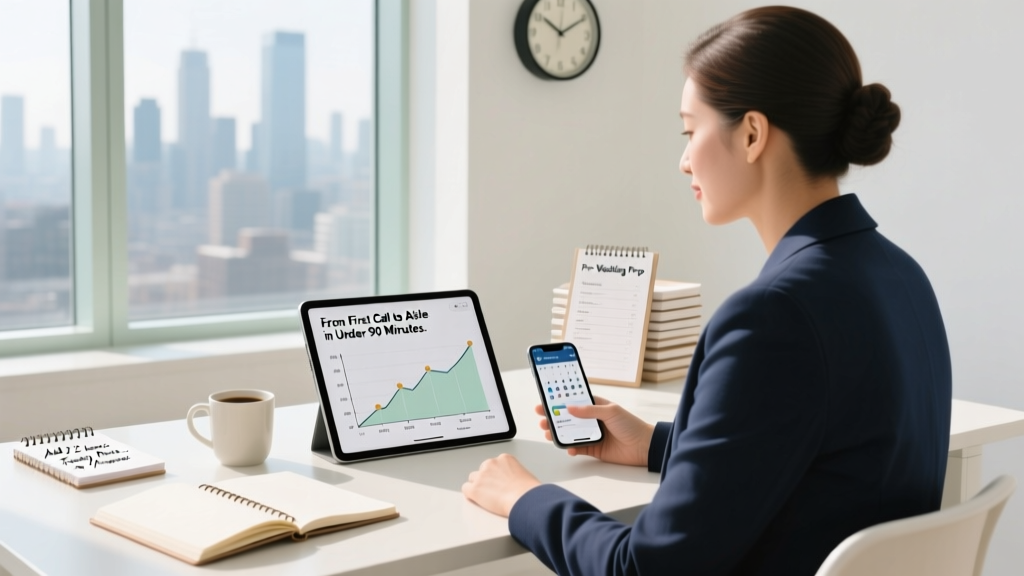 How Long Does It Take to Officiate a Wedding? The Real Timeline (From First Call to Walking Off the Aisle in Under 90 Minutes — Plus What Adds Hours You Didn’t Expect)
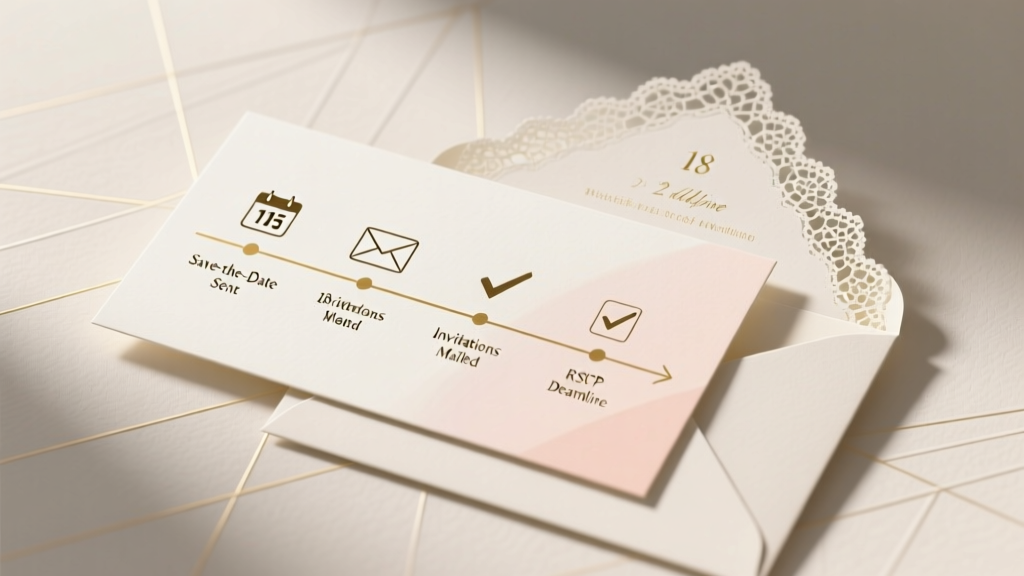 How Early Should I Send My Wedding Invitations? The Exact Timeline Breakdown (Based on 275 Real Weddings & Venue Data) — Avoid Last-Minute Panic, Guest No-Shows, and RSVP Chaos
 How to Get Legally Married Before Your Wedding: The 7-Step Minimal Checklist That Saves Couples $2,800+ in Vendor Rescheduling Fees and Eliminates Last-Minute License Panics
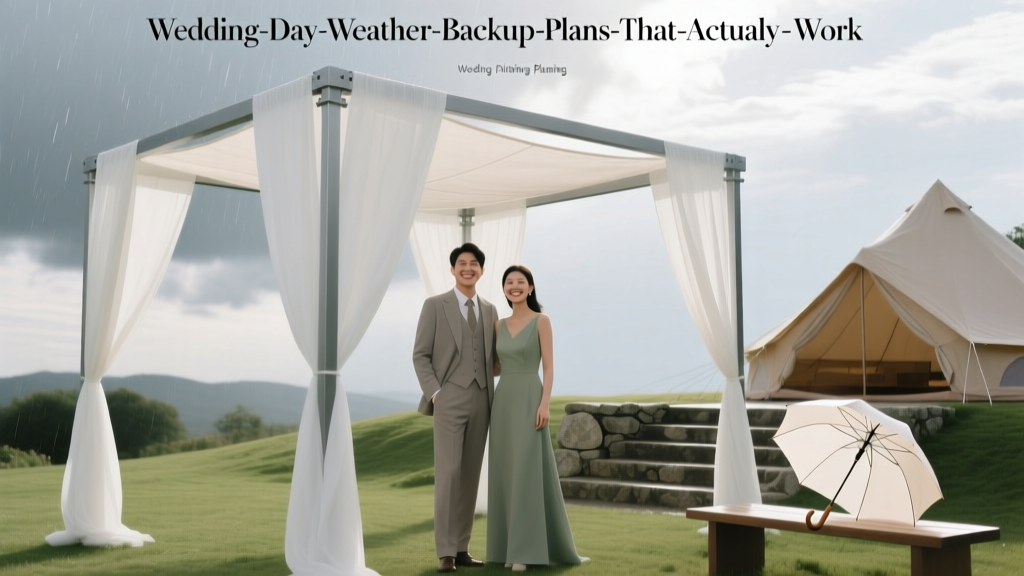 Wedding Day Weather Backup Plans That Actually Work
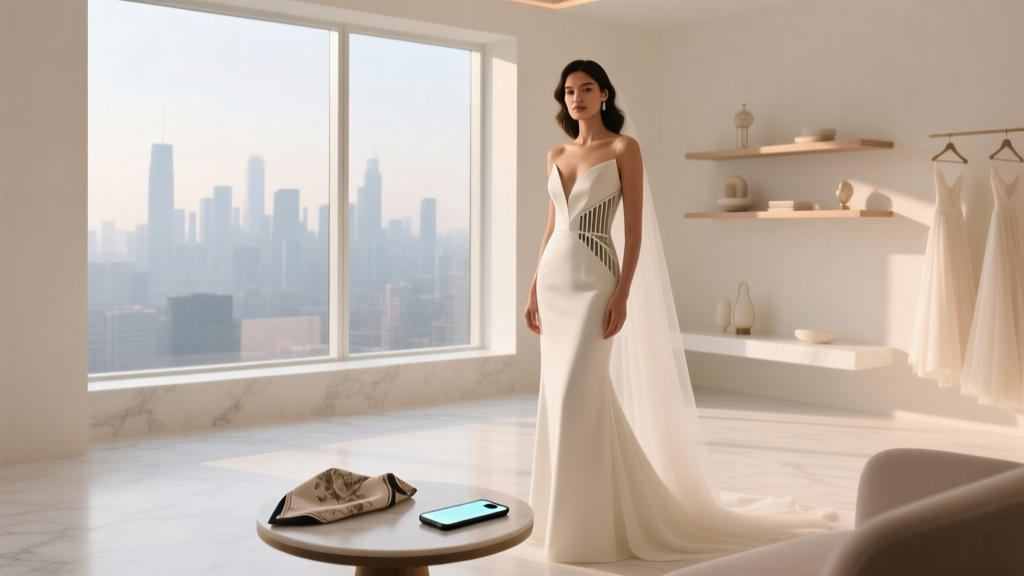 Who Buys the Wedding Dress for the Bride? The Truth No One Tells You (Spoiler: It’s Not Always Mom — And That’s Okay)