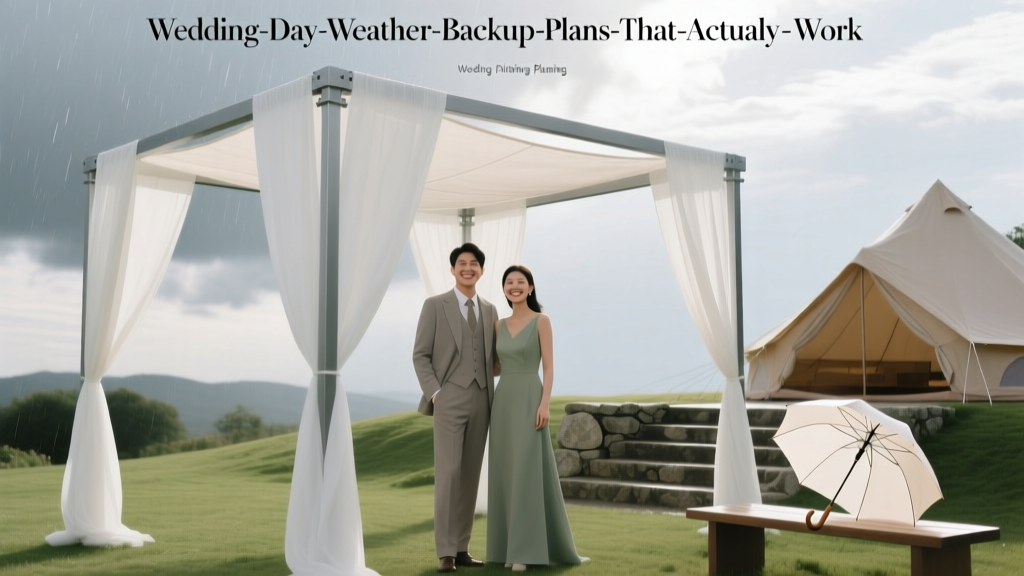
Wedding Day Weather Backup Plans That Actually Work
You can plan your wedding day down to the minute—then a weather app shows a tiny rain cloud icon and suddenly you’re questioning everything. If you’re getting married outdoors (or even partly outdoors), you’re not being “dramatic” for wanting a solid Plan B. You’re being smart.
Weather is one of the few wedding factors you can’t control, but you can control how prepared you are. The goal isn’t to eliminate every risk—it’s to build a backup plan that feels just as intentional as Plan A, so you’re not scrambling, soaking, or trying to make last-minute decisions in formalwear.
This guide walks you through weather backup plans that actually work in real life: the ones wedding planners rely on, the ones vendors can execute, and the ones that protect your experience (and your photos) without blowing your budget.
Start With the Right Mindset: Plan B Should Feel Like a Real Plan
The biggest difference between a stressful weather situation and a smooth pivot is whether Plan B is fully designed—not a vague “we’ll figure it out.” A workable weather backup plan has:
- A confirmed alternate location (not just “inside somewhere”)
- A clear decision deadline (who decides, when, and based on what)
- A rain/wind/heat-ready setup (seating, sound, lighting, power)
- A communication plan (vendors, wedding party, guests)
- A budget line item for rentals, labor, and comfort upgrades
If you can picture your guests arriving, being seated, hearing your ceremony clearly, and feeling comfortable—even if the forecast changes—your plan is on the right track.
Know Your Weather Risks (and What They Actually Mean)
Rain: Not Just Wet—It Affects Logistics
- Ground conditions: mud, puddles, slippery walkways
- Sound: microphones can pop or fail, guests can’t hear
- Timing: setup takes longer when crews are protecting equipment
- Photos: need covered portrait options and dry spots
Wind: The Silent Wedding Wrecker
- Arches can tip, décor can fly, programs become confetti
- Hair/veil issues (especially with long veils or loose updos)
- Audio problems: wind noise can ruin vows on video
Heat: Guest Comfort and Safety Comes First
- Guests can get overheated quickly in formal attire
- Makeup can melt, flowers can wilt, cake can soften
- Older guests and kids are more vulnerable
Cold: More Than Just a Little Chill
- Hands get stiff (rings, holding bouquets, photos)
- Guests leave early, speeches get rushed
- Outdoor heaters may require permits or extra fuel
Storms and Lightning: A Non-Negotiable Safety Pivot
If lightning is within the area, you need a fast indoor move. Tents do not protect from lightning. Safety-first policies are standard for venues and planners, and you’ll want a clear call-time for when you switch locations.
The Most Reliable Backup Plans (Ranked by Real-World Success)
1) An Indoor Ceremony Option at the Same Venue
This is the gold standard because it minimizes transportation, vendor confusion, and guest chaos. Ideally, your venue has a space that can be ceremony-ready with minimal flipping.
Best for: gardens, estates, vineyards, waterfront venues with indoor halls
Ask your venue:
- Is the indoor ceremony space reserved for us automatically, or does it cost extra?
- How many chairs fit comfortably (not just “maximum capacity”)?
- Can we do a “rain layout” walkthrough 60 days out?
- Who moves chairs/decor if we pivot?
2) A Tent That’s Properly Engineered (Not a Last-Minute Pop-Up)
A real tent plan works when it’s sized correctly and includes what people forget: flooring, sides, lighting, and climate comfort.
What makes a tent plan actually work:
- Appropriate tent type: frame tents (more flexible) or pole tents (classic look, requires staking)
- Sidewalls available: clear or solid, with a plan for wind
- Flooring or pathways: especially if the ground gets soft
- Power plan: generator if needed, plus lighting and sound protection
Budget reality: A quality tent plan can be one of the biggest rental costs. If your budget is tight, prioritize:
- Covering the ceremony + cocktail hour first
- Renting fewer décor items (the tent itself becomes the structure)
- Repurposing florals from ceremony to reception
3) A “Plan B Room” Nearby (Hotel Ballroom, Restaurant, Community Hall)
If your primary location is outdoors-only (like a private property or raw space), a secondary indoor option nearby can save you—if it’s secured in advance.
Pro tip: Don’t assume you can book a space “if it rains.” Many venues book months out. If you want this option, reserve it with a clear cancellation policy.
Your Step-by-Step Weather Backup Plan Checklist
Step 1: Decide What Weather Triggers a Pivot
Talk through what conditions would truly affect your day:
- Any rain at all vs. steady rain
- Wind above a certain mph (your rental company may have limits)
- Temperature thresholds (example: above 88°F for midday ceremony)
- Lightning within a set radius (often 8–10 miles)
Step 2: Create Two Full Layouts (Plan A + Plan B)
This is where couples feel immediate relief. Ask your planner, venue coordinator, or rental team to map both options. Include:
- Ceremony seating + processional path
- Where musicians/DJ and speakers set up
- Where guests gather before/after
- Photo locations (covered options are key)
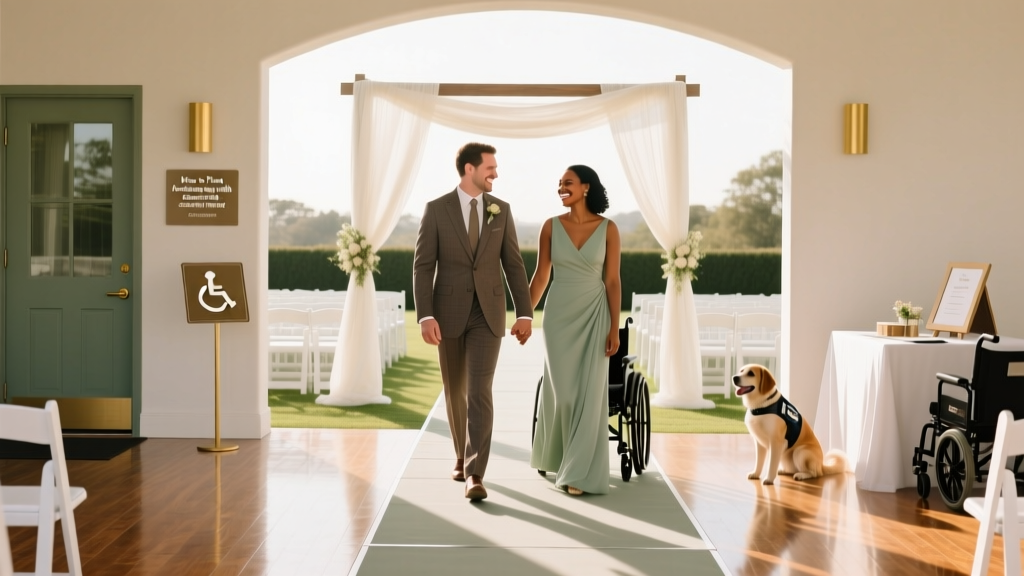
- Accessibility considerations (elderly guests, heels, mobility aids)
Step 3: Put the Pivot Timeline in Writing
Weather decisions get messy when everyone is guessing. Use a simple decision schedule:
- 10–7 days out: Watch trends; confirm rental availability and labor timing
- 72 hours out: Check forecast confidence; pre-alert vendors of possible pivot
- 48 hours out: Decide on tent sides, flooring, heaters/fans, rain plan décor
- 24 hours out: Final call for most situations (unless lightning requires day-of decision)
- Day-of: Safety call is made by venue/planner based on radar, not just the app
Who decides? Name one decision-maker (usually you + planner or venue coordinator). Too many voices create delays.
Step 4: Assign Responsibilities (So You’re Not the Project Manager)
Make a quick “who does what” list and share it:
- Planner/Coordinator: vendor communication, timeline adjustments
- Venue: indoor flip, chair moves (confirm labor)
- Rental company: tent sides, flooring, additional delivery
- Florist: rain-safe mechanics, indoor placements
- Photo/video: alternate portrait spots, gear protection
- Wedding party: simple guest guidance (“Ceremony is now inside the ballroom”)
Step 5: Prepare Guest Comfort Details
These small choices are what guests remember.
- Rain: baskets of umbrellas, towel station, extra doormats, covered entry
- Heat: water stations, shade, fans, shorter ceremony, later start time if possible
- Cold: heaters, blankets, hot beverages, clear signage to indoor areas
- Wind: heavier ceremony programs (or skip paper), sturdy décor, microphone windscreens
Real-World Scenarios (and What Actually Works)
Scenario 1: “It’s 40% chance of rain—do we move indoors?”
If you have a same-venue indoor option, the most stress-free approach is often to pivot earlier and commit. Guests and vendors love certainty. A 40% chance can mean light showers at one point—or it can grow.
What works: Decide 24–48 hours out, set indoor ceremony with a bright, intentional design (candles, aisle markers, floral clusters), and use outdoor space for photos if there’s a dry window.
Scenario 2: “We have a tent, but the wind is picking up.”
Wind can make a tent feel loud and unstable if it’s not properly installed.
What works:
- Add sidewalls only if the rental company recommends it for that wind direction
- Anchor all décor (no lightweight vases, no tall unsecured signage)
- Use lapel mics and windscreens for vows
Scenario 3: “It’s going to be 92°F at our 2 p.m. ceremony.”
This is where a weather backup plan is about guest experience, not just rain.
What works: Move the ceremony later, shorten it, or relocate to shade/indoors. Provide water before seating, and consider a “cocktail-style” ceremony with fewer chairs if appropriate for your crowd.
Scenario 4: “Thunderstorms are possible during cocktail hour.”
What works: Keep ceremony indoors if the risk window overlaps, then sneak outside for portraits during breaks in the weather. Plan cocktail hour inside with an intentional layout (stations spread out, cozy lounge corners) so it doesn’t feel like a compromise.
Common Mistakes to Avoid (That Couples Regret Later)
- Waiting too long to decide. Last-minute flips cost more, take longer, and stress everyone out.
- Assuming a tent solves everything. Without flooring, lighting, sides, and power, it’s often not comfortable.
- Not budgeting for labor. Room flips and chair moves often require paid staff or rental crew time.
- Forgetting sound. Rain and wind can make vows hard to hear—protect your ceremony audio.
- Skipping a weather-ready photo plan. Identify covered spots and indoor backdrops ahead of time.
- Not telling guests what to expect. If terrain might be wet, or temps extreme, give attire guidance.
Wedding Planner Pro Tips for a Smooth Pivot
- Use a “weather clause” checklist with vendors. Ask your rental company, venue, and photo/video team what conditions change their setup.
- Design Plan B on purpose. Bring aisle markers indoors. Add ceremony lighting. Make it feel romantic, not improvised.
- Protect the dress code experience. If guests are in heels, create matting or a firm walkway on grass.
- Have a rain kit on-site: clear umbrellas, safety pins, lint roller, towels, anti-frizz, blotting papers, shoe wipes.
- Build extra buffer time. Add 15–30 minutes to timelines if weather could slow transport, setup, or portraits.
Budget and Timeline Advice That Keeps Weather Plans Realistic
Where to Allocate Budget (If Weather Risk Is High)
- Tent essentials: sides, lighting, flooring (instead of extra décor)
- Guest comfort: fans/heaters, water stations, shade elements
- Labor: flip fees, rental crew overtime, extra set-up hands
- Sound: quality microphones, wind protection
Where You Can Save
- Use one statement ceremony installation that moves indoors easily (grounded arrangements, aisle clusters)
- Choose LED candles for windy areas
- Repurpose ceremony florals at the sweetheart table or bar
- Skip delicate paper programs if wind is likely—use one large sign instead
Timeline Sweet Spot for Weather Planning
- At booking: confirm indoor option/tent rules and fees
- 6–4 months out: reserve tent/rentals early (peak season sells out)
- 8 weeks out: finalize Plan A + Plan B layouts
- 2–3 weeks out: confirm decision deadlines and vendor responsibilities
- Week of: prep comfort stations, signage, and communication plan
FAQ: Wedding Day Weather Backup Plans
How far in advance should we decide to move our ceremony indoors?
Most couples decide 24–48 hours out, based on radar and venue logistics. If your venue needs a major flip or rentals must be delivered early, you may need to decide earlier. For lightning risk, the final call may happen day-of for safety.
Is a tent enough for rain?
Sometimes, but not always. A tent without sidewalls, flooring, and a power plan can still leave guests wet, cold, or uncomfortable—especially with wind-driven rain. Ask your rental company what’s needed for the forecast you’re likely to face.
What should we tell guests about weather?
Use your wedding website and a brief note in reminder texts or emails. Examples: “The ceremony is outdoors on grass—block heels recommended,” or “Bring a light wrap for evening temperatures.” If you pivot indoors, post signage at arrival points and have ushers guide guests.
What’s the biggest weather mistake couples make with photography?
Not having a pre-approved indoor/covered portrait plan. Ask your photographer to suggest 2–3 backup locations (covered porch, lobby, indoor staircase, near big windows) so you’re not searching while guests wait.
How do we handle extreme heat without changing everything?
Shift the ceremony later if possible, shorten it, add shade and water before seating, and consider moving cocktail hour indoors. Your guests will feel the difference immediately—and you’ll be more comfortable, too.
Do we need wedding insurance for weather?
Event insurance can be worth it, especially for outdoor weddings and higher budgets. Policies vary widely—some cover certain weather-related cancellations or damage, some don’t—so read the terms carefully and ask your venue what coverage they require or recommend.
Your Next Steps (So You Can Stop Stress-Checking the Forecast)
Choose one day this week to turn “Plan B” into a real plan on paper. If you do nothing else, do these three things:
- Confirm your alternate space (and whether it’s guaranteed).
- Set a decision deadline with your venue/planner and write it into your timeline.
- Create a guest comfort plan for your most likely weather risk (rain, heat, wind, or cold).
You deserve a wedding day that feels calm and cared for, even if the weather has opinions. A strong backup plan doesn’t take away from the magic—it protects it.
Want more planning support? Explore more practical wedding planning guides on weddingsift.com—we’re here to help you feel ready for whatever the forecast brings.
More Articles
 How to Plan a Wedding With a Personal Touch Everywhere
 Wedding Planning How to Handle Last-Minute Changes
 How to Plan a Themed Wedding From Concept to Execution
 How to Plan a Wedding With Accessibility in Mind
 How to Plan a Wedding With a Cocktail Reception Style
 How to Handle Wedding Planning Long Distance
 How to Plan a Multicultural Wedding That Honors Both Traditions
 How to Plan a Wedding With a Post-Ceremony Brunch
 Best Wedding Planning Apps to Keep You Organized
 Wedding Planning How to Create a Rain Plan