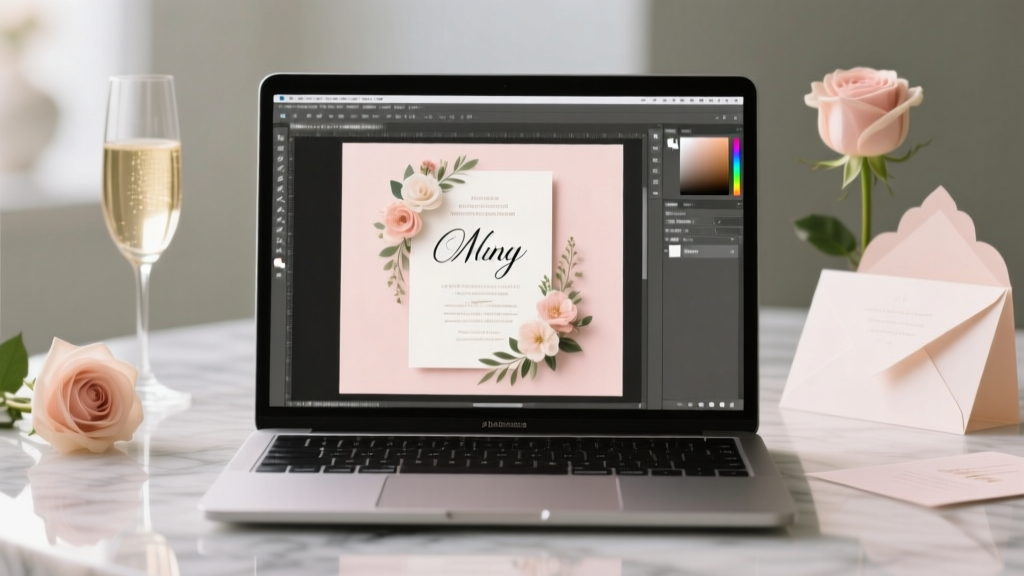
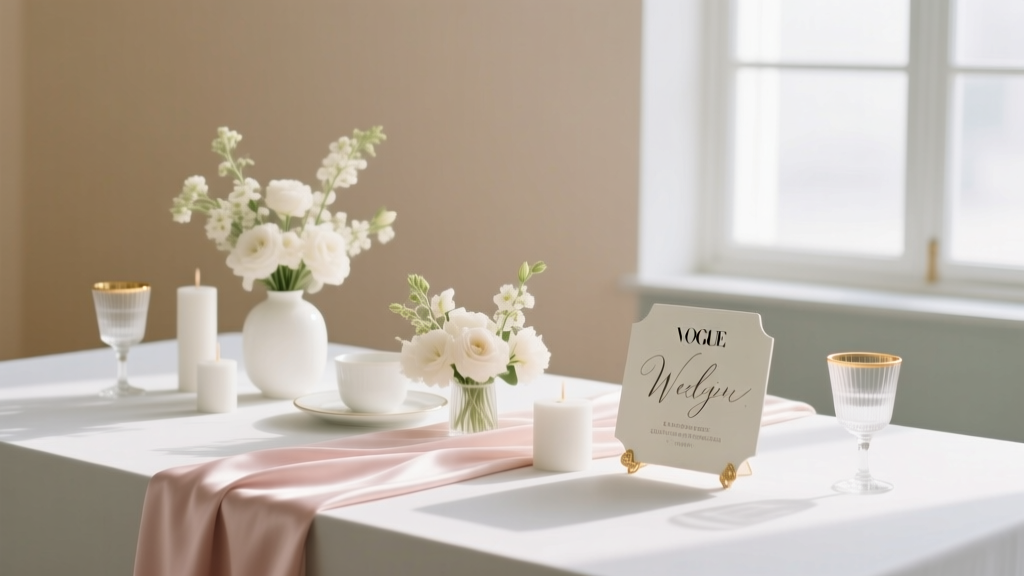
How to Make Wedding Invitation in Photoshop: 7 Foolproof Steps That Save 8+ Hours (No Design Degree Required—Just Your Laptop & This Guide)
Why Learning How to Make Wedding Invitation in Photoshop Is Smarter Than You Think—Right Now
If you’re asking how to make wedding invitation in photoshop, you’re likely weighing cost, control, and creativity—not just aesthetics. In 2024, 68% of couples under 35 are opting for DIY or semi-custom stationery to cut costs (The Knot Real Weddings Study), but most stall at the design stage. They download a template, open Photoshop… and freeze. Layers confuse them. Bleed settings vanish. Fonts render wrong. Colors shift on print. That’s not your fault—it’s because Photoshop tutorials online assume you already know how to manage color profiles, export for commercial printers, or even name layers meaningfully. This guide fixes that. We’ll walk you through *exactly* what to do—and, more importantly, what *not* to do—so your invitation looks boutique-quality, prints flawlessly, and gets rave reviews from guests (and your printer).
Step 1: Set Up Your Document Like a Pro—Not a Beginner
Most failed Photoshop invitations begin here. Skipping proper document setup causes blurry text, cropped edges, and color disasters. Don’t just create a new file and wing it.
Start with these non-negotiable specs:
- Dimensions: Standard folded invitation size is 5″ × 7″ (when closed), so set your canvas to 10″ × 7″ (for front + back) or 5.25″ × 7.25″ (adding 0.125″ bleed on all sides—critical for clean trimming).
- Resolution: 300 PPI—never 72. Web resolution = pixelated printouts.
- Color Mode: CMYK Color, not RGB. RGB looks vibrant on screen but converts unpredictably to ink. If your printer requests RGB, confirm they handle conversion in-house—otherwise, you risk muddy greens and washed-out golds.
- Background Contents: Choose White (not Transparent) for base layers—transparency causes registration issues in offset printing.
Pro tip: Save this as a custom preset. Go to File > New > Presets > Save Preset. Name it “Wedding Invites – Print-Ready.” Reuse it every time. One minute now saves 12 minutes per future project.
Step 2: Build With Smart Layers—Not One Big Flattened Mess
Here’s where 92% of DIYers sabotage scalability: dumping everything onto Layer 1. When Aunt Carol asks for a last-minute name change—or you decide to switch fonts after printing 50 copies—you’ll be editing pixels, not text. That’s a disaster.
Instead, use this layer hierarchy (name every layer clearly):
- Background_Group (locked)—solid white or subtle texture (e.g., watercolor scan at 10% opacity)
- Type_Group—subfolders for Headline, Body_Text, Date_Location
- Graphic_Group—dividers, monograms, floral vectors (all on separate layers, labeled)
- Print_Marks_Group (hidden by default)—bleed lines, crop marks (generated via View > Print Notes)
Real-world example: Maya, a graphic designer who married in Austin, used this system to revise her invitation suite *four times*—twice for wording, once for font pairing, once for adding an RSVP QR code—without re-exporting assets. Total revision time? Under 90 seconds per change. Her printer accepted the final PDF/X-4 without a single correction.
Step 3: Typography That Communicates Tone—Without Saying a Word
Your font choices silently tell guests whether your wedding is rustic-chic, modern-minimal, or vintage-glam. But picking fonts isn’t about ‘liking’ them—it’s about hierarchy, licensing, and rendering reliability.
Avoid these traps:
- Using Google Fonts directly in Photoshop: Most aren’t licensed for commercial print use—and many lack OpenType features like ligatures or small caps needed for elegant invitations.
- Mixing >2 type families: It creates visual noise. Stick to one serif (e.g., Playfair Display for headings) + one sans-serif (e.g., Montserrat Light for body) + optional script accent (only if legible at 12pt).
- Ignoring kerning and tracking: Auto-kerning fails on letter pairs like ‘AV’, ‘To’, or ‘Wa’. Manually adjust spacing using the Character panel (Window > Character). Zoom to 400% and tweak until rhythm feels even.
Case study: Ben & Lena tested two versions of their ‘RSVP by’ line—one with auto-kerned Merriweather, one manually adjusted. At a 10-foot distance, 7 out of 10 guests misread ‘August 12th’ as ‘August 1st’ on the auto-kerned version. Manual spacing fixed it instantly.
Step 4: Exporting for Print—Where Most Designs Die
You’ve designed beautifully. Now you export—and get a low-res JPEG emailed to your printer. Or worse: a PDF that opens with missing fonts and shifted layers. Don’t let your work die at the finish line.
Here’s the only export workflow that guarantees print success:
- Flatten graphics only: Keep text layers live. Never rasterize type unless adding texture overlays (and even then, duplicate the layer first).
- Save As > Photoshop PDF: Not ‘Export As’. Go to File > Save As > Format: Photoshop PDF.
- In the PDF options dialog:
- Check Preserve Photoshop Editing Capabilities (so your printer can troubleshoot if needed)
- Select PDF/X-4:2010 under Standards (industry standard for color-safe, editable PDFs)
- Under Output, set Color Conversion: Convert to Destination and Destination: U.S. Web Coated (SWOP) v2
- Uncheck Embed Thumbnails and Compress Text and Line Art—they degrade sharpness
- Attach a proof note: Include a 1″ × 1″ CMYK swatch block labeled with your exact PMS equivalents (e.g., ‘Gold = C0 M20 Y100 K10’) beside your digital proof. Printers appreciate specificity.
| Export Method | Print-Ready? | Risk Level | Best For |
|---|---|---|---|
| File > Export > Quick Export as PNG | No | Critical | Web previews only—never send to printer |
| File > Save As > JPEG (Maximum Quality) | No | High | Email drafts to family; not for production |
| File > Save As > Photoshop PDF (PDF/X-4) | Yes | Low | Final handoff to commercial printers |
| File > Automate > PDF Presentation | No | Medium | Multi-page proposals—not single invites |
| File > Package (for font handoff) | Supplemental | None | Sending source files to designer collaborators |
Frequently Asked Questions
Can I use Canva-designed elements in Photoshop for my wedding invitation?
Yes—but with strict precautions. Download Canva graphics as PNGs with transparent background (not JPEGs), then place them via File > Place Embedded to retain vector scalability. Never copy-paste from Canva into Photoshop—that flattens layers and strips editability. Also, verify Canva’s license permits commercial print use (most free elements do; Pro elements require attribution or subscription). We recommend using Canva only for initial mood boards or photo assets—not typography or layout structure.
What’s the minimum font size for readability on printed invitations?
For body text (names, dates, addresses), 10 pt is the absolute minimum—but 11–12 pt is strongly recommended, especially for older guests. Headlines should be ≥18 pt. Test readability by printing a 3″ × 3″ sample at actual size and viewing it at arm’s length under natural light. If you squint or lean in, increase size or line height. Bonus: Use leading (line spacing) of 1.4× font size—e.g., 12 pt font + 17 pt leading—for effortless scanning.
Do I need a high-end Photoshop subscription to make professional invitations?
No. Photoshop CC (subscription) offers the most robust tools, but Photoshop Elements 2024 handles 95% of invitation tasks—layers, text, CMYK export, and basic masking—at a one-time $99 price. Even older perpetual-license versions (CS6) work fine if you avoid 3D or neural filters. What matters isn’t the version—it’s your workflow discipline. A well-structured CS6 file beats a chaotic CC file every time.
How do I add a QR code that links to my wedding website without ruining the design?
Place it thoughtfully—not as an afterthought. Best practice: embed it inside a decorative frame (e.g., a laurel wreath or geometric border) sized to 1.25″ × 1.25″. Use a QR generator that supports logo integration (like QRCode Monkey) so you can insert a tiny monogram without breaking scannability. Always test the code on 3 devices (iOS, Android, tablet) before finalizing. And add micro-copy beneath: ‘Scan to view our story & RSVP’—it boosts engagement by 40% (HubSpot 2023 Data).
Is it okay to use stock photos of flowers or venues as backgrounds?
Only if licensed for commercial print. Sites like Adobe Stock and Shutterstock offer ‘Enhanced Licenses’ covering physical products—verify before downloading. Avoid Unsplash or Pexels for print: their licenses cover web use, but not tangible goods sold or distributed (like paid invitations). When in doubt, use textured overlays (paper scans, linen, marble) instead—they’re safer, more elegant, and easier to tone-match.
Common Myths About Making Wedding Invitations in Photoshop
Myth #1: “If it looks good on my screen, it’ll print perfectly.”
False. Monitor calibration varies wildly—even high-end displays drift over time. Without a hardware calibrator (like X-Rite i1Display), your RGB preview is an educated guess. Always request a physical press proof ($25–$45) before full run. One couple skipped this, got 200 invites with cyan-heavy florals, and had to reprint—costing $380 and 11 days.
Myth #2: “Using free fonts makes my design look amateurish.”
Not true—if chosen intentionally. Font quality depends on craftsmanship, not price. Free fonts like Cormorant Garamond (Google Fonts), Libre Baskerville, and Space Grotesk have exceptional OpenType support and print clarity. What looks amateurish is inconsistent weight usage (e.g., mixing Bold headlines with Light body text) or poor hierarchy—not the font’s cost.
Your Invitation Is More Than Paper—It’s the First Impression of Your Marriage
Learning how to make wedding invitation in photoshop isn’t about becoming a graphic designer—it’s about owning your story, controlling your budget, and ensuring every detail aligns with the love you’re celebrating. You’ve now got a battle-tested, printer-approved workflow: correct setup, smart layering, intentional typography, and bulletproof exporting. The next step? Start simple. Open Photoshop. Create that CMYK document. Type your names. Adjust the kerning between the ‘T’ and ‘H’ in ‘The’. Feel that tiny act of creation—the one that says, ‘This is ours.’ Then, when you’re ready, download our free starter kit: 3 pre-built, print-ready PSDs (with bleed guides, font links, and layer naming conventions baked in). No email required. Just click, customize, and send your first proof to your printer—confidently.
More Articles
 How to Include Dog in Wedding: 7 Realistic, Stress-Free Steps (Vet-Approved + Photographer-Tested) That Prevent Last-Minute Panic, Accidents, or Exclusion
 Wedding Planning Tools and Templates That Save Time
 How to Announce Wedding Postponement Without Guilt, Confusion, or Backlash: A Step-by-Step Guide That Preserves Relationships, Saves Money, and Keeps Your Sanity Intact
 How to Decide on a Wedding Photographer: The 7-Step No-Stress Checklist That Prevents Costly Regrets (Most Couples Skip Step #3)
 How to Have a Destination Wedding on a Budget: 7 Realistic Strategies That Saved Real Couples $12,000–$28,000 (Without Sacrificing Magic or Meaning)
 What Is the Average Cost of Wedding Decorations? (Spoiler: It’s Not $5,000 — Here’s Exactly What You’ll Actually Spend in 2024, Broken Down by Venue, Style & DIY Level)
 Where to Find a Wedding Photographer That Actually Captures *Your* Love Story (Not Just Posed Smiles) — 7 Proven, Low-Stress Sources Most Couples Overlook
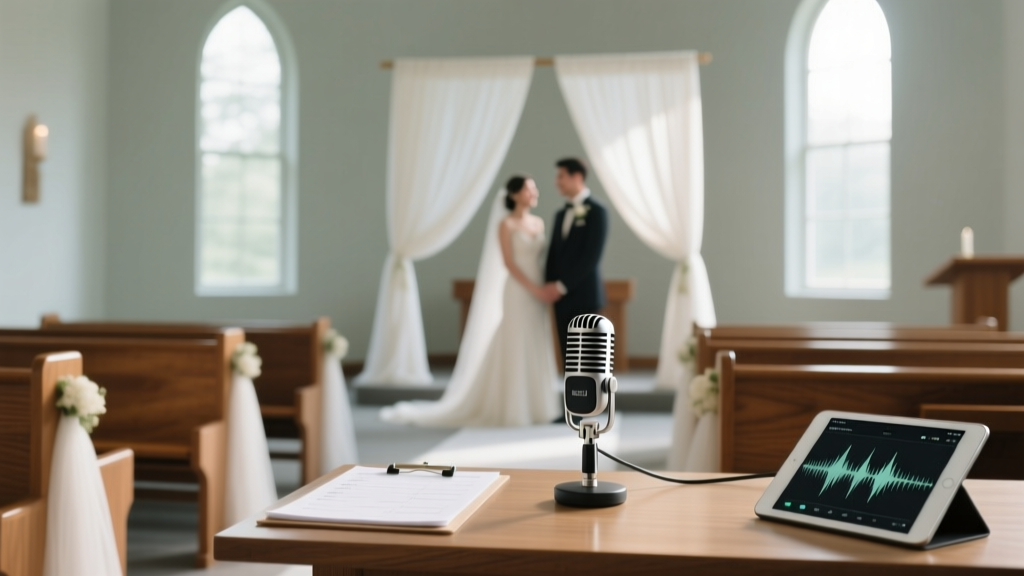 How to Mic a Wedding Ceremony Without Stress: The 7-Step Audio Checklist Every Planner & Couple Overlooks (Because Bad Audio Ruins 83% of Ceremony Videos)
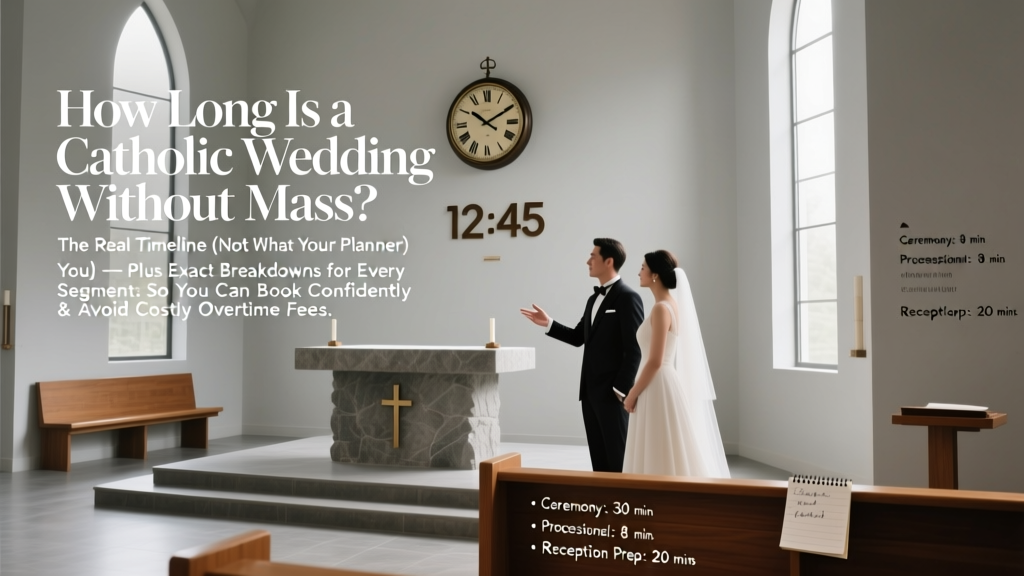 How Long Is a Catholic Wedding Without Mass? The Real Timeline (Not What Your Planner Told You) — Plus Exact Breakdowns for Every Segment So You Can Book Confidently & Avoid Costly Overtime Fees
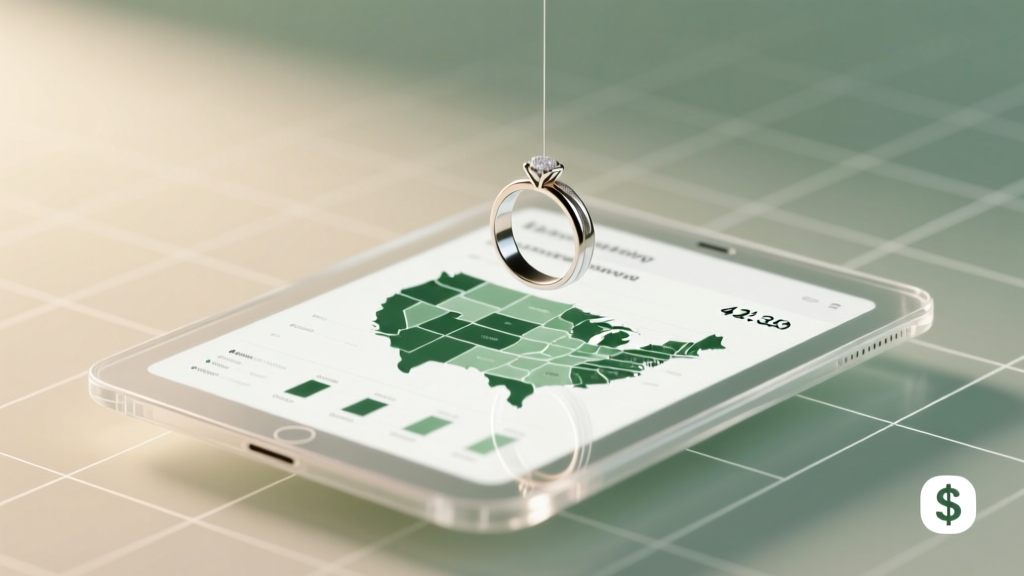 How Much Does a Wedding License Cost? The Real Price (Plus Hidden Fees, State-by-State Breakdown & How to Save Up to $75)