Wedding Planning How to Manage Getting Ready Photos
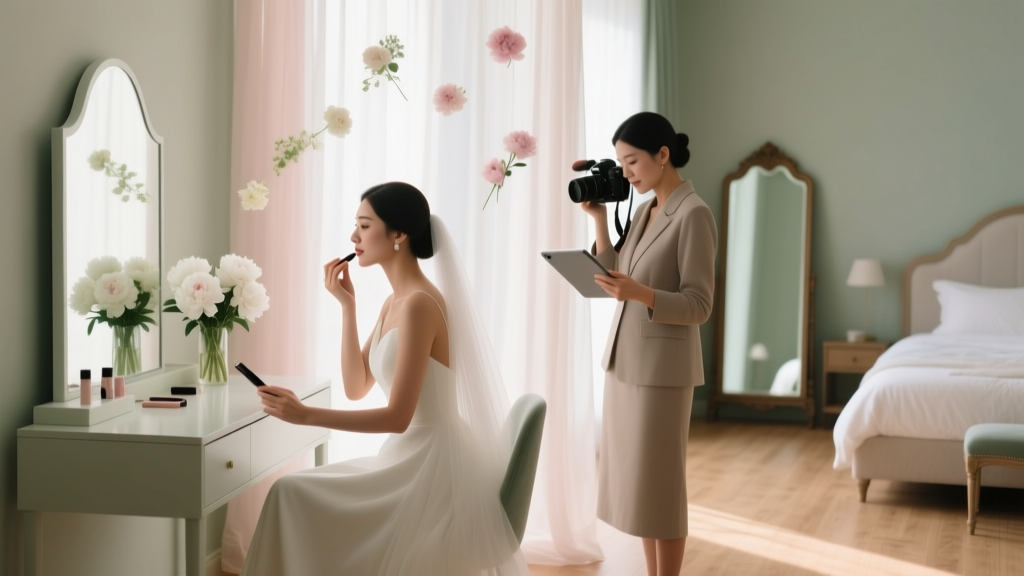
The “getting ready” portion of your wedding day is where the nerves, excitement, and sweet little moments start bubbling to the surface. It’s also where a lot of couples feel the most pressure—because it’s the first part of the day you can’t “redo.” You want the photos to feel natural, flattering, and joyful… but you also don’t want to spend the morning staging every sip of champagne.
Getting ready photos can be some of the most emotionally meaningful images in your entire wedding gallery: your best friend buttoning your dress, your partner reading a note from you, your parents quietly taking it all in. The trick is planning just enough structure so the photographer can capture the story—without turning your morning into a photo shoot marathon.
This guide walks you through how to manage getting ready wedding photos with a realistic timeline, room setup tips, a simple checklist, and planner-level strategies to keep everyone calm and on track.
What Are “Getting Ready Photos,” Exactly?
Getting ready photos document the behind-the-scenes moments before the ceremony. Depending on your preferences and coverage hours, they may include:
- Detail shots (dress, suit, rings, invitation suite, perfume, vow book, heirlooms)
- Hair and makeup in progress
- Putting on your outfit (dress, veil, jewelry; or tie, cufflinks, jacket)
- Portraits of each partner fully ready
- Gift exchanges or letter reading
- Time with parents and wedding party
- “Cheers” moments (coffee, mimosas, shots—whatever fits your vibe)
- First look (if you’re doing one) and pre-ceremony portraits
These photos set the tone for your wedding day story, so a little planning here pays off in a big way.
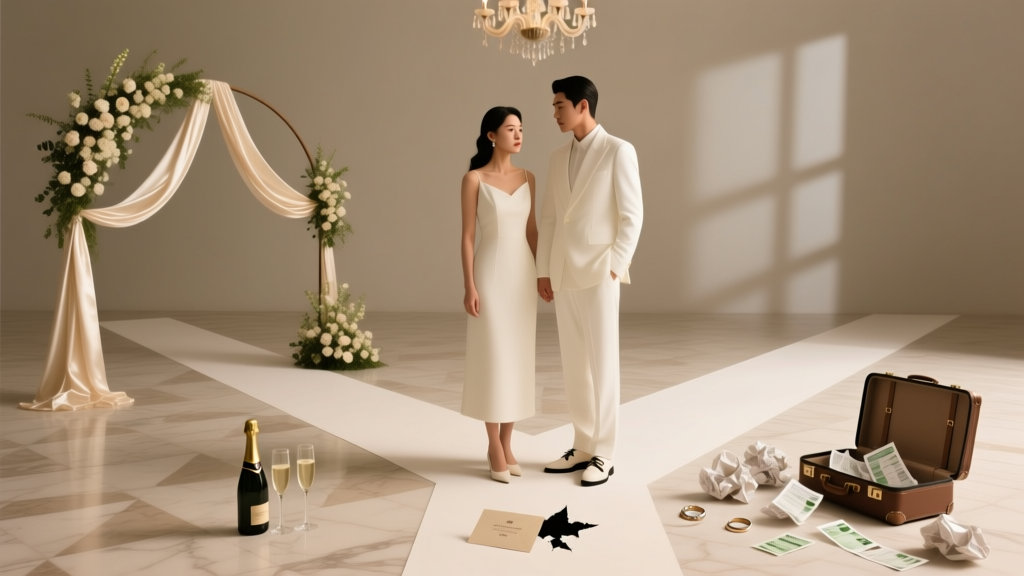
Start With the Big Decision: Are You Getting Ready Together or Separately?
There’s no “right” choice—just what feels best for you as a couple and works with your logistics.
Option A: Getting Ready Separately
This is traditional and creates more anticipation for a first look or aisle moment. It may also be easier if you have different locations or need more space.
Best for: couples who want privacy, a big reveal, or separate energy and timelines.
Option B: Getting Ready Together
This can feel intimate and calming—especially for couples who prefer a relaxed morning and don’t want to be apart.
Best for: couples who want candid, connected photos and less shuffling between rooms.
Option C: Partial Overlap
You might get ready separately at first, then meet up for final touches, a note exchange, or a private moment before the ceremony.
Best for: couples who want a blend of tradition and togetherness.
Build a Photography-Friendly Getting Ready Timeline
Timeline issues are the #1 reason getting ready photos feel stressful. Your photographer can’t capture calm, beautiful moments if you’re running behind or squeezing everything into 20 minutes.
A Simple Getting Ready Photo Timeline (Example)
This example assumes a 4:00 PM ceremony and one main getting ready location. Adjust based on travel time, number of people, and coverage hours.
- 11:30 AM – Photographer arrives + detail shots begin
- 12:00 PM – Hair and makeup finishing touches + candid moments
- 12:45 PM – “Put on the dress/suit” moment (plan for 15–25 minutes)
- 1:15 PM – Bride/groom/partner solo portraits (near a window)
- 1:35 PM – Wedding party photos (robes/pajamas or dressed)
- 2:00 PM – Parents/family moments (gift, boutonniere pinning, etc.)
- 2:30 PM – Buffer time + final touch-ups + travel prep
- 3:00 PM – Travel to venue
- 3:30 PM – Arrive + hide/refresh + pre-ceremony photos as planned
Planner Pro Tip: Work Backward From Your “Fully Ready” Time
Decide when you need to be fully dressed and photo-ready (often 60–90 minutes before you leave). Then reverse-engineer:
- Travel time + padding
- Family/wedding party photos you want pre-ceremony
- Time to get dressed (it always takes longer than you think)
- Hair and makeup completion time (with a buffer)
Budget Consideration: Photography Hours and What They Affect
Getting ready coverage usually requires extra photography hours—especially if you’re in two locations or want detail styling.
- Short coverage (6 hours): getting ready may be limited to final touches and a few details.
- Standard coverage (8 hours): typically includes details, outfits, and pre-ceremony moments.
- Extended coverage (10+ hours): allows relaxed pacing, multiple locations, and more candid storytelling.
If you’re trying to stay on budget, ask your photographer what they recommend prioritizing so you still get meaningful getting ready wedding photos without adding hours you don’t need.
Set Up the Room for Beautiful Getting Ready Photos
You don’t need a luxury suite—but you do need a plan. Light, clutter, and space are everything.
Choose the Right Space (or Make the Best of It)
Look for:
- Natural light: large windows beat overhead lighting every time.
- Neutral backgrounds: plain walls, tidy corners, minimal patterns.
- Open floor space: for dress/suit shots and group photos.
Quick Room Reset Checklist (10 Minutes)
- Clear nightstands and countertops (water bottles, chargers, snack wrappers)
- Consolidate bags and garment covers in one corner or another room
- Hang the dress or outfit in a clean spot near a window
- Turn off harsh overhead lights if there’s good window light
- Assign one person to “clutter patrol” (a reliable bridesmaid/groomsman/friend)
Real-World Scenario: The Hotel Room That Feels Too Small
If you’re getting ready in a standard hotel room with 8–12 people, it gets crowded fast. A simple fix:
- Move hair/makeup to the brightest window area.
- Keep only essential people in the room during key photo moments.
- Have everyone else hang in the hallway, lobby, or a second room for 20–30 minutes.
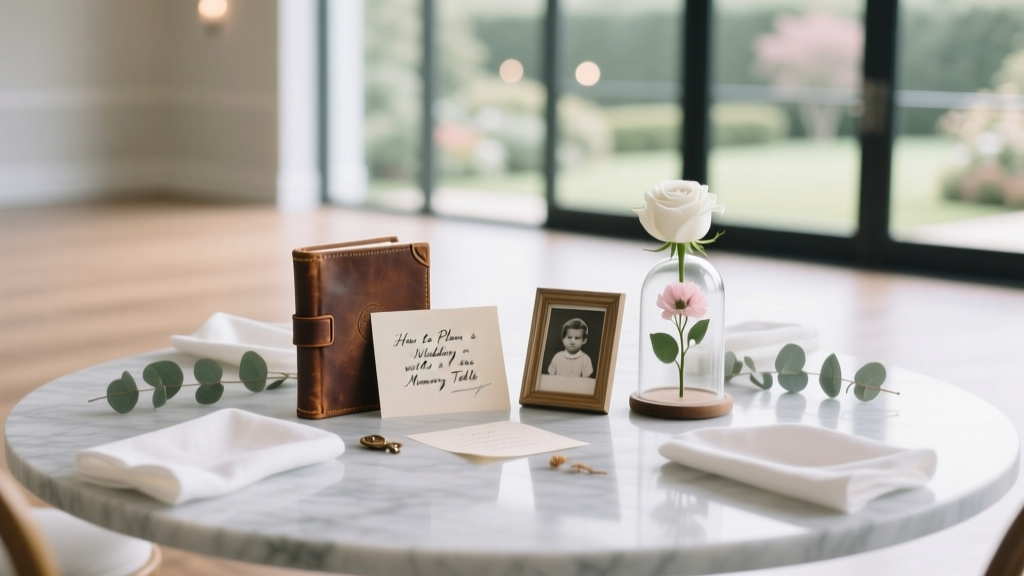
Gather Your Details Ahead of Time (So Your Photographer Can Start Immediately)
Detail shots are usually the first photos your photographer captures. If those items are scattered across three bags and two cars, you’ll lose time—and patience.
Details Flat-Lay Checklist
Put these in a labeled box or tote the night before:
- Rings (all of them)
- Invitation suite + envelopes (ask your stationer for a spare set)
- Vow books or letters
- Perfume/cologne
- Jewelry (earrings, necklace, bracelet, watch)
- Shoes
- Veil/hairpiece/cufflinks/tie
- Heirlooms (handkerchief, locket, rosary, etc.)
- Any meaningful extras (a “something blue,” matchbook, custom hanger if you love it)
Pro tip: If you’re using your bouquet in detail shots, ask your florist if a small “studio” bloom or extra loose stems are available early.
Coordinate Hair and Makeup With Photo Needs
Hair and makeup timing affects everything. If you’re still in the chair when the photographer needs “final touches,” your photos can feel rushed.
How to Schedule Hair and Makeup for Photos
- Plan for the couple to be finished first or second-to-last (not last). This creates a buffer.
- Build in 15–30 minutes for touch-ups and “getting dressed” photos.
- Keep a small touch-up kit handy: blotting papers, lipstick, powder, hair pins.
Real-World Scenario: One Person Runs Late
If a bridesmaid/groomsman/family member shows up late for hair and makeup, don’t let it derail your photo timeline. Have your planner or a designated helper:
- Ask the HMUA team to reshuffle the order without making you the last client.
- Move that person’s “robe photo” or group moment later (or skip it).
- Protect your “fully ready” time at all costs.
Plan the “Getting Dressed” Moments So They Feel Natural
This is where emotions happen—without needing to manufacture them.
Who Should Be Present?
Choose 1–3 key people, not a crowd. For example:
- A parent helping with jewelry
- Best friend zipping the dress
- Sibling fixing a tie or boutonniere
How to Make These Photos Look Great
- Make sure you’re dressed in something photo-friendly (a matching pajama set, robe, button-down, or simple loungewear).
- Stand near a window with space behind you.
- Slow down—tiny movements photograph better than rushed ones.
Communication Tips: Help Your Photographer Capture What Matters
Your photographer wants to tell your story, but they aren’t mind readers. A little guidance goes a long way.
Share a “Top 10 Moments” List
Send your photographer a short list a few weeks before the wedding. Examples:
- Reading a letter from my partner
- Champagne toast with the wedding party
- My grandmother seeing me in my dress
- Private vows before the ceremony
- Gift exchange with parents
Assign a Photo Point Person
This should be someone calm and organized who can:
- Gather details for flat-lays
- Help clear clutter quickly
- Pull family members in for planned moments
This one role can save you 30+ minutes of stress.
Common Mistakes to Avoid (And What to Do Instead)
- Mistake: Starting hair and makeup too late.
Do instead: Add a 30–45 minute buffer and finish the couple earlier. - Mistake: Getting ready in a dark, cluttered room.
Do instead: Choose a brighter space or do a quick reset and use window light. - Mistake: Too many people in the room.
Do instead: Keep the core group inside; rotate others in for specific photos. - Mistake: Forgetting to gather details (rings, invitation, accessories).
Do instead: Pack a detail box the night before and label it. - Mistake: Scheduling the photographer after everyone is already dressed.
Do instead: Have them arrive early enough for details + candid prep moments.
Planner Pro Tips for Calm, Gorgeous Getting Ready Photos
- Eat real food. Not just pastries—add protein so you don’t crash before the ceremony.
- Keep drinks tidy. If you want a celebratory toast, use matching glasses and pour away from the photo area.
- Have a “quiet corner.” A chair by a window is perfect for letter-reading photos and a breather.
- Steam early. Steam the dress/suit before the photographer arrives (or right when they do, but off to the side).
- Ask about a second shooter. If you’re getting ready in two places, a second photographer can prevent rushed coverage.
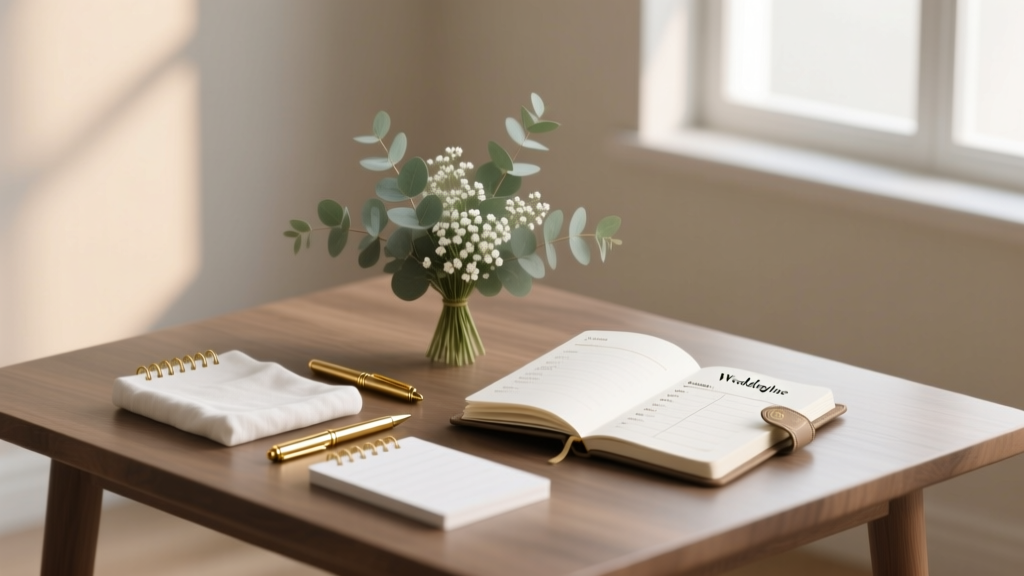
A Step-by-Step Getting Ready Photo Plan (Use This as Your Checklist)
- 2–4 weeks out: Confirm photo coverage hours and getting ready locations with your photographer.
- 2 weeks out: Send your “Top 10 moments” and family dynamics notes (who to include/avoid).
- 1 week out: Finalize hair and makeup schedule and add 30 minutes of buffer.
- Night before: Pack the detail box, tidy the room plan, charge phones, and set aside tip envelopes.
- Wedding morning: Clear clutter, place details near window light, and keep the room calm and uncrowded.
- During dressing: Slow down, breathe, and focus on the people with you (those photos will feel the most real).
FAQ: Getting Ready Wedding Photos
How long should getting ready photos take?
Plan for 60–120 minutes of coverage for one person/location, depending on details, outfits, and how many moments you want documented. If you’re photographing both partners in different locations, you may need more time or a second shooter.
What should I wear for getting ready photos?
Choose something you feel comfortable in and don’t mind being photographed in: a robe, matching pajama set, simple dress, or button-down. Avoid super busy patterns and anything that leaves tight marks on your skin right before you put on your wedding attire.
Do I need matching robes or pajamas for the wedding party?
No. They can be cute, but they’re optional. If it’s not in your budget, coordinated colors (all black, all neutrals, or everyone in their own comfy set) photograph beautifully and feel more authentic.
How do we get good detail shots if we’re on a tight budget?
Focus on a few high-impact items (rings, invitation, bouquet, shoes, vow books) and gather them in one place. Even with limited photo time, your photographer can capture beautiful detail photos quickly if everything is ready.
Should we do a first look right after getting ready photos?
If you want more couple portraits and a calmer schedule, yes—doing a first look soon after getting ready can simplify the day. If you prefer the aisle reveal, you can still do solo portraits and wedding party photos beforehand.
What if our getting ready space is ugly or messy?
Most spaces can work with smart angles and window light. Clear one clean corner, move clutter out of frame, and trust your photographer to find the best backgrounds. If you’re worried, send your photographer a quick phone photo of the space ahead of time for suggestions.
Next Steps: Make Your Morning Feel Like You
Your getting ready photos don’t need to look like anyone else’s. They just need to reflect your people, your pace, and your love story. Choose a calm space, build a realistic timeline with buffers, and communicate the moments that matter most. Then let yourself be present—those are the images you’ll treasure.
If you’re in the thick of wedding planning, keep going one step at a time. Explore more practical planning guides and checklists on weddingsift.com to help you feel confident all the way to “I do.”
More Articles
 Wedding Planning Mistakes That Cost Couples Thousands
 How to Plan a Wedding With a Memory Table
 Wedding Venue Capacity Rules and Fire Codes
Wedding Transportation Options for You and Your Guests
Wedding Venue Capacity Rules and Fire Codes
Wedding Transportation Options for You and Your Guests
 Wedding Planning Tips From Professional Planners
 How to Set a Realistic Wedding Budget That Works
Wedding Venue Red Flags to Watch Out For
How to Set a Realistic Wedding Budget That Works
Wedding Venue Red Flags to Watch Out For
 Wedding Day Hair and Makeup Timeline Planning
How to Handle Wedding Vendor Meals
Wedding Day Hair and Makeup Timeline Planning
How to Handle Wedding Vendor Meals
 How to Plan a Wedding With a Reception Entrance