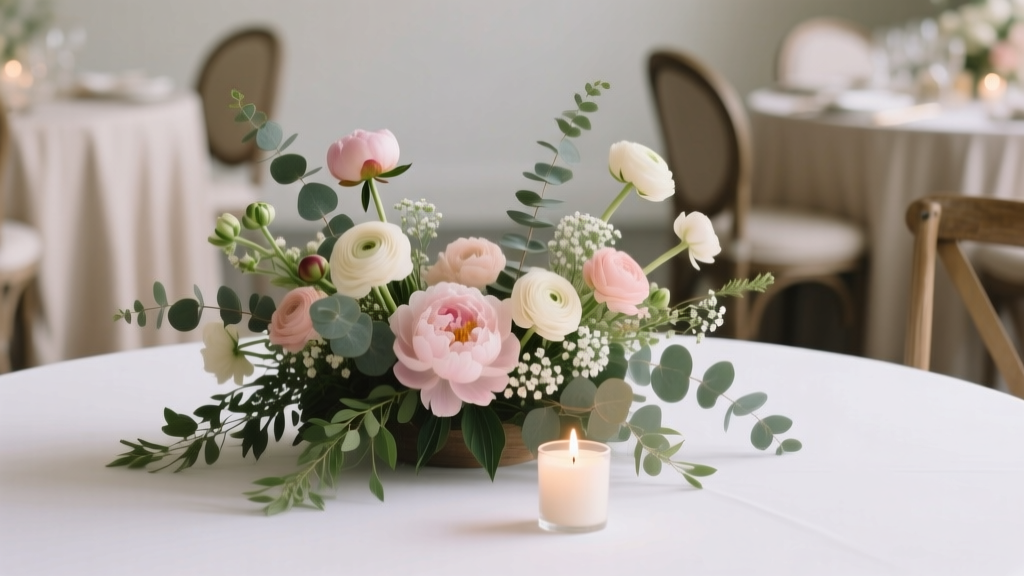
How to Make Stunning Wedding Centerpiece Flower Arrangements on Any Budget: A Step-by-Step Guide
# How to Make Stunning Wedding Centerpiece Flower Arrangements on Any Budget
Hiring a florist for wedding centerpieces can cost $150–$400 *per table*. For a 20-table reception, that's up to $8,000 — just for flowers. The good news? With the right flowers, tools, and a little practice, you can create breathtaking centerpieces yourself. This guide walks you through everything, from choosing blooms to the final arrangement.
---
## 1. Choose the Right Flowers for Your Vision
Start with a focal flower, a filler flower, and greenery. This three-layer formula works for every style.
**Best focal flowers for centerpieces:**
- **Roses** – classic, widely available, $1–$3/stem wholesale
- **Peonies** – lush and romantic, best in May–June
- **Dahlias** – dramatic and full, ideal for fall weddings
- **Hydrangeas** – one stem fills a lot of space, very cost-effective
**Best fillers:**
- Baby's breath (timeless, budget-friendly)
- Wax flower
- Astilbe
**Greenery:** Eucalyptus is the most popular choice — it's fragrant, drapes beautifully, and costs about $1/stem.
**Pro tip:** Order flowers from a wholesale supplier like Mayesh, FiftyFlowers, or your local flower market 3–5 days before the wedding. You'll pay 60–80% less than retail.
---
## 2. Gather Your Supplies
You don't need a florist's studio — just the right tools.
**Essential supplies:**
- Floral foam (for structured arrangements) or a floral frog/chicken wire (for loose, garden-style looks)
- Sharp floral shears or pruning scissors
- Waterproof floral tape
- Flower food packets
- Vases or vessels (rent, thrift, or buy in bulk)
- Rubber bands and zip ties for bunching
**Vessel options by style:**
| Style | Vessel |
|---|---|
| Romantic/classic | Tall glass cylinder or low mercury vase |
| Rustic/boho | Mason jars, wooden boxes, lanterns |
| Modern/minimalist | Geometric terrariums, bud vase clusters |
| Garden party | Compote bowls, vintage pitchers |
Budget tip: Dollar stores and thrift shops are goldmines for bulk vases. Spray-paint mismatched pieces the same color for a cohesive look.
---
## 3. Prep Your Flowers Properly
This step is where most DIYers go wrong — and it's the difference between flowers that last through the reception and ones that wilt by cocktail hour.
**Step-by-step flower prep:**
1. **Unbox and hydrate immediately.** Place stems in cool water with flower food as soon as they arrive.
2. **Cut stems at a 45-degree angle** under running water to maximize water uptake.
3. **Strip all leaves** that will sit below the waterline — submerged leaves rot and kill flowers faster.
4. **Condition for 24–48 hours** in a cool, dark room (not the fridge — too cold for most blooms).
5. **Arrange the day before** the wedding, not the morning of, to reduce stress.
For floral foam arrangements: soak the foam in water mixed with flower food until it sinks on its own (about 60 seconds). Never force it under — dry pockets will form and kill stems.
---
## 4. Build Your Arrangement Step by Step
Follow this sequence for a balanced, professional-looking centerpiece every time.
**The layering method:**
1. **Establish height and structure** with your tallest focal flowers first. For low centerpieces, keep everything under 14 inches so guests can see across the table.
2. **Add secondary focal flowers** at varying heights, turning the vase as you go to check all angles.
3. **Fill gaps with filler flowers**, tucking them between focal blooms.
4. **Drape greenery last**, letting it spill over the edges naturally.
5. **Step back and assess** — rotate the arrangement and look for holes or lopsided weight.
**Rule of odd numbers:** Group flowers in threes or fives, never twos or fours. Odd numbers look more natural and dynamic.
**Color tip:** Use the 60-30-10 rule — 60% dominant color, 30% secondary, 10% accent. This creates harmony without looking flat.
---
## Common Mistakes (And the Myths Behind Them)
**Myth #1: "More flowers = more beautiful."**
Overstuffed arrangements look chaotic and actually hide your most beautiful blooms. Negative space — intentional gaps between flowers — gives the eye somewhere to rest and makes each stem stand out. Some of the most elegant centerpieces use 30% fewer flowers than you'd expect.
**Myth #2: "DIY flowers always look homemade."**
The difference between amateur and professional arrangements isn't talent — it's preparation and the right mechanics. Florists use floral tape, chicken wire grids, and proper stem conditioning to control placement. Use these same tools and your arrangements will look just as polished. Practice one centerpiece two weeks before the wedding to build confidence.
---
## Conclusion
Making your own wedding centerpieces is one of the highest-ROI DIY projects you can take on — saving thousands of dollars while adding a deeply personal touch to your reception. Start with a clear vision, order wholesale flowers, prep them properly, and build using the layering method. The results will surprise you.
**Ready to start planning?** Download a free wedding flower calculator to estimate stem counts by table size, or browse wholesale flower suppliers to compare pricing for your wedding date. Your dream centerpieces are closer — and more affordable — than you think. How Should My Wedding Ring Fit? The 5-Second Fit Test (Plus What 92% of Couples Get Wrong Before Their Big Day)
 How Big Is Brittany Mahomes’ Wedding Ring? We Measured It Frame-by-Frame, Compared It to Industry Standards, and Revealed the Exact Carat Weight—Plus What It Really Costs to Replicate That Look
 How Do U Wear a Wedding Band Set? 7 Non-Negotiable Rules (That No One Tells You Before the Big Day) — Avoid Awkward Gaps, Misaligned Metals, or ‘Too Much Bling’ Mistakes in Under 90 Seconds
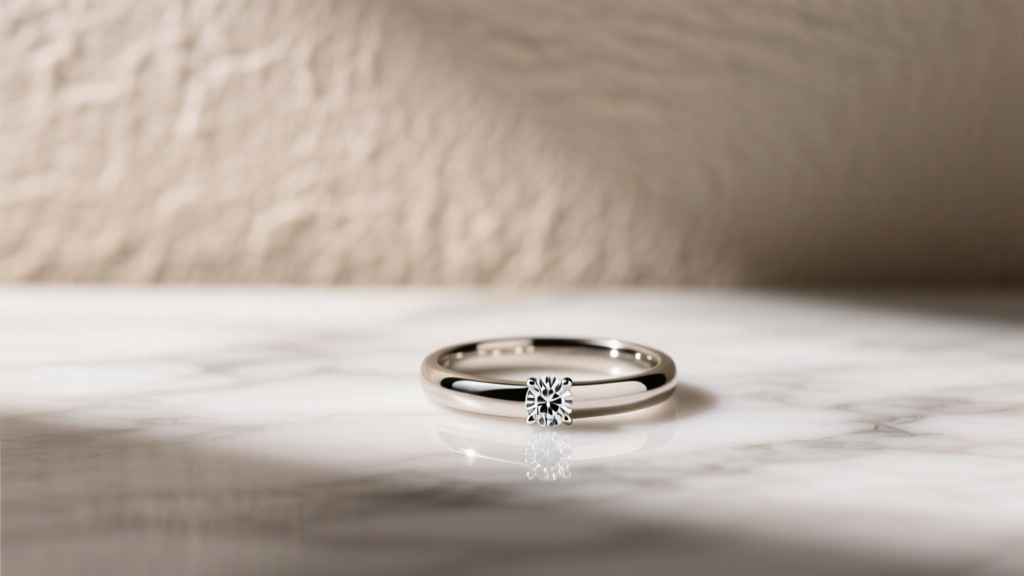
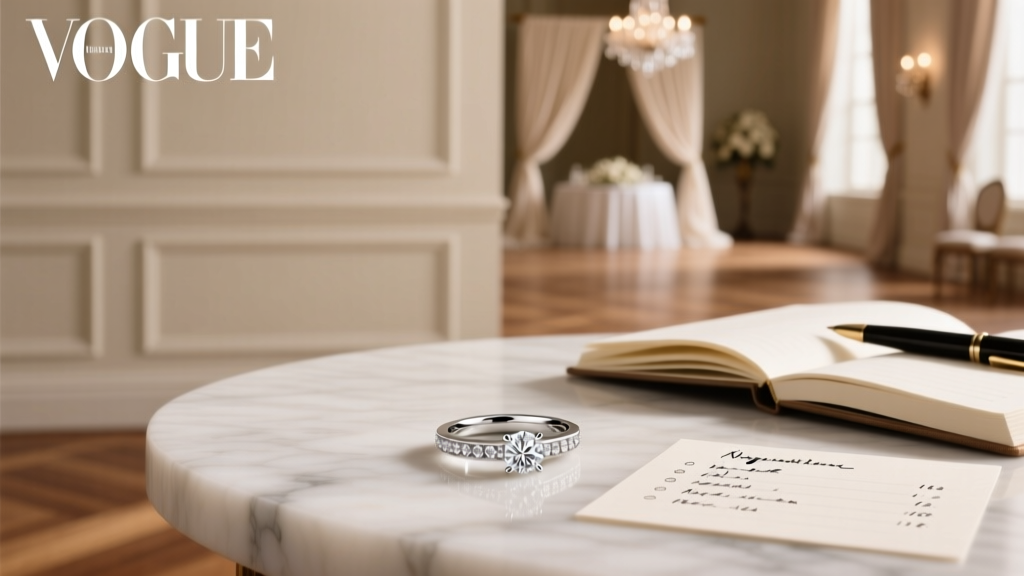 How to Negotiate the Price of an Engagement Ring
 Can You Make Wedding Rings Bigger? Yes—But Not All Methods Are Safe, Affordable, or Permanent: Here’s Exactly What Works (and What Ruins Your Ring)
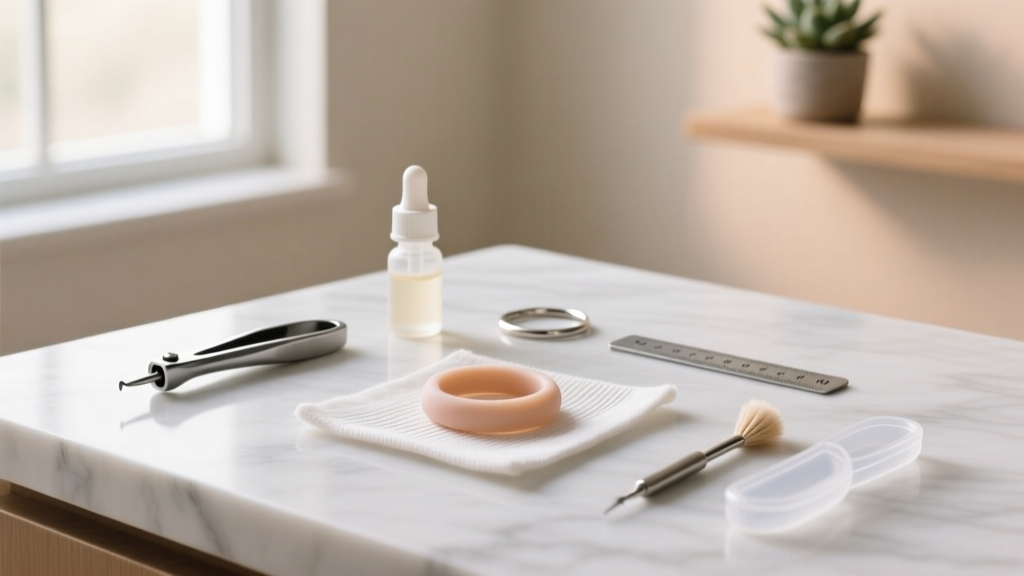 How to Stretch a Silicone Wedding Ring Safely (Without Breaking It): 5 Proven Methods That Actually Work—Plus What NOT to Do Based on 372 Real-World User Tests
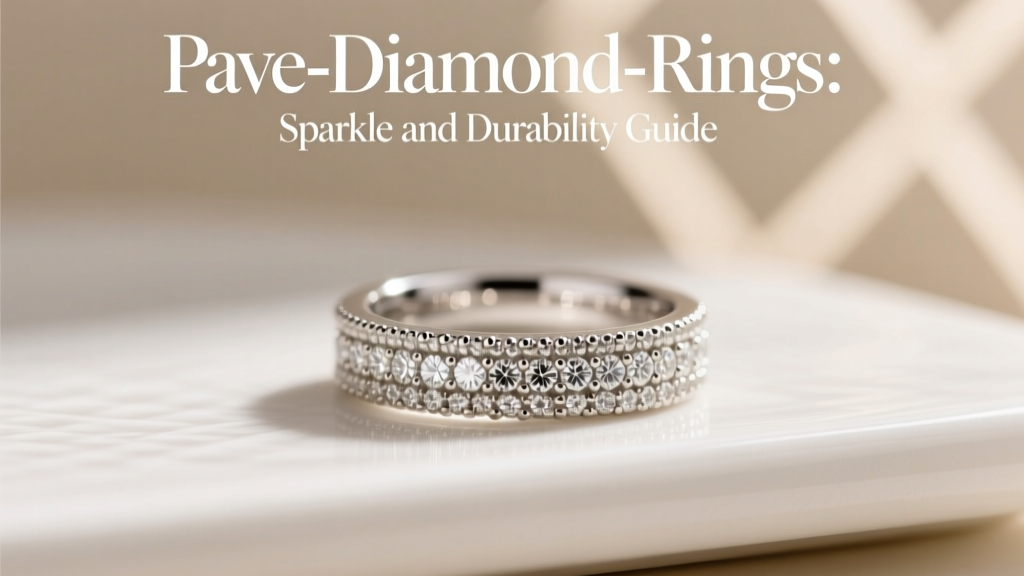 Pave Diamond Rings Sparkle and Durability Guide
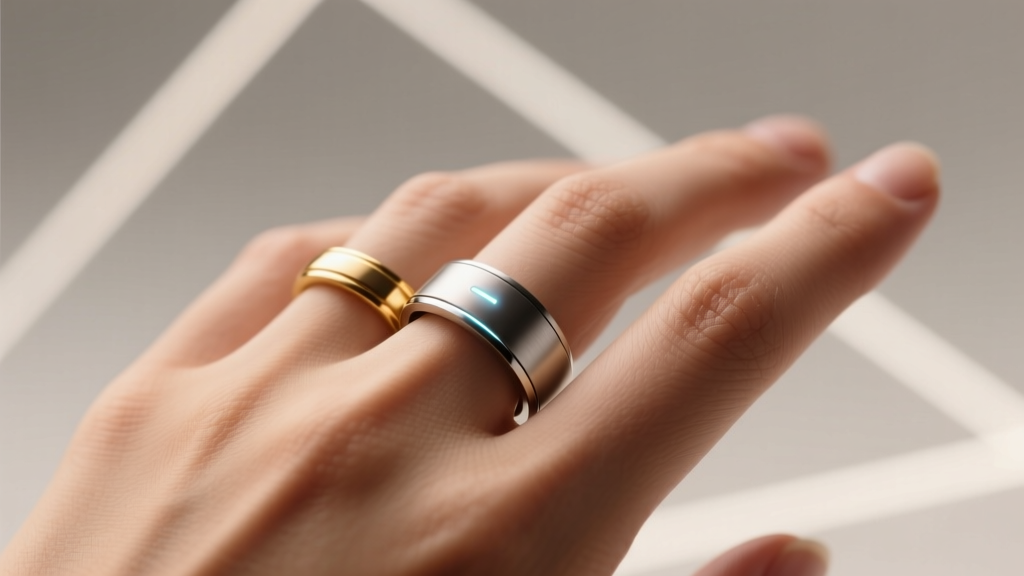 Can You Wear a Smart Ring on Your Wedding Finger? The Truth About Compatibility, Etiquette, and What Your Ring Finger Really Tolerates (Spoiler: It’s Not Just Gold Anymore)
 How to Choose an Engagement Ring With a Low Profile
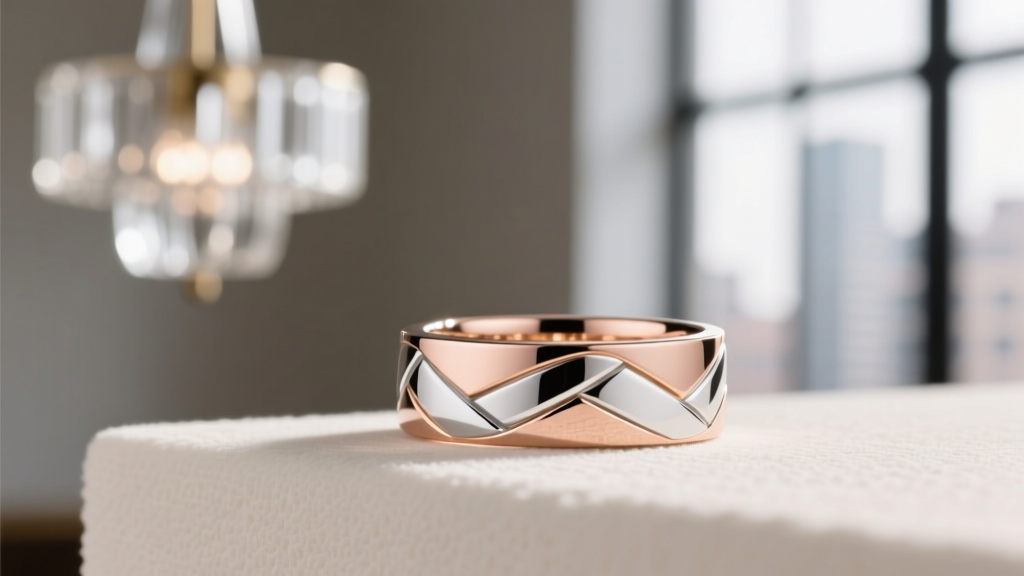 How to Choose a Wedding Band With a Mixed Metal Design