How to Create a Wedding Day Emergency Kit
You can plan your wedding down to the last candle and place card… and still have a moment where something unexpected pops up. A strap snaps while you’re taking photos. Someone gets a blister right before the ceremony. A boutonnière pin disappears like it was never on earth to begin with. None of these “little” things should steal your joy, but they can if you’re not prepared.
A wedding day emergency kit is your calm in a bag. It’s the behind-the-scenes support that keeps you (and your wedding party) feeling confident, comfortable, and ready for anything. Think of it like insurance for the tiny, fixable problems that don’t deserve a full-on stress spiral.
This guide will help you build a practical, budget-friendly wedding emergency kit with checklists, real-world scenarios, and pro tips—so you can focus on the parts you actually want to remember.
What Is a Wedding Day Emergency Kit (and Who Is It For)?
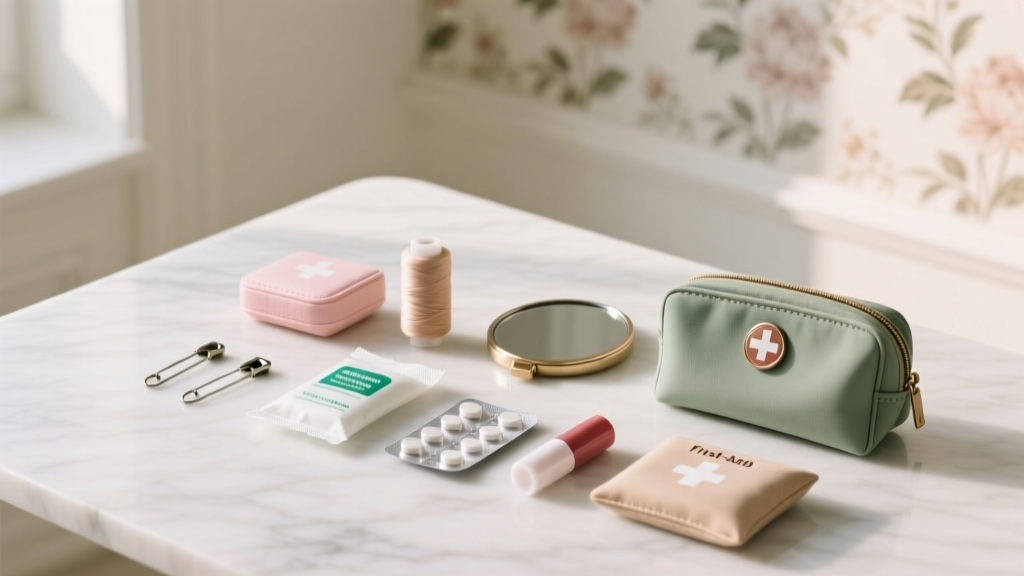
A wedding day emergency kit is a curated set of essentials and quick fixes you keep on hand during your wedding. It covers:
- Wardrobe malfunctions (buttons, stains, rips, pins)
- Beauty touch-ups (sweat, shine, lipstick, hair issues)
- Health and comfort (headaches, blisters, hydration)
- Logistics (phone chargers, pens, cash)
- Guest and wedding party needs (bandages, lint rollers, tissues)
It’s for engaged couples, yes—but it’s also for whoever is “on duty” day-of. Many couples assign the kit to a:
- Day-of coordinator or planner
- Trusted bridesmaid/groomsman
- Parent or sibling
- Venue manager (if they’re hands-on)
How to Build Your Wedding Emergency Kit: Step-by-Step
Step 1: Choose the Right Container
You want something portable, organized, and easy to find in a hurry.
- Best option: A small hard-sided toiletry case or tackle-style organizer with compartments
- Budget option: A zip pouch + a few small labeled bags (hair/beauty, first aid, fashion fixes)
- Car kit add-on: A tote in the trunk with “bigger” backups (extra shoes, steamer, umbrellas)
Pro tip: Label it clearly: “Wedding Emergency Kit” and include your names and wedding date. You’d be surprised how often items get shuffled between getting-ready rooms.
Step 2: Plan Where It Will Live (and Who Holds It)
Your kit only works if it’s accessible.
- Getting ready: Keep it in the bridal suite / groom’s room during hair and makeup
- Ceremony: Move it to a coordinator’s bag or tuck it near the ceremony space
- Reception: Store it with your coordinator, DJ table, or venue office (somewhere staff can access)
Timeline advice: Pack the kit one week before the wedding. Do a final restock 2–3 days before (especially meds, mints, tissues, stain remover).
Step 3: Use This Master Checklist (Build Your Kit in Categories)
Wedding Day Emergency Kit Checklist (Must-Haves)
1) Fashion & Wardrobe Fixes
These items save photos—and nerves—fast.
- Sewing kit (needles, thread in white/ivory + black + a neutral)
- Safety pins (multiple sizes)
- Fashion tape (double-sided body/garment tape)
- Hem tape or quick-fix hem strips
- Mini scissors
- Stain remover pen
- Lint roller (full size if possible)
- Clear nail polish (for stopping runs in tights)
- Extra buttons (from suit/dress) in a small labeled bag
- White chalk (helpful for tiny oily marks on light fabric)
Real-world scenario: A groomsman leans against a dusty railing before photos. A lint roller and stain remover pen can fix it in 60 seconds—no outfit change required.
2) Beauty & Grooming Touch-Ups
Perfect for the “I look shiny in every photo” moment.
- Blotting papers or translucent powder
- Cotton swabs and cotton pads
- Makeup remover wipes (gentle)
- Your lipstick/gloss + a backup (or matching liner)
- Setting spray (travel size)
- Mini hairspray
- Bobby pins and hair ties (match hair color if possible)
- Small comb or teasing brush
- Deodorant (clear, non-staining)
- Hand cream (especially for ring photos)
- Contact solution (if you wear contacts)
Real-world scenario: During cocktail hour, your curls start falling flat from humidity. A few bobby pins, mini hairspray, and a small comb can bring your style back without redoing everything.
3) First Aid & Comfort Essentials
These are the quiet heroes of the day.
- Bandages (assorted sizes) + blister pads
- Moleskin (for shoe rub)
- Pain relief (ibuprofen/acetaminophen—check what’s safe for you)
- Antacid (heartburn happens under stress)
- Anti-diarrheal (just in case)
- Allergy medication
- Eye drops
- Electrolyte packets (easy hydration boost)
- Tissues
- Hand sanitizer
- Breath mints
- Feminine hygiene products
- Small instant cold pack (great for swelling or a minor bump)
Real-world scenario: A bridesmaid gets a blister right before lining up for the ceremony. Blister pads + moleskin mean she can walk down the aisle comfortably and dance later.
4) Tools & “Fix Anything Fast” Items
These cover a surprising number of problems.
- Small flashlight (or headlamp for someone helping)
- Mini lint-free cloth (for glasses, phones, ring box)
- Mini screwdriver set (for glasses or loose hardware)
- Super glue (use carefully, not on fabric)
- Clear tape + a roll of strong tape (like gaffer tape)
- Zip ties (for decor or signage emergencies)
- Small ruler or measuring tape (helpful for bustle fixes)
Pro tip: Gaffer tape is a planner favorite because it’s strong but removes cleaner than duct tape. It can secure loose cords, fix a wobbly sign, or reinforce a centerpiece base.
5) Tech, Paperwork & Money
These keep the day running smoothly behind the scenes.
- Portable phone charger + charging cable(s)
- Printed vendor contact list (yes, printed)
- Printed wedding day timeline
- A pen + permanent marker
- Small envelope with cash (tips, emergencies, parking, last-minute runs)
- Copies of key items: seating chart, ceremony details, special song list
Budget note: You don’t need to carry a lot of cash—$100–$300 in small bills is often enough for tips or quick purchases. Adjust for your area and vendor tipping plan.
Optional Add-Ons Based on Your Wedding Type
Outdoor Wedding (Heat, Wind, Bugs)
- Bug spray (unscented if possible)
- Sunscreen (non-greasy, no white cast)
- Mini fan or cooling towel
- Umbrellas (clear ones look best in photos)
- Hair anti-frizz serum
Winter Wedding (Cold, Snow, Dry Skin)
- Hand warmers
- Extra lip balm
- Static spray or dryer sheets (for cling)
- Compact blanket or shawl for outdoor photos
Destination Wedding or Hotel Venue
- Mini steamer (if allowed) or wrinkle-release spray
- Adapter/plug converter (international)
- Small snack stash (protein bars, crackers)
Weddings With Cultural Outfits or Multiple Looks
- Extra pins/clips specific to your garments
- Backup jewelry backs (earrings especially)
- Extra lash glue (if wearing lashes)
How Much Does a Wedding Emergency Kit Cost?
You can build a strong kit at almost any budget.
- $25–$50: Basics (bandages, stain pen, fashion tape, safety pins, tissues, mints, blotting sheets)
- $50–$100: Adds beauty backups, mini tools, portable charger, gaffer tape, blister care
- $100–$200: Full kit + weather items, extra supplies for wedding party, better organization case
Budget-saving tip: Shop your home first. You likely already own half of this: scissors, tape, pain relief, bobby pins, deodorant, charger, sewing kit. Then fill gaps with travel sizes.
Timeline: When to Assemble and Test Your Kit
- 4–6 weeks before: Start a list in your notes app based on your venue and season.
- 2–3 weeks before: Buy travel sizes and any special items (moleskin, gaffer tape).
- 1 week before: Pack the kit fully. Add printed copies of your timeline and vendor contacts.
- 2–3 days before: Restock perishables (snacks, tissues, meds), charge the portable charger.
- Wedding morning: Hand the kit to the assigned person and confirm where it will be stored.
Common Mistakes to Avoid (and What Planners Do Instead)
Mistake #1: Packing the Kit and Leaving It in the Car
If the kit is parked far away, it won’t help during photos or right before the ceremony.
Planner move: Keep a “mini kit” on a person (coordinator or trusted friend) and a larger backup kit in the car.
Mistake #2: Forgetting Items for Comfort, Not Just Looks
Blisters, headaches, and dehydration are the most common mood-killers.
Planner move: Include blister pads, pain relief, water/electrolytes, and snacks.
Mistake #3: Not Testing Fashion Tape or Stain Remover
Some tapes irritate skin; some stain pens react to certain fabrics.
Planner move: Patch test fashion tape on your skin and test stain remover on an inconspicuous fabric area (or a similar fabric scrap).
Mistake #4: Bringing “Everything” Without Organization
A giant bag of random items becomes a stressful scavenger hunt.
Planner move: Sort by category and label sections: “Beauty,” “First Aid,” “Fashion Fix.”
Pro Tips From Wedding Planners (Small Details That Make a Big Difference)
- Duplicate the essentials: One kit in the getting-ready room, one mini pouch near the reception area.
- Include a “ring photo” cloth: A clean microfiber cloth for rings and phones prevents smudged detail shots.
- Add a straw: Drinking through a straw can help preserve lipstick before the ceremony.
- Don’t forget the bustle: Safety pins and a small measuring tape can save a broken bustle moment.
- Assign a kit captain: Choose someone calm and practical—the friend who always has gum and a charger.
Quick “Mini Emergency Kit” for a Bridesmaid, Groomsman, or Coordinator Pocket
If you want a light version for easy access, pack these in a small pouch:
- Safety pins (2–4)
- Fashion tape strips
- Blister pad + 2 bandages
- Stain remover pen
- Blotting papers
- Mints
- Mini deodorant wipe or travel deodorant
- Hair pins + one hair tie
- Single-use pain relief packet (if appropriate)
FAQ: Wedding Day Emergency Kits
Who should be in charge of the wedding emergency kit?
If you have a day-of coordinator or planner, they’re the ideal person. If not, assign one trusted friend or family member who will stay sober enough to be helpful and won’t wander off during key moments.
Do we need separate emergency kits for the bride and groom?
You can do one shared master kit, but it helps to have two small pouches: one in each getting-ready space. At minimum, place deodorant, mints, tissues, and a stain remover pen in both rooms.
What’s the most forgotten item that couples regret not packing?
Blister care (moleskin or blister pads) and a portable charger are at the top of the list. Close behind: safety pins, fashion tape, and a printed timeline.
Can I buy a pre-made wedding emergency kit instead of building one?
Yes—pre-made kits can be convenient, especially for basics. Most couples still add personal items like your lipstick shade, contact solution, specific medications, or your dress/suit extras (buttons, fabric tape, etc.).
Should the kit include medications, and is that safe?
Include only what you’re comfortable with and what’s appropriate for your group. Keep meds in original packaging, note allergies, and store them out of reach of children. When in doubt, limit meds to your personal use and keep them with a trusted person.
Where should the emergency kit be during the reception?
Place it somewhere accessible but secure—often with the coordinator, behind the bar (if staff agrees), at the DJ/band area, or in the venue office. Avoid leaving it under random tables where it can get buried or mistaken for a guest bag.
Your Next Steps: Pack It, Assign It, Forget About It (In a Good Way)
Here’s a simple plan you can do this week:
- Pick your container (toiletry case, organizer, or pouch system).
- Use the checklist above and shop your home first.
- Buy what’s missing in travel sizes to stay on budget.
- Assign a kit captain and tell them where it will be at each part of the wedding day.
- Do a quick restock 2–3 days before your wedding.
Most couples never need every item in their wedding day emergency kit—and that’s exactly the point. When something small goes sideways, you’ll have a calm, practical fix ready to go, and you’ll keep your day feeling smooth and joyful.
Signoff: If you’re building your wedding timeline, finalizing your wedding checklist, or planning for weather and logistics, explore more supportive planning guides on weddingsift.com.
More Articles
 Wedding Planning How to Handle Dietary Cards
 How to Handle Wedding Planning Long Distance
 How to Plan a Wedding With a Live Acoustic Musician
 How to Plan a Wedding That Stays Within Your Values
 Wedding Vendor Reference Checks How to Do Them
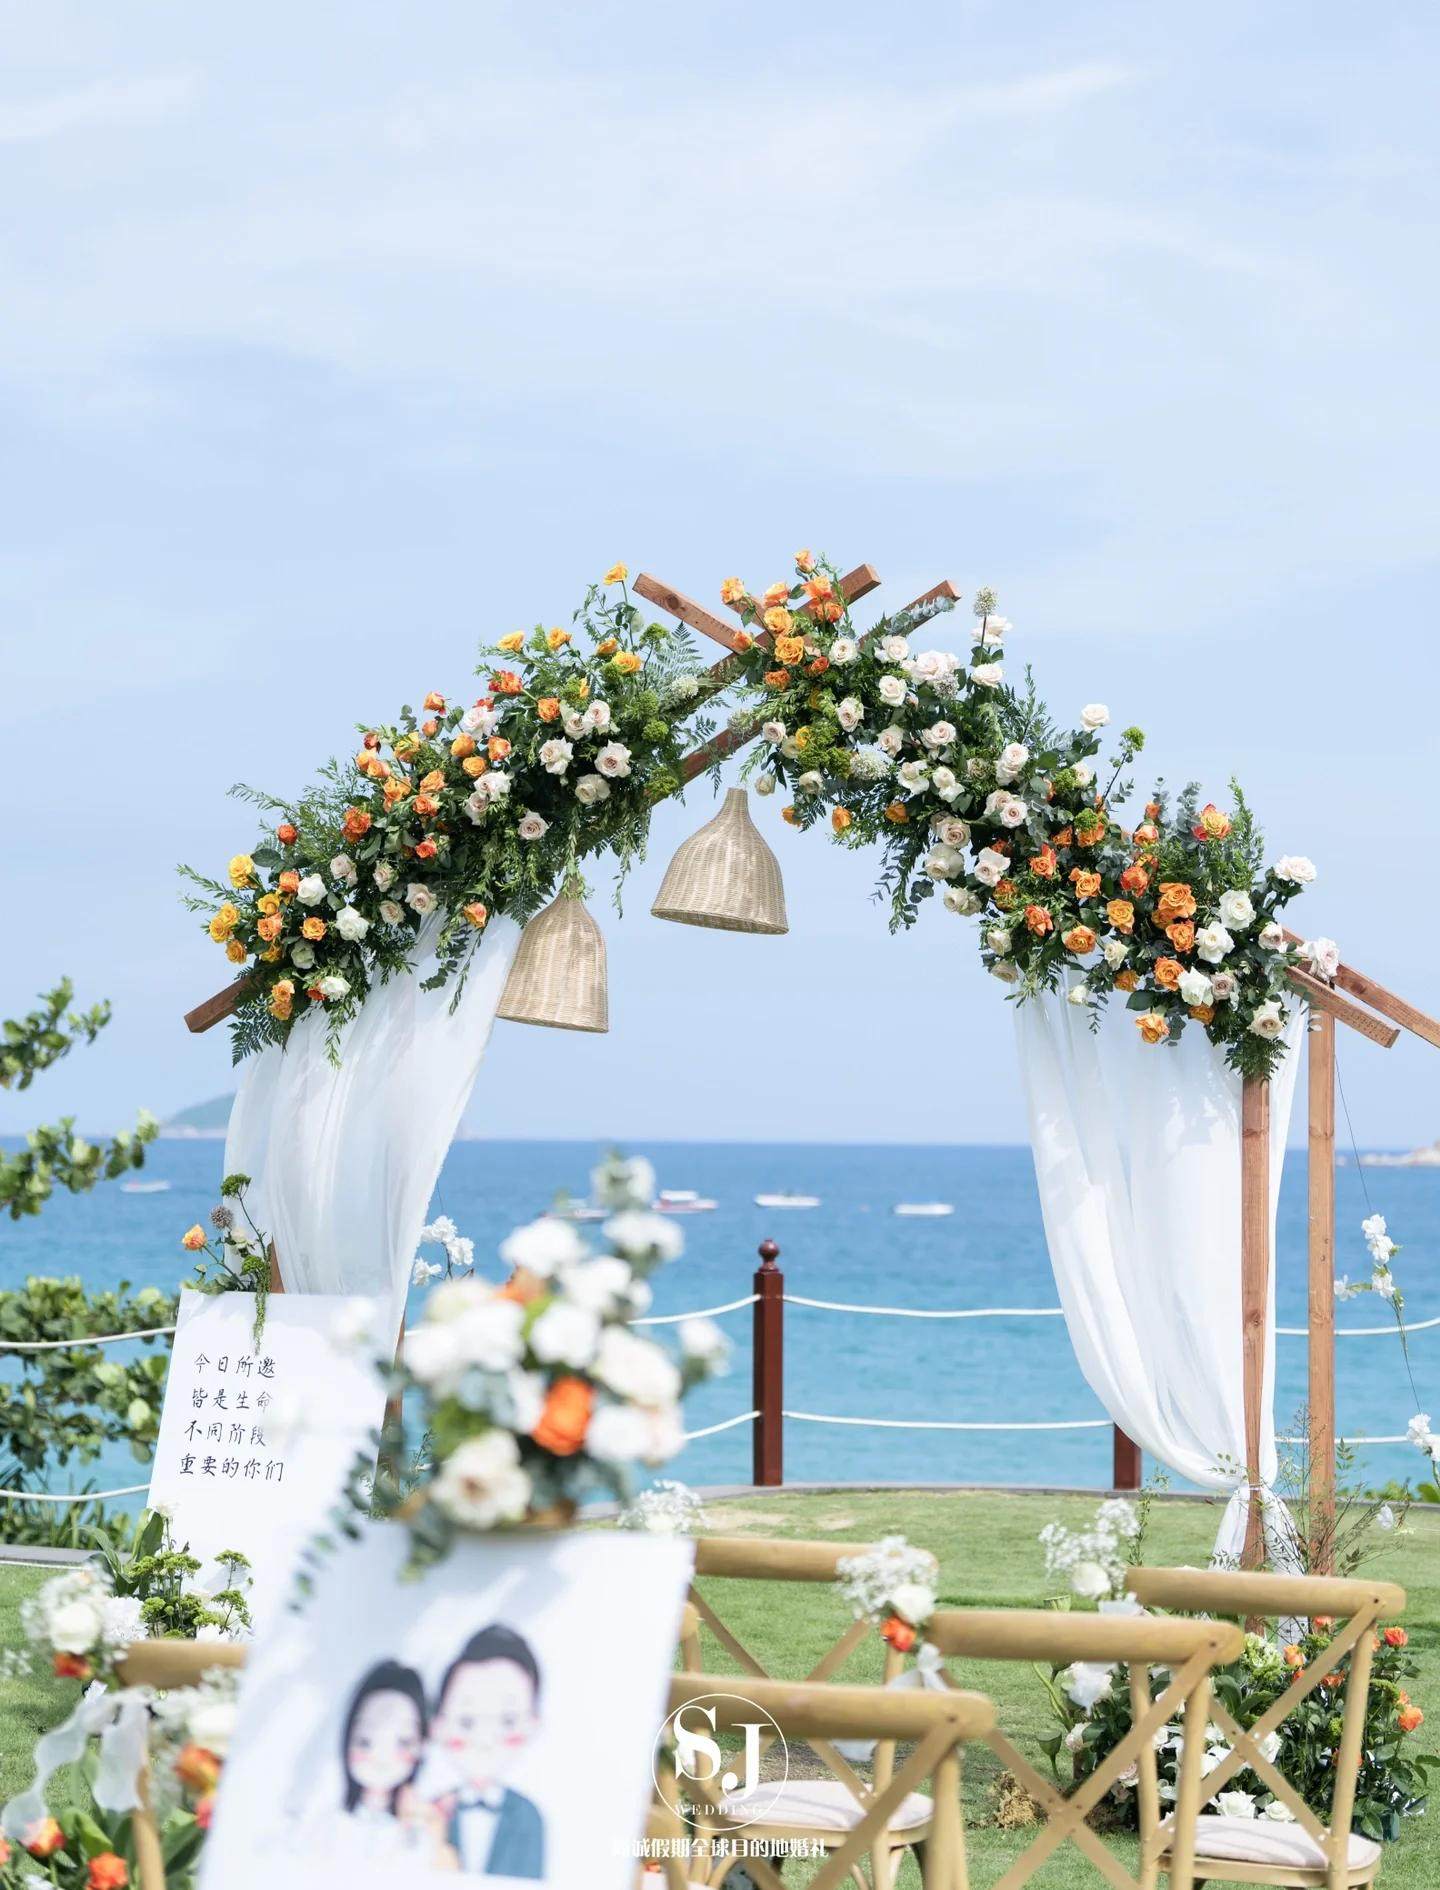 Seashell place cards, compostable menus, and vows whispered over tide pools—intimacy meets intention on the coast
 How to Plan a Wedding With a Live Band
 Wedding Planning for Destination Weddings Legal Requirements
 Wedding Seating Chart Strategies That Prevent Awkwardness
 How to Plan a Wedding With a Lawn Game Area