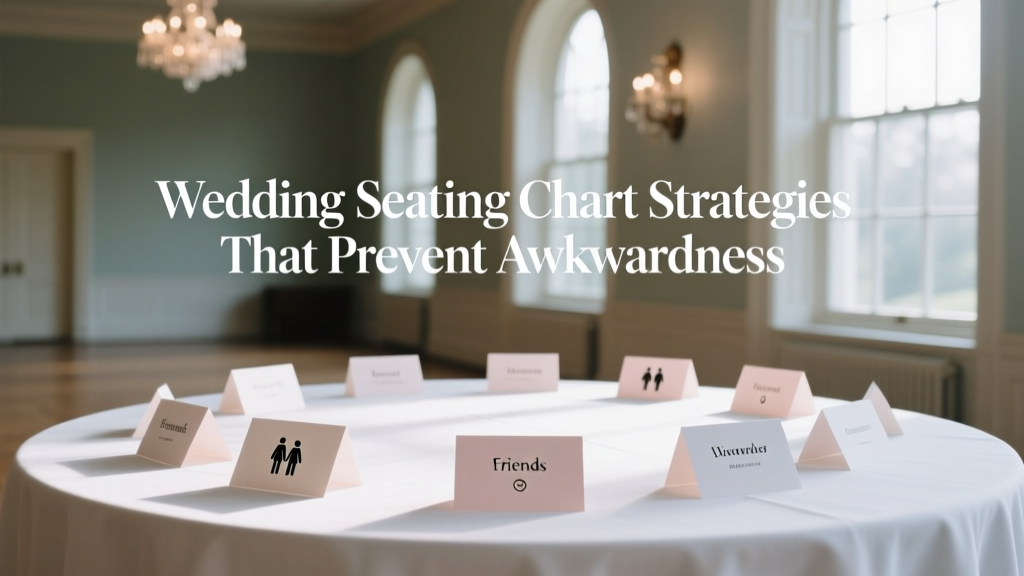
Wedding Seating Chart Strategies That Prevent Awkwardness
If you’ve ever found yourself thinking, “If I seat them together, someone will be offended… but if I don’t, someone will be offended,” you’re in very good company. A wedding seating chart can feel like a relationship stress test disguised as a spreadsheet.
The good news: awkwardness is not inevitable. With a few smart wedding seating chart strategies (and a little empathy), you can create a reception layout that helps guests feel comfortable, sparks great conversation, and keeps long-standing tensions from stealing the spotlight.
This guide walks you through a practical, planner-tested process—complete with timelines, budget-friendly tools, real-life scenarios, and the most common mistakes couples make. You’ll end up with a seating plan that feels thoughtful, not stressful.
What Actually Causes “Awkward” Seating?
Awkwardness at wedding receptions usually comes from a mismatch between comfort level and expectations. Guests are happy to mingle—but they also want a “home base” where they can relax and enjoy dinner without navigating emotional landmines.
The most common awkward triggers
- Unresolved history: exes, estranged relatives, former friends, business disputes.
- Power dynamics: a guest who dominates conversation seated with quiet or anxious guests.
- Isolation: someone seated with a group where they know no one and have little in common.
- Uneven social energy: party-starters placed with guests who prefer calm conversation.
- Misplaced priorities: seating based on “keeping the peace” rather than guest comfort.
Your goal isn’t to engineer the perfect dinner party—it’s to prevent predictable discomfort and give everyone a good experience.
Start With the Right Foundation: Decisions to Make Before You Seat Anyone
Before you drag names around a seating chart tool, lock in a few key choices. These decisions affect everything else, including your venue layout, rentals, stationery, and planning timeline.
1) Choose: Assigned seating or open seating?
For most weddings, assigned tables strike the best balance—structured enough to avoid awkwardness, flexible enough to keep things simple.
- Open seating: Cheapest and fastest, but can create anxiety for guests who arrive alone, and it often leads to “saving seats” and scattered friend groups.
- Assigned tables (not assigned seats): The most popular option; guests know where to go and still have choice within the table.
- Assigned seats: Most controlled (great for tricky dynamics), but takes more time and requires precise place cards and coordination with catering.
2) Confirm the table shapes and guest counts
Round tables typically feel more conversational. Long banquet tables can look stunning but sometimes amplify awkwardness if you seat people far apart or place tension points across from each other.
Ask your venue or caterer:
- How many guests per table is realistic (not just “maximum”)?
- Do any tables have obstructed views, drafty spots, or server traffic issues?
- Where are the restrooms, bar, dance floor, and exits?
3) Decide how you’ll handle plus-ones and kids
The “awkward” isn’t always drama—sometimes it’s practical comfort.
- Plus-ones: Seat them with their date, always. Don’t split couples to “even out” the table.
- Kids: Consider a kids’ table for ages ~6–12 if you have enough children, plus activities. Seat parents nearby.
- Babies/toddlers: Keep families close to exits or quieter edges for easy breaks.
A Planner’s Step-by-Step Seating Chart Process (That Actually Works)
This is the method wedding planners use when they need results without spiraling. Grab your guest list, a notes column, and your venue floor plan.
Step 1: Build a “relationship map” column on your guest list
Add quick tags next to each name. You’re not writing a novel—just enough to guide good decisions.
- Group: Bride’s family, Groom’s family, College friends, Work friends, Neighbors, etc.
- Social style: Chatty, quiet, shy, older, loves dancing, etc.
- Sensitivity flags: “Do not seat with ___,” “avoid alcohol-heavy tables,” “prefers aisle,” “hearing assistance,” etc.
Step 2: Place “anchor groups” first
Anchors are people who naturally belong together and help others feel comfortable.
- Immediate family: usually near the front, especially if speeches happen.
- Wedding party tables or placements: decide whether you’re doing a sweetheart table, head table, or mixing wedding party with partners.
- Older relatives / VIPs: seat closer to restrooms and away from speakers if noise is a concern.
Pro tip: If you’re doing a sweetheart table, consider seating wedding party members with their partners and friends. It often creates a more relaxed vibe than isolating them at one big head table.
Step 3: Create “conversation clusters” (not just friend groups)
Great tables usually have 2–3 mini-connections, not one giant clique that freezes everyone else out.
Try this formula for a 8–10 person table:
- 2–4 people who already know each other well
- 2–4 people with something in common (industry, hometown, hobbies, life stage)
- 2 “connectors” who are friendly and include others
Step 4: Use buffer seats and buffer tables for known tension points
If you have guests who can be civil but not cozy, distance is your friend.
- Buffer seats: Place a neutral, friendly guest between two people who may clash.
- Buffer tables: Separate groups with a physical gap (an aisle, a service station, or another table).
- Angle strategy: For long tables, don’t place tension points directly across from one another.
Step 5: Finalize table counts, then assign seats only if needed
Assigned seats can be helpful for:
- Divorced parents who need clear boundaries
- Very small weddings where every seat feels “visible”
- Formal plated meals with specific service flow constraints
If you don’t need it, skip it. Assigned tables are usually enough to prevent awkwardness without adding another layer of complexity.
Real-World Seating Scenarios (and How Planners Handle Them)
Scenario 1: Divorced parents who don’t get along
Goal: Everyone feels respected, no one feels trapped.
- Seat each parent with their supportive people (partner, close relatives, trusted friends).
- Avoid putting them at the same table “for the photos.”
- If they must be near the front, place them at separate front tables on different sides.
Pro tip: Tell your photographer the family dynamic ahead of time and provide a list of “must-have” groupings to avoid awkward on-the-spot requests.
Scenario 2: Exes in the guest list
Goal: Keep the focus on the couple, not old history.
- Seat exes at different tables and, if possible, in different zones of the room.
- Avoid shared “high traffic” areas like the bar line if you can by spacing tables smartly.
- If one ex is in the wedding party, consider a sweetheart table so you’re not forced into a head-table lineup.
Scenario 3: One single friend who doesn’t know anyone
Goal: Prevent the “alone at a table of couples” feeling.
- Seat them with a friendly group that shares interests (not just age).
- Place them near a “connector” guest who is naturally inclusive.
- If they’re extroverted, a lively table near the dance floor is great. If they’re shy, choose a calmer table with warm conversationalists.
Scenario 4: Work colleagues at the wedding
Goal: Keep it fun, not like a networking event.
- Don’t put every coworker at one table unless they are genuinely friends outside work.
- Mix colleagues with friends who match the vibe to keep the conversation personal and celebratory.
- Avoid seating your boss too close to your rowdier friends if that would make you self-conscious.
Scenario 5: Family who expects “traditional” seating
Goal: Respect elders without letting tradition create tension.
- Give VIP family members comfortable, convenient seats and clear table assignments.
- If you’re blending families, mix them gently—start with a “bridge table” of easygoing relatives from both sides rather than forcing a full merge everywhere.
Wedding Seating Chart Timeline (So You’re Not Doing This at Midnight)
- 8–10 weeks before: Confirm your reception layout options with the venue; decide assigned tables vs assigned seats.
- 6–8 weeks before: Start a draft chart once most RSVPs are in; identify any sensitive dynamics early.
- 3–4 weeks before: Refine with near-final RSVPs; confirm table sizes, high chairs, wheelchair access, and meal needs.
- 10–14 days before: Lock the chart after final RSVP deadline; share with your planner/coordinator and caterer.
- 1 week before: Print escort cards/place cards and a seating chart sign; keep a few blanks for last-minute changes.
Reality check: You will likely have 1–3 last-minute swaps (a no-show, an unexpected plus-one). Build flexibility into your plan.
Budget Considerations: Where to Spend (and Where to Save)
Affordable seating tools that still look polished
- Escort cards: Often cheaper than a large printed seating chart and easier to reprint if changes happen.
- Simple alphabetical display: A tidy list by last name can be more budget-friendly than a custom illustrated board.
- DIY seating chart mirror or foam board: Beautiful, but factor in design, printing, easel rental, and transport.
Costs couples forget to include
- Extra table needed because “10 per table” is too tight in real life
- Stationery reprints after RSVP changes
- Easel rentals or signage stands
- Calligraphy upgrades (gorgeous, but time-consuming and pricey)
Planner pro tip: Comfort is a hidden budget category. A slightly higher cost for one extra table can prevent cramped seating, blocked servers, and guests who leave early.
Common Seating Chart Mistakes to Avoid
- Making one “leftover table”: Guests can feel the energy immediately. Instead, spread “extras” across multiple warm, welcoming tables.
- Splitting couples to fill gaps: It reads as inconsiderate even if your intentions are good.
- Forgetting accessibility: Elderly guests, mobility devices, hearing needs, and proximity to restrooms matter more than symmetry.
- Over-prioritizing aesthetics: A perfect-looking floor plan that creates awkward social pairings isn’t worth it.
- Waiting until the last minute: Rushed seating charts create preventable tension—especially with blended families.
Wedding Planner Pro Tips for a Smooth, Awkwardness-Free Reception
- Use “table captains”: Place at least one friendly, socially skilled person at each table to set the tone.
- Keep sensitive guests away from the bar line: If someone has complicated history with alcohol or conflict, reduce friction points.
- Give intro help: Ask your DJ/band or coordinator to encourage mingling after dinner with a gentle announcement or a fun transition.
- Create a “soft landing” for solo guests: Seat them with welcoming people and near an easy exit to the dance floor or lounge area.
- Plan for changes: Have 2–3 flexible seats at friendly tables and a couple of blank escort cards ready.
Quick Checklist: Your Awkwardness-Prevention Seating Plan
- Choose assigned tables vs assigned seats
- Confirm table sizes, counts, and room layout with your venue
- Add notes to your guest list (connections, sensitivities, accessibility needs)
- Place anchors first (family, wedding party, VIPs)
- Build conversation clusters with connectors at each table
- Use buffer seats/tables for known tension
- Double-check accessibility, noise, and proximity to restrooms
- Lock the plan after final RSVPs; share with coordinator and caterer
- Print escort cards/seating chart; keep a few blanks
FAQ: Wedding Seating Charts
Do I really need a seating chart for my wedding reception?
If you’re hosting more than about 40–50 guests, a seating chart (or at least assigned tables) makes the reception smoother. It reduces wandering, prevents cliques from taking over prime seats, and helps guests feel cared for—especially those arriving alone.
What’s better: escort cards or a big seating chart sign?
Escort cards are often easier to update if RSVPs change and can reduce crowding at one sign. A large seating chart sign can look dramatic and photo-worthy, but it’s less flexible. Many couples choose escort cards for practicality and add a smaller welcome sign for style.
How do we seat divorced parents?
When relationships are tense, separate tables is usually best. Seat each parent with their supportive people and keep both tables equally “honored” (similar distance to the couple, similar table importance). Clear assignments prevent uncomfortable hovering.
Is it rude to assign seats instead of just tables?
Not rude—just more formal. Assigned seats can be a kindness when you’re managing delicate dynamics or a very intimate guest count. If you go this route, make it easy to find names with clear place cards and thoughtful table layouts.
What do we do with guests who don’t fit into any group?
Aim for “shared energy” over shared history. Seat them with friendly, welcoming guests and one or two people you know will include them. Avoid putting multiple isolated guests together without a connector—it can feel like a table of strangers waiting for someone else to start.
When should we finalize the seating chart?
Ideally, 10–14 days before the wedding, right after final RSVPs. That gives you enough time to print stationery, share details with your planner/coordinator, and handle last-minute changes without panic.
Your Next Steps
Start with a draft, not perfection. Build your guest list notes, place anchor groups first, and create tables that feel welcoming—not just balanced. If you have even one tricky dynamic, plan for it early and use buffers generously. You’ll feel the difference on the wedding day when guests settle in quickly, relax, and enjoy celebrating you.
If you want more practical wedding planning help—from reception timelines to etiquette guides and budget tips—browse more planning articles on weddingsift.com. We’re cheering you on every step of the way.
More Articles
 How to Plan a Wedding With a Guest Book Alternative
 Wedding Vendor Cancellation Policies What to Know
 How to Plan a Wedding Ceremony Script
How to Plan a Wedding With Multiple Events Over a Weekend
How to Plan a Wedding Ceremony Script
How to Plan a Wedding With Multiple Events Over a Weekend
 How to Plan a Multicultural Wedding That Honors Both Traditions
 Wedding Planning Mistakes First-Time Planners Make
 How to Plan a Wedding With a Dance Floor That Packs
 Wedding Planning Tools and Templates That Save Time
 Micro Wedding Planning Guide for Intimate Celebrations
 Wedding Vendor Reference Checks How to Do Them