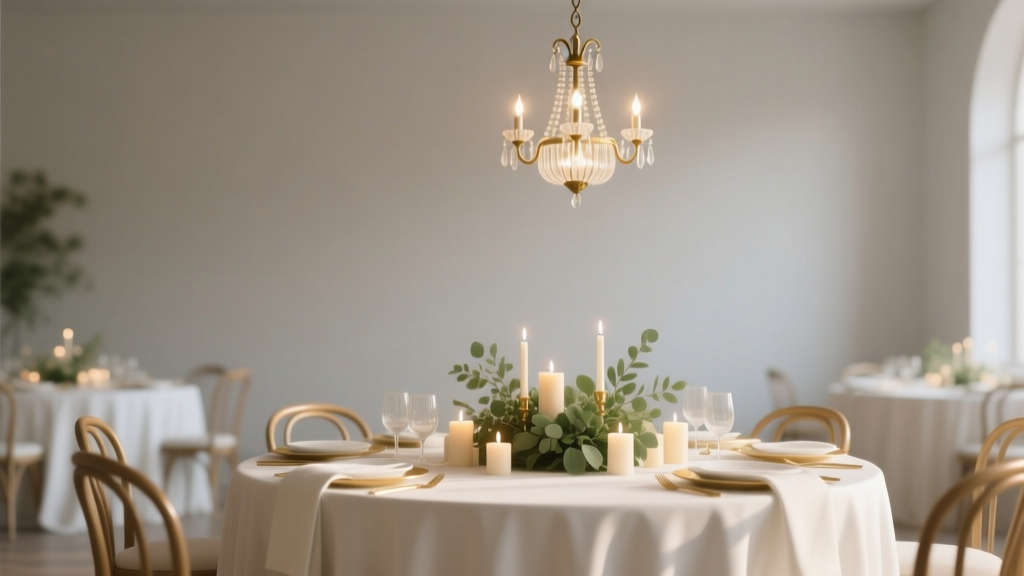
Wedding Planning How to Choose the Right Lighting
You can pick the dream venue, the perfect dress, and the most meaningful vows—and still feel like something was “off” if the lighting isn’t right. Lighting is one of those behind-the-scenes details that quietly shapes everything: the mood your guests feel when they walk in, how your photos look, and whether your reception feels cozy, romantic, energetic, or flat.
If you’re juggling budget spreadsheets, vendor emails, and a hundred tiny decisions, lighting can feel like one more thing. The good news: you don’t need to be a designer to get it right. You just need a clear plan, a few smart questions for your venue and lighting vendor, and a lighting approach that matches your style and priorities.
This guide will help you choose wedding lighting that looks beautiful in real life and photographs well—without overspending or overcomplicating the process.
Why Wedding Lighting Matters More Than You Think
Lighting affects:
- Atmosphere: Warm light feels intimate and romantic; cooler light can feel modern but sometimes harsh.
- Guest experience: People linger longer in spaces that feel welcoming and flattering.
- Photography and video: Your photographer can do a lot—but great lighting makes everything easier and more consistent.
- Room “finish”: Lighting can make a blank ballroom feel custom, highlight architectural details, and hide less-attractive elements.
- Flow and energy: Soft during dinner, vibrant during dancing—lighting helps guests naturally follow the vibe.
Start Here: Know Your Venue, Your Time of Day, and Your Mood
1) Identify your venue type and existing lighting
Before you rent anything, figure out what you already have. Ask your venue coordinator:
- What lighting is included (chandeliers, sconces, bistro strings, uplights, spotlights)?
- Can lights be dimmed? If yes, how (wall switch, app, in-house tech)?
- Are there color restrictions (some venues don’t allow colored uplighting or haze)?
- What’s the power situation (dedicated circuits, load limits, generator requirements outdoors)?
- Any restrictions on rigging (no hanging from beams, limited ceiling access)?
2) Map your wedding timeline to natural light
Natural light is gorgeous—until it disappears. Use the sunset time for your date and location and plan around it.
- Ceremony before sunset: Prioritize flattering, even light on faces; consider shade solutions outdoors.
- Ceremony after dark: Plan intentional illumination for the aisle, altar, and guest seating.
- Golden hour portraits: Great for photos, but you’ll want a plan for the reception lighting transition right after.
3) Choose 3 words for your lighting “feeling”
This makes decisions faster. Examples:
- Romantic / warm / candlelit
- Modern / clean / editorial
- Garden / twinkly / whimsical
- Classic / elegant / glowing
The Key Types of Wedding Lighting (And When to Use Each)
Ambient lighting (the base layer)
This is your overall room light. In many venues, it’s chandeliers or ceiling fixtures. The goal is comfort and visibility—without feeling like a conference room.
- Best for: Guest comfort, dinner visibility, safety in walkways
- Pro tip: If your venue lighting is too bright, ask if it can be dimmed and then add accent lighting (uplights, candles) to keep things flattering.
Accent lighting (uplighting, pin spots, washes)
Accent lighting adds depth and drama.
- Uplighting: Lights placed on the floor aimed upward, often around the perimeter of a room.
- Pin spotting: Focused light on centerpieces, cake, or head table florals.
- Wall washes: Soft, even color or warm white across a feature wall.
Best for: Transforming ballrooms, highlighting architectural details, creating a “designed” look
Task lighting (function first)
These are practical lights for places that need to be seen clearly.
- Examples: Bar lighting, buffet lighting, restroom hallway lighting, signage lighting, steps and pathways outdoors
Decorative lighting (the pretty layer)
This is what guests remember visually.
- String lights / bistro lights: Perfect for outdoor receptions, tents, and courtyards.
- Chandeliers in tents: Adds elegance and a focal point.
- Lanterns: Great for walkways and patio corners.
- Neon signs: Fun photo moment; works best when balanced with ambient light so it doesn’t dominate.
Dance floor lighting (energy and movement)
If you’re hiring a DJ, ask what lighting is included and what’s optional.
- Examples: Moving heads, color-changing lights, gobos (monograms), light bars
- Pro tip: Keep dinner lighting warm and steady, and save the party effects for open dancing.
A Step-by-Step Plan to Choose the Right Wedding Lighting
Step 1: List your “lighting moments”
Think in moments, not fixtures. Common moments include:
- Ceremony entrance + vows
- First kiss + recessional
- Cocktail hour mingling
- Grand entrance
- Toasts
- First dance + parent dances
- Dinner
- Cake cutting
- Open dancing
- Exit (sparkler, bubbles, vintage car send-off)
Step 2: Decide what you want to highlight
If you only have budget for a few upgrades, pick the areas that show up in photos and guest memories:
- Head table or sweetheart table backdrop
- Ceremony focal point (arch, chuppah, altar, statement tree)
- Dance floor
- Cake table
- Room perimeter (uplighting makes the whole space feel intentional)
Step 3: Match lighting color temperature to your vibe
- Warm white (around 2700K–3000K): Romantic, flattering on skin, classic “wedding glow.”
- Neutral (around 3500K): Clean and modern; good for contemporary venues.
- Cool (4000K+): Can feel bright/clinical; best used intentionally for modern designs or task lighting.
Planner tip: Warm lighting + warm florals + candlelight is a reliable formula for a cozy, elevated reception.
Step 4: Create a simple lighting “budget ladder”
Lighting can range from minimal to magazine-level transformation. Here’s a realistic way to prioritize:
- Must-have: Dimmable ambient light + enough task lighting for safety (especially outdoors).
- Nice-to-have: Uplighting around the room + pin spots on centerpieces/cake.
- Dream layer: Statement installation (tent draping with lighting, chandelier clusters, ceiling washes, custom gobos, runway lighting for ceremony aisle).
Step 5: Get quotes with the same scope (so you can compare)
When requesting lighting rental proposals, send the same details to each vendor:
- Venue name + photos (empty room photos help a lot)
- Guest count and floor plan (or a sketch)
- Your timeline (ceremony start, sunset, reception end)
- What’s included through venue/DJ already
- Your “3 words” mood
- Priority areas (e.g., “Make the head table glow; keep dinner warm; fun dance lighting after 9pm”)
Real-World Lighting Scenarios Couples Actually Face
Scenario 1: The classic ballroom feels too bright
What happens: Overhead house lights make the room feel flat, and photos look harsh.
Fix:
- Ask to dim chandeliers/house lights to 30–50% during dinner.
- Add warm uplighting around the perimeter to keep the room bright enough without glare.
- Pin spot centerpieces so tables still feel “lit” in photos.
Scenario 2: Outdoor ceremony at sunset turns dark fast
What happens: Vows start in pretty light, but by the time you’re walking back down the aisle, faces are shadowy.
Fix:
- Add discreet lighting near the ceremony focal point (warm wash lights aimed at the altar/arch).
- Use lanterns or low path lighting for the aisle edges.
- Tell your photographer the ceremony will transition to low light so they can plan settings/equipment.
Scenario 3: A tented reception needs “structure”
What happens: A tent can feel like a big blank box after dark.
Fix:
- Install bistro lights in clean lines (or a canopy pattern) for a warm ceiling “sky.”
- Add chandelier clusters over the dance floor or tables for focal points.
- Use uplights on tent poles to define the space.
Scenario 4: Candlelit look, but the venue doesn’t allow open flames
Fix:
- Use high-quality LED candles with realistic flicker (choose warm, not bright white).
- Combine with pin spotting so tables still photograph beautifully.
- Add small lamps on lounge areas for a cozy “restaurant” vibe.
Common Wedding Lighting Mistakes (And How to Avoid Them)
- Relying only on venue house lights: They’re designed for practicality, not romance. Ask about dimming and layer in accent lighting.
- Not planning for darkness outdoors: Pathways, stairs, and parking areas need lighting for safety and comfort.
- Mixing too many light colors: Warm uplights + cool DJ lights + blue LEDs can clash. Choose a main tone (usually warm white) and keep color moments intentional.
- Forgetting the cake, sweetheart table, or escort display: These often end up in a dim corner. A small spotlight makes a huge difference.
- Overdoing dance lighting too early: Moving lights during dinner can kill the intimate mood. Keep effects for later.
- Skipping a venue walk-through after dark: A daytime tour won’t show you where shadows fall at 8:30pm.
Wedding Planner Pro Tips for Beautiful Lighting (Without the Stress)
- Ask your photographer what they prefer: Many photographers love warm, directional light and consistent color temperatures.
- Use lighting to “hide” less-pretty areas: Dim the edges of the room and spotlight what matters (head table, florals, dance floor).
- Place uplights evenly: Good spacing looks seamless; random gaps look accidental.
- Consider guest comfort: Avoid lights aimed directly at seating areas—no one wants a spotlight in their eyes during toasts.
- Create a lighting cue list: Tell your DJ/lighting tech when to shift scenes (dinner → toasts → first dance → open dance floor).
Budget and Timeline Advice for Booking Wedding Lighting
What lighting typically costs (general guidance)
Pricing varies by region and venue complexity, but here are realistic categories to help you plan:
- Small enhancement: A few pin spots, simple uplighting, or added task lighting for key areas.
- Medium upgrade: Full-room uplighting + pin spotting + dance floor lighting package.
- Full transformation: Tented ceiling installs, chandeliers, custom rigs, extensive outdoor pathway lighting, or large-scale designs.
Budget tip: If you’re choosing between more florals and better lighting, lighting often gives a bigger “wow” per dollar—because it impacts the entire room and every photo.
When to book lighting
- 6–9 months out: Great time to book for peak season dates or complex installs (tents, custom designs).
- 3–6 months out: Solid window for ballroom uplighting, pin spots, and standard reception packages.
- 4–8 weeks out: Finalize cue lists, floor plans, and confirm power access; schedule a final walk-through if possible.
Your lighting planning checklist
- Confirm venue lighting inclusions and dimming capabilities
- Check sunset time and decide how you’ll light ceremony + portraits
- Choose your lighting mood words (3 max)
- Identify priority areas to highlight
- Request quotes using the same scope and timeline
- Coordinate DJ lighting vs. lighting rental (avoid duplicates)
- Create lighting cues for key moments (toasts, first dance, open dancing)
- Do a night-of plan for outdoor safety lighting (paths, steps, exits)
FAQ: Wedding Lighting Questions Couples Ask All the Time
Do I need uplighting for my wedding reception?
Not always, but uplighting is one of the easiest ways to transform a space—especially ballrooms, blank walls, and venues with bright overhead lights. If you want a warmer, more romantic reception look, uplighting is often worth it.
What lighting makes wedding photos look best?
Warm, even lighting with clear focal points photographs beautifully. Dimmable ambient light plus accent lighting (uplights and pin spots) helps avoid harsh shadows and keeps skin tones flattering.
Should I get lighting through my DJ or a separate lighting vendor?
If you just want dance floor effects, your DJ package may be enough. If you want room transformation (uplighting, pin spotting, ceremony lighting, tent installs), a dedicated lighting vendor typically has more options and cleaner setups. Ask both for a detailed list of what’s included.
How do I plan lighting for an outdoor wedding?
Plan for three needs: visibility (paths/steps), focus (ceremony area and key moments), and ambiance (string lights, lanterns). Also confirm power sources early—outdoor lighting often requires dedicated circuits or a generator.
Can I do wedding lighting on a tighter budget?
Yes. Prioritize the highest-impact areas: dimming overheads, adding warm uplighting around the perimeter, and one or two spotlights for the cake and head table. You’ll get a noticeable upgrade without a full-scale install.
When should lighting change during the reception?
A common flow is: brighter (but warm) for dinner, slightly focused for toasts, more romantic for first dance, then higher-energy effects once open dancing begins.
Next Steps: Your Simple Lighting Game Plan
If you do nothing else this week, do these three things:
- Ask your venue what lighting is included and whether it can be dimmed.
- Look up sunset time for your date and identify where lighting support is needed (ceremony, cocktail hour, exits).
- Choose your top priorities (room glow, head table highlight, dance floor energy) and request quotes accordingly.
When your lighting feels intentional, everything else you’ve planned looks even more beautiful—your florals, your tables, your outfits, your faces in photos, and the overall mood your guests will remember.
Want more wedding planning help? Browse more friendly, practical planning guides on weddingsift.com and keep building a day that feels like you.
More Articles
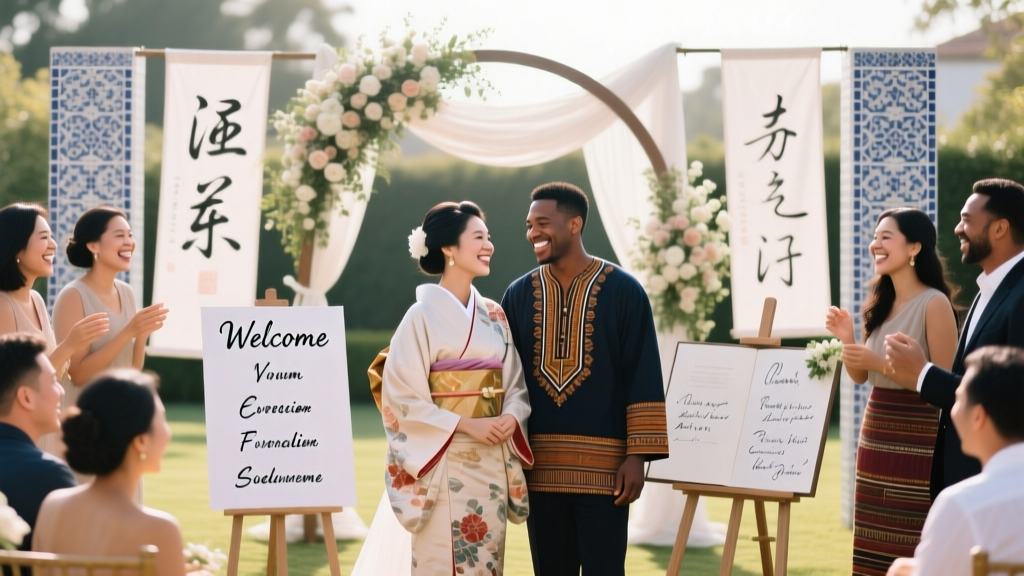 How to Plan a Wedding That Welcomes International Guests
 How to Choose the Perfect Wedding Date
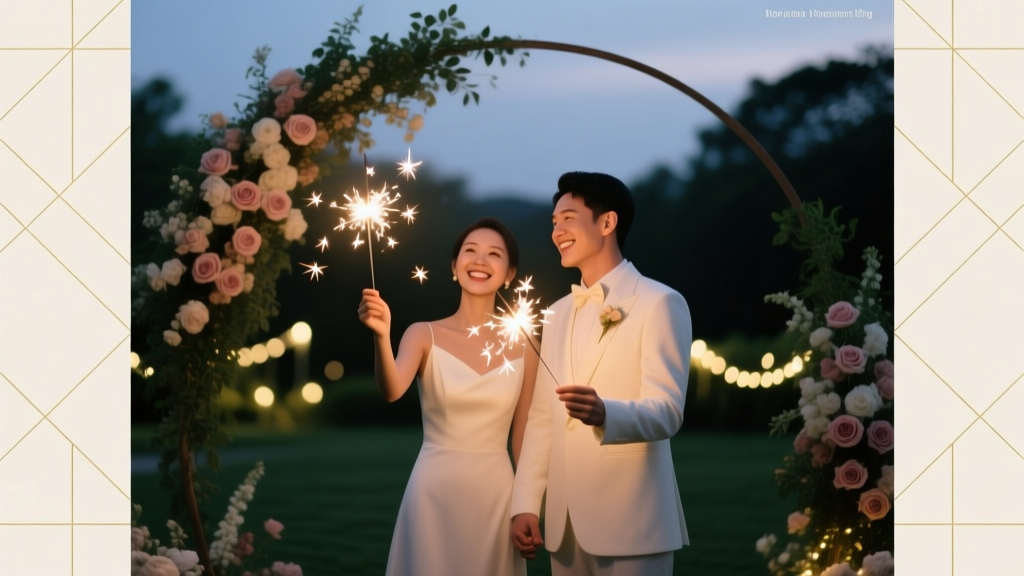 How to Plan a Wedding With a Sparkler Send-Off
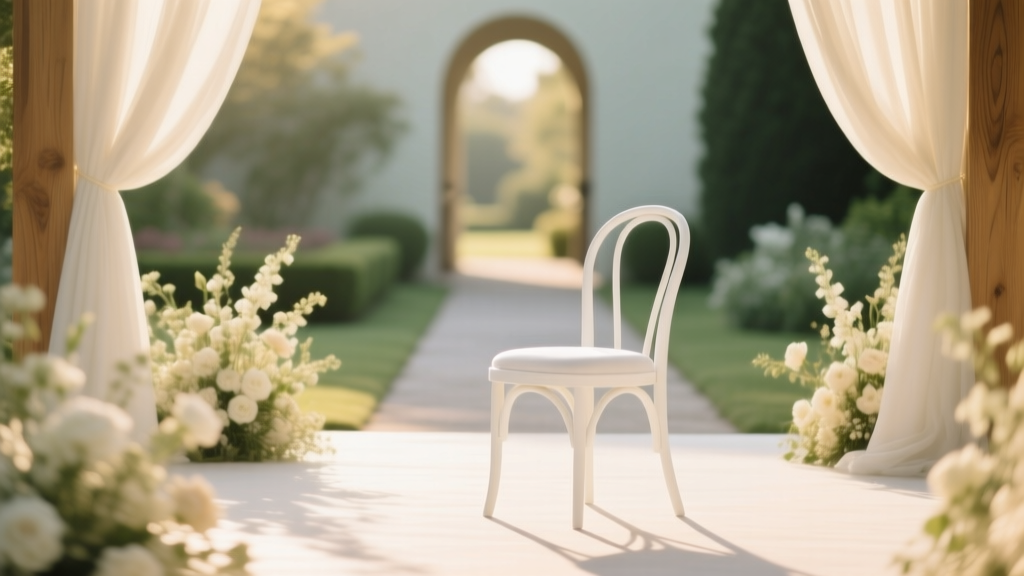
 How to Choose Between All-Inclusive Venues and Blank Canvas Spaces
 Wedding Planning Checklist for the Month Before
 Wedding Planning How to Choose Ceremony Participants
 How to Choose the Right Wedding Officiant
 How to Plan a Wedding With a Beautiful Place Cards Display
 How to Plan a Wedding With Multiple Events Over a Weekend
Wedding Transportation Options for You and Your Guests
How to Plan a Wedding With Multiple Events Over a Weekend
Wedding Transportation Options for You and Your Guests