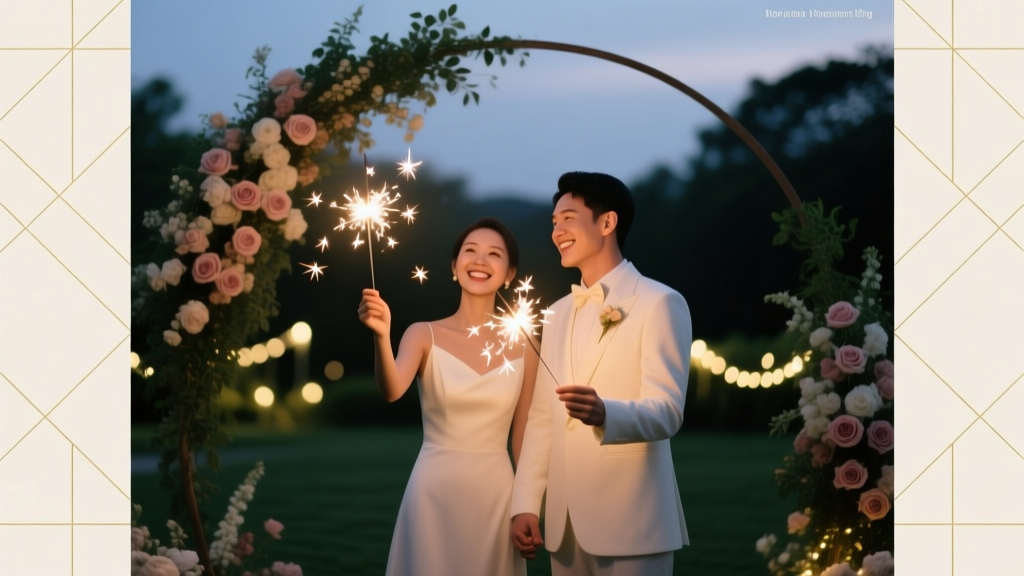
How to Plan a Wedding With a Sparkler Send-Off
If you’re considering a sparkler exit, you’re probably balancing a few emotions at once: excitement for a “wow” moment, nervousness about safety and venue rules, and that practical voice in your head asking, “How do we pull this off without chaos?” You’re not alone. A sparkler send-off can be smooth, safe, and stunning with a little planning and the right timing.
This guide walks you through exactly how to plan a wedding sparkler send-off—from choosing the right sparklers and building your timeline to keeping guests comfortable and your photos looking incredible.
What a Sparkler Send-Off Actually Looks Like (and When It Works Best)
Best scenarios for a sparkler send-off
- Outdoor-friendly venues with an open space near the reception area
- Weddings with a strong photo focus (night portraits, cinematic shots)
- Guest lists of 60–200 where you can organize people quickly
- Couples leaving in a getaway car for a classic exit photo
Times it may not be ideal
- Venues with strict fire bans or high wildfire-risk seasons
- Indoor-only locations with no safe outdoor area
- Very early evening receptions (sparklers show best after dark)
- Huge guest counts without enough staff/coordination (unless you simplify it)
Step 1: Confirm Venue Rules, Permits, and Local Fire Restrictions
Before you buy a single sparkler, ask your venue and coordinator these questions. Many couples assume sparklers are automatically allowed—then find out the week of the wedding that they’re not.
Venue questions checklist
- Are sparklers allowed on-site? If yes, are there specific sizes permitted?
- Is there a designated area for lighting them (patio, driveway, courtyard)?
- Do you require a fire safety attendant or additional insurance?
- Are there quiet hours that affect the timing of a send-off?
- Do you require metal buckets, sand, or water bins for disposal?
- Are there restrictions due to drought/wildfire season or local ordinances?
Real-world scenario
A couple planning a vineyard wedding in late summer learned that sparklers were allowed only on the paved driveway (not near the vines) and only with a sand bucket for disposal. They moved the send-off to the front entrance and got gorgeous photos with the venue sign in the background—plus peace of mind.
Step 2: Choose the Right Sparklers (Size Matters More Than You Think)
For wedding send-offs, longer sparklers are usually the best choice. Short sparklers burn out quickly, and nothing kills the moment like half the line going dark mid-walk.
Recommended sparkler types
- 20-inch or 24-inch sparklers: Best for photos and timing; burn longer so guests aren’t rushed.
- Smokeless or low-smoke options: Helpful for sensitive guests and cleaner photos, depending on the brand.
- Wedding sparklers with thicker wire: Easier to hold and less flimsy when guests are excited.
How many sparklers should you buy?
Plan for one per guest participating, plus extras for misfires and double-lighting.
- Guest count participating: Usually 60–90% of your reception guests (not everyone stays until the end).
- Add 10–20% extra for backups.
Example: 120 guests expected to stay late. If 90 guests will likely participate, buy 100–110 sparklers.
Budget range
- Sparklers: Often $30–$120+ depending on quantity and length
- Lighters/torch lighters: $10–$30
- Safety/disposal supplies (buckets, sand, signage): $15–$60
- Coordinator help (if added): Varies; worth it if your venue doesn’t provide staffing
Step 3: Build the Sparkler Send-Off Into Your Wedding Timeline
Timing is where sparkler exits either feel effortless—or stressful. The goal is to do it when it’s dark enough for the glow, but not so late that you’re wrangling a half-tired crowd.
Option A: True end-of-night send-off
Best for couples who want the send-off to be their final moment before leaving.
- Ideal timing: 10–15 minutes before your contracted end time
- Why: Gives you time for lining up, photos, and a clean exit without pushing past venue hours
Option B: “Fake exit” (planner favorite)
This is a pro move: you do the sparkler send-off earlier (when it’s dark), take photos, then go back inside to keep partying.
- Ideal timing: After dinner + key dances + 30–60 minutes of open dancing
- Why: More guests participate, energy is higher, and you avoid the late-night scramble
Timeline example (fake exit)
- 7:00 PM – Dancing begins
- 7:45 PM – DJ announces sparkler send-off in 10 minutes
- 7:55 PM – Guests line up outside; sparklers handed out
- 8:00 PM – Sparklers lit; couple walks through twice for photos
- 8:05 PM – Couple returns inside; sparklers collected/disposed
Step 4: Assign Roles So You’re Not Managing It Yourself
You should not be the person handing out sparklers in your wedding attire. A smooth send-off needs a few people with clear tasks.
Who does what (simple staffing plan)
- Coordinator/Planner: Runs timing, cues DJ, confirms area is ready, supervises safety.
- DJ/MC: Makes announcements and directs guests clearly.
- 2–4 helpers (bridal party, ushers, or venue staff): Hand out sparklers, light the first few, manage disposal buckets.
- Photographer + second shooter (if available): One captures the wide tunnel, the other focuses on close-ups and reactions.
Helpful supplies checklist
- Torch lighters or long utility lighters (wind-proof if possible)
- Extra sparklers (misfires happen)
- Two metal buckets: one for unused sparklers, one for spent sparklers
- Sand or water in the disposal bucket (per venue rules)
- Signage: “Please hold sparklers away from faces and clothing”
Step 5: Make It Safe, Comfortable, and Guest-Friendly
Sparklers are fun, but they’re still hot. A few safety steps protect your guests, your attire, and your venue relationship.
Guest safety guidelines (what to tell people)
- Hold sparklers at arm’s length, angled slightly away from the center walkway.
- Keep sparklers away from children (consider glow sticks for kids instead).
- No waving sparklers near faces, hair, veils, or alcohol-heavy groups.
- Once finished, place sparklers in the designated bucket only.
Comfort tips couples appreciate
- Windy night? Use torch lighters and assign helpers to light sparklers down the line quickly.
- Cold weather? Consider a shorter “tunnel” with fewer participants (closer together) so guests aren’t standing outside long.
- Mobility needs? Make the walkway wide and accessible; choose a flat, paved area.
Step 6: Plan the Photo Moment (So Your Gallery Looks Like the Pinterest Dream)
Your photographer can do a lot, but sparkler photos require coordination. Talk through the plan in advance so they can set lighting, angles, and placement.
Photo planning checklist
- Choose your location: Ideally a darker background, away from bright streetlights and clutter.
- Create a wide enough walkway: About 4–6 feet so you can walk comfortably and not brush against sparklers.
- Walk slowly: Smile, look at each other, and take your time—photos need seconds, not a sprint.
- Do a “walk-through” twice: Once for the wide shot, once for close-ups and a kiss at the end.
Specific scenario: big dress + long veil
If you’re wearing a full skirt or cathedral veil, ask a helper to bustle the dress (if applicable) and either remove the veil or have it carried behind you. Sparklers can catch on fabric surprisingly easily when guests lean in for a better view.
Lighting tip
Many photographers bring off-camera flash for sparkler exits. It’s worth it. The glow is beautiful, but the flash helps keep your faces crisp and bright instead of shadowy silhouettes.
Step-by-Step: The Sparkler Send-Off Run of Show (Copy/Paste Checklist)
- 30 minutes before: Coordinator confirms the send-off area is clear, buckets are placed, and sparklers/lighters are ready.
- 15 minutes before: DJ/MC announces the upcoming send-off and asks guests to head to the designated spot.
- 10 minutes before: Helpers hand out sparklers (unlit) and instruct guests to form two lines.
- 5 minutes before: Photographer sets position; coordinator checks spacing and walkway width.
- 2 minutes before: Helpers light sparklers starting from the far end and working toward the couple’s entry point.
- Go time: Couple walks through slowly; pause for a kiss at the end; consider a second pass if sparklers are still burning.
- After: Guests place spent sparklers into the disposal bucket; coordinator confirms the area is clean and safe.
Common Mistakes to Avoid (and Planner Pro Tips)
Mistake: buying short sparklers
Fix: Choose 20-inch or 24-inch sparklers so you’re not racing against the burn time.
Mistake: waiting until the last possible minute
Fix: Start lining people up 10–15 minutes before your planned moment. Herding guests always takes longer than expected.
Mistake: no disposal plan
Fix: Have labeled metal buckets with sand/water per venue requirements, plus one helper dedicated to disposal direction.
Mistake: unclear guest instructions
Fix: Have your DJ say exactly what to do, in simple language. Example: “Please form two lines, leave a walkway in the middle, and hold sparklers out and up—away from the center.”
Mistake: choosing a bright, cluttered location
Fix: Scout a darker background earlier in the day. Parking lots can work if you angle away from cars and use landscaping or building facades as your backdrop.
Planner pro tips
- Do a “mini send-off” with just the wedding party if your venue limits sparklers or your guest list is very large.
- Keep kids included with ribbon wands or LED glow sticks while adults handle sparklers.
- Protect your exit route: If you’re doing a getaway car, make sure the driver knows where to park and when to pull up.
- Have a rain plan: If it’s wet or windy, switch to LED wand send-off or bubbles (some venues prefer these anyway).
FAQ: Sparkler Send-Off Wedding Planning Questions
Are sparklers allowed at all wedding venues?
No. Some venues prohibit open flame entirely, and others restrict sparklers during dry seasons or require specific safety measures. Ask early, and get the rule in writing if possible.
What size sparklers are best for a wedding send-off?
Most couples and photographers prefer 20-inch or 24-inch sparklers because they burn longer and give you time for a slow walk and multiple photos.
How do you light sparklers quickly for a large group?
Use 2–4 helpers with torch lighters. Start lighting from the far end of the line and move toward the couple’s entry point, so the first sparklers lit aren’t burned down by the time you walk through.
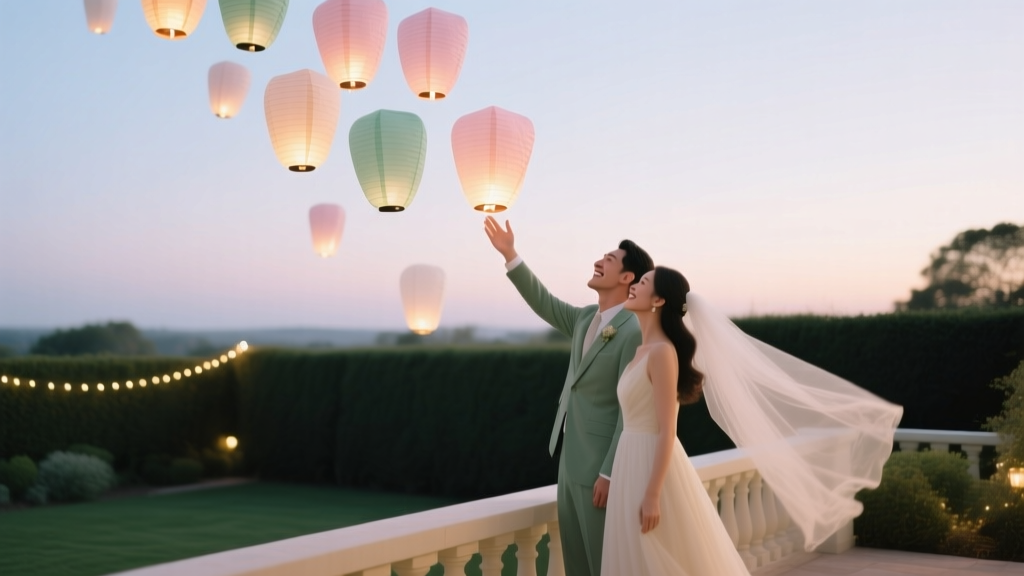
What can we do instead of sparklers if our venue doesn’t allow them?
Great alternatives include LED foam sticks, glow wands, bubbles (outdoors), ribbon wands, confetti poppers (venue permitting), or a candle lantern send-off supervised by staff.
Should we do a real exit or a fake exit?
If you want more guest participation and less end-of-night pressure, a fake exit is usually the easiest. If your wedding ends with a formal departure and a getaway car, a true end-of-night send-off can feel classic and satisfying.
How much time should we schedule for the sparkler send-off?
Plan for 10–15 minutes total (lining up, lighting, photos, and cleanup). Larger groups or tricky layouts may need closer to 20 minutes.
Your Next Steps: Make It Simple, Safe, and So You
If a sparkler send-off feels like “your vibe,” start with the practical foundation: confirm venue rules, choose long sparklers, and build a timeline that doesn’t rush the moment. Then hand the execution to your coordinator, DJ, and a couple of trusted helpers so you can enjoy the magic without managing it.
To keep moving, here’s your quick action list for this week:
- Ask your venue about sparkler policies, restrictions, and disposal requirements
- Decide: real exit vs. fake exit
- Estimate how many guests will participate and order sparklers + lighters
- Tell your photographer you’re planning a sparkler send-off and confirm the best location
- Assign 2–4 helpers and share the run of show
When it’s planned well, a sparkler send-off isn’t just a photo op—it’s a shared, joy-filled moment with the people who showed up for your love story.
Want more ideas and timelines that actually work? Explore more planning guides on weddingsift.com and keep building a wedding day that feels effortless, meaningful, and completely yours.
More Articles
 How to Plan a Wedding With a Memorable Send-Off
 Wedding Planning How to Manage the Flower Girl
 Wedding Seating Chart Strategies That Prevent Awkwardness
 Wedding Planning Power and Electricity Needs at Venues
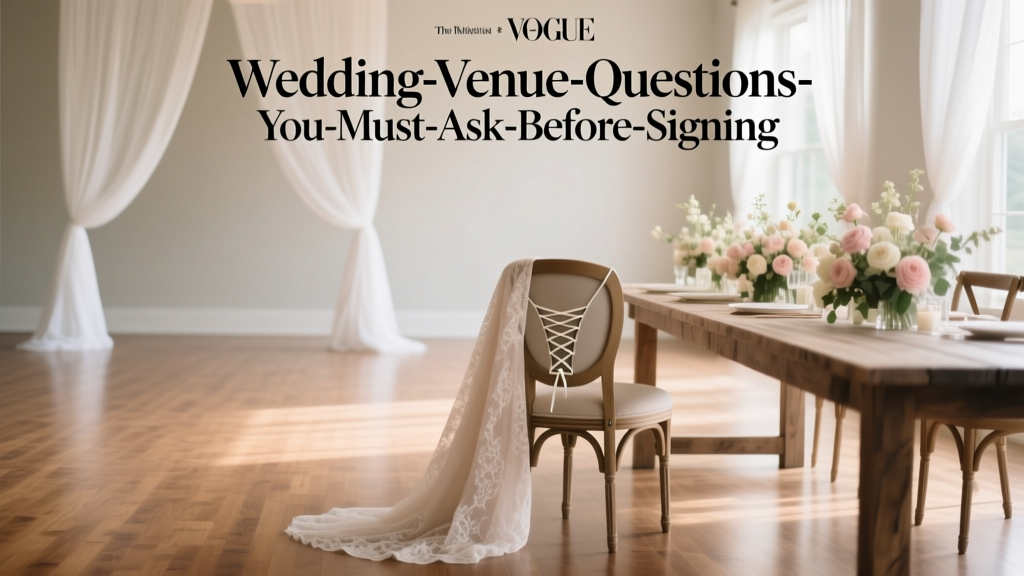 Wedding Venue Questions You Must Ask Before Signing
 Wedding Planning Division of Labor Between Partners
 Wedding Planning How to Manage Getting Ready Photos
 Wedding Planning During Holiday Season Pros and Cons
 How to Plan a Wedding When Both Families Pay
 Wedding Vendor Payment Schedule Best Practices