How to Plan a Wedding With a Grand Exit
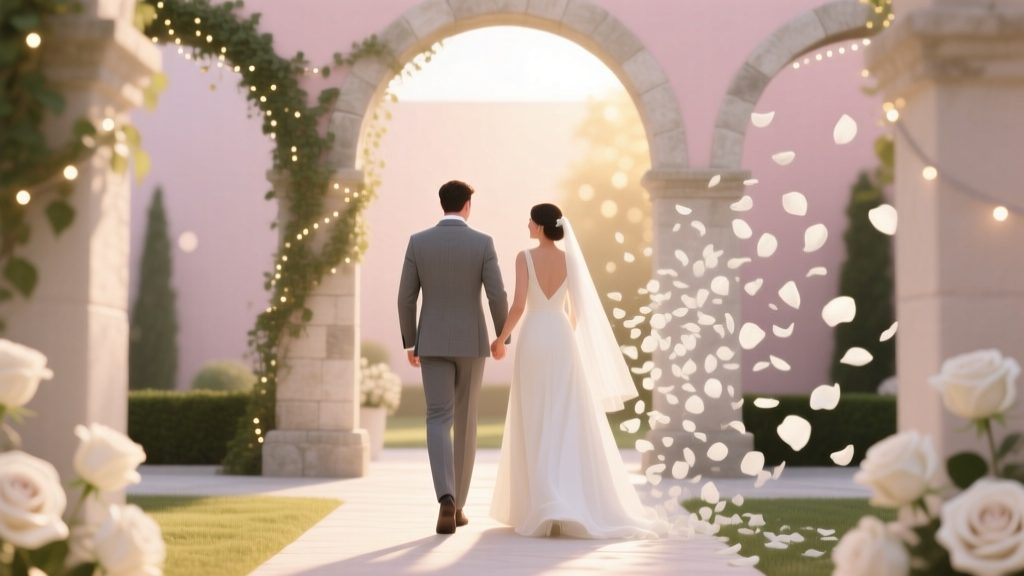
You’ve planned the ceremony, picked the playlist, obsessed over linens, and practiced your first dance in the living room. Then it hits you: how do we want to leave? That final moment—the one that sends you into married life—can feel just as meaningful as the walk down the aisle.
A grand wedding exit isn’t about being flashy (unless you want it to be). It’s about creating a joyful, cinematic send-off that feels like you. Done well, it ties the whole celebration together, gives your photographer a last “wow” shot, and lets you end the night on a high note instead of quietly packing up centerpieces.
This guide walks you through exactly how to plan a wedding send-off that’s safe, photo-friendly, budget-aware, and timed perfectly—plus common mistakes to avoid and planner-level tips to make it effortless.
What Counts as a “Grand Exit” (and What It Doesn’t)
A grand exit is a planned, coordinated moment where guests participate in sending you off—sparklers, confetti, bubbles, glow sticks, vintage car, you name it. It typically includes:
- A clear time and announcement
- A designated exit route (often outdoors)
- A send-off element (sparklers, petals, streamers, etc.)
- A transportation “finale” (car, shuttle, trolley, or even a golf cart)
- Photo/video coverage
What it’s not: an accidental disappearance at the end of the night while your guests are looking for their coats. If you want the emotional payoff and the photos, it needs a little structure.
Step 1: Choose the Right Style of Exit for Your Venue and Vibe
Match the send-off to your wedding vibe
Your exit should feel consistent with the day. A black-tie ballroom wedding may suit a classic car departure and handheld sparklers outside. A garden wedding might lean toward flower petals, ribbon wands, or bubbles.
Popular grand exit ideas (with vibe cues):
- Sparkler exit: Romantic, classic, dramatic night photos
- Bubbles: Whimsical, daytime-friendly, kid-friendly
- Lavender or dried flower toss: Elegant, earthy, photo-friendly
- LED glow sticks/light wands: Party-forward, great for venues with flame restrictions
- Ribbon wands: Cute, safe, works well indoors or outdoors
- Confetti poppers (biodegradable): Bold, celebratory—check cleanup rules
- Streamers (handheld or poppers): Fun, retro, minimal mess if controlled
Confirm venue rules early
Before you buy anything, ask your venue (or planner) these questions:
- Are sparklers, candles, or open flames allowed?
- Are confetti or petals allowed? Are they required to be biodegradable?
- Where is the approved exit location (front drive, courtyard, side patio)?
- Do we need security approval or a fire permit?
- Who handles cleanup, and is there an added fee?
- What time do we have to be off the property?
Real-world scenario: A downtown hotel wedding often doesn’t allow sparklers due to fire regulations. Couples still get a “grand exit” by using LED foam wands in the lobby and stepping into a vintage car at the porte-cochère for photos.
Step 2: Decide on a Real Exit vs. a “Staged” Exit
This is one of the biggest decisions—and it affects your timeline, guest experience, and budget.
Option A: Real exit at the end of the night
- Pros: Feels authentic; you truly leave; guests are already gathered
- Cons: Guests may be tired/filtered; fewer people participate; vendors may be packing up
Option B: Staged exit earlier (then you return to party)
- Pros: More guests participate; better energy; vendors are ready; you get the shot
- Cons: Requires coordination; you’ll need a plan for “what happens next”
Planner pro tip: If your reception ends at 11:00 p.m., a staged exit around 9:45–10:15 p.m. often creates the best photos and turnout—then you can come back in for late-night snacks and dancing.
Step 3: Build a Timeline That Makes the Exit Feel Effortless
Grand exits fail when they’re treated like an afterthought. Add it to your wedding day timeline alongside cake cutting, last call, and transportation.
Sample timeline (real exit at the end)
- 30–45 minutes before exit: DJ/band announces the final events (last dance, last call)
- 20 minutes before: Coordinator distributes sparklers/wands/poppers; ushers start guiding guests
- 10 minutes before: Photographer and videographer set lighting/positions
- 5 minutes before: Couple is escorted to a holding spot near the exit door
- Exit moment: Music cue + send-off
- After exit: Couple gets in car; photographer captures 1–2 “just married” shots; couple departs (or circles back for staged exits)
Where the exit fits best in the reception flow
- After the last dance: Most natural, especially for real exits
- After cake cutting: Useful for earlier staged exits
- After late-night snack: Keeps guests engaged; exit becomes the “final act”
Specific scenario: If you’re hosting a brunch wedding that ends at 3:00 p.m., bubbles or ribbon wands make more sense than sparklers. Schedule the exit right after your final toast, while guests are still gathered and the light is bright and flattering.
Step 4: Choose Exit Items That Photograph Well (and Won’t Cause Stress)
Sparklers: stunning, but plan carefully
If your venue allows them, sparklers can create a magazine-worthy tunnel of light. Choose long sparklers (often 18–36 inches) for enough burn time to get everyone lit and posed.
Plan for:
- Long sparklers (short ones burn out too fast)
- Wind-proof lighters or torch lighters
- Metal buckets with sand/water for used sparklers
- 2–4 “sparkler captains” to light rows quickly
Petals, dried florals, or lavender: romantic and eco-friendly
These are gorgeous in photos, especially in daylight or golden hour. Confirm cleanup rules, and avoid anything slippery on smooth flooring.
Bubbles: easy, affordable, and child-approved
Bubbles are a favorite for couples with lots of kids attending. Assign someone to remove bubble bottles from the aisle afterward to prevent slipping.
Glow sticks/LED wands: the best flame-free alternative
Ideal for venues with strict rules, late-night dance vibes, and high-energy crowds. They also double as fun props on the dance floor.
Confetti: dramatic, but ask about cleanup fees
If you love the look, choose biodegradable options and limit the “blast zone.” Confetti often comes with added cleaning costs or restrictions—especially on beaches, historic properties, and urban sidewalks.
Step 5: Plan Your Transportation (and the Photo Moment)
Your getaway vehicle is part of the story. It doesn’t have to be expensive—it just needs to be reliable and timed well.
Transportation options by budget
- Budget-friendly: A friend’s classic car, a pre-booked rideshare with a pickup plan, venue golf cart
- Mid-range: Luxury sedan, vintage car rental for 1–2 hours, shuttle drop-off for the couple
- Splurge: Stretch limo, classic convertible, antique Rolls-style car, private driver all evening
Don’t forget these details
- Pickup location: Confirm where vehicles can park and turn around
- Decoration rules: Many rentals don’t allow “Just Married” signs taped to paint
- Overnight bag: Pack essentials (IDs, phone chargers, outfit change, snacks, water)
- End destination: Hotel, after-party, airport, or simply a loop around the block for staged exits
Planner pro tip: If you’re doing a staged exit, tell the driver to take a slow lap and return to a discreet side entrance. Your coordinator can guide you back inside so guests aren’t confused.
Step 6: Assign Roles So You’re Not Managing the Exit in Your Wedding Attire
The exit needs a point person (or two) who isn’t you. If you have a wedding planner or day-of coordinator, they’ll run this. If not, assign it.
Exit role checklist
- Exit coordinator: Lines guests up, confirms timing, cues DJ
- Item distributors: Hands out sparklers/bubbles/LED wands
- Lighters/captains (for sparklers): Light quickly and safely
- Cleanup helper: Collects used items, prevents venue issues
- Transportation contact: Communicates with driver, confirms arrival
Specific scenario: If your wedding party is enthusiastic, assign two attendants as “sparkler captains.” Give them lighters, a quick safety briefing, and a simple goal: light the ends first, then work inward so everyone’s sparkler is going at the same time.
Budget Considerations: What a Grand Exit Really Costs
A grand exit can be as affordable or as lavish as you choose. Here’s what to budget for:
- Exit items: $30–$300+ depending on guest count and item type
- Transportation: $0 (borrowed car) to $1,000+ (luxury/vintage rentals)
- Extra photography time: $150–$600+ if you need overtime
- Cleanup fees: $0–$500+ for confetti/petals depending on venue
- Permits/security: Varies by city/venue, especially for open flames
Money-saving tip: Choose an exit item that doubles as a reception prop—LED wands or glow sticks can start on the dance floor and finish as your exit tunnel.
Common Mistakes to Avoid (So Your Exit Doesn’t Fizzle)
- Waiting too late: If half your guests leave early, your send-off looks sparse. Consider a staged exit.
- Not announcing it clearly: Guests won’t magically gather outside. Have the DJ make a warm, specific announcement.
- Buying the wrong quantity: Order enough for 2 lines of guests, plus extras. For sparklers, you often need one per guest (or per couple).
- No lighting plan: Night exits need light. Ask your photographer if off-camera flash is required.
- Mess without a cleanup plan: Confetti and petals can strain venue relationships and cost you extra.
- Unsafe setup: Sparklers near dry florals, long veils, or crowded spaces can be risky. Safety first.
Wedding Planner Pro Tips for a Seamless, Photo-Ready Exit
- Create a “holding spot”: Pick a private area near the exit door so you’re not weaving through guests at the last second.
- Do a quick test shot: If possible, have your photographer test the lighting during dinner.
- Short and sweet wins: The best exits are 30–90 seconds. Long exits lose energy fast.
- Choose a music cue: Ask the DJ to play a specific upbeat chorus as you exit.
- Tell guests what to do: Simple directions work: “Two lines, face inward, hold sparklers high, and wait to light until instructed.”
- Plan for weather: Have a rain backup (bubbles/ribbon wands indoors, or a covered walkway).
A Simple Grand Exit Planning Checklist
- Confirm venue rules (flame, confetti, cleanup, exit location)
- Pick your exit style (sparklers, bubbles, petals, LED, etc.)
- Decide real vs. staged exit
- Add the exit to your wedding day timeline
- Book/confirm transportation and pickup logistics
- Tell your photographer/videographer the plan and timing
- Order supplies + extras (lighters, buckets, signage)
- Assign roles (exit coordinator, distributors, cleanup)
- Create a weather backup plan
- Communicate to guests (DJ announcement + coordinator cues)
FAQ: Planning a Wedding Grand Exit
How early should we plan the grand exit?
Ideally 2–4 months before the wedding, once your venue rules, photographer coverage, and reception timeline are coming together. If you’re considering sparklers or confetti, confirm those rules even earlier.
Do we need a grand exit if we’re having an after-party?
No—but it can be a great transition. Many couples do a staged exit from the reception, then head straight to the after-party. Your “getaway” can be as simple as hopping into a rideshare and arriving to cheering friends.
How many sparklers do we need for a sparkler send-off?
A good rule is one per guest, plus 10–20 extras. If you expect couples to share, you can reduce slightly, but having extras prevents scrambling. Choose long sparklers so there’s time for lighting and photos.
What’s the best grand exit idea for a daytime wedding?
Bubbles, ribbon wands, flower petals, or dried lavender photograph beautifully in daylight and don’t rely on darkness for drama. Pair it with a cute getaway car or a fun group cheer.
What if our venue doesn’t allow sparklers or confetti?
Go for LED foam wands, glow sticks, ribbon wands, or bubbles. You can still create a “tunnel” effect and get amazing photos—without flames or cleanup headaches.
How do we make sure guests actually stay for the exit?
Announce it clearly, time it well (often earlier than the very end), and make it feel like a featured moment. If you’re worried about early departures, a staged exit is the easiest fix.
Wrap-Up: Your Next Steps for a Grand Exit You’ll Remember
Pick an exit style that fits your venue rules and your personality, decide whether you want a real or staged send-off, then lock it into your timeline with clear roles and a simple plan. When the moment comes, you get to be fully present—hands linked, hearts full, and surrounded by the people who showed up for your love story.
If you want to keep planning with confidence, explore more wedding planning guides on weddingsift.com—we’re here for every moment from “just engaged” to “just married.”
More Articles
 Wedding Planning Checklist for the Day After Engagement
 White linen, dried pampas, and one thrifted brass tray—minimalist wedding decor that costs less than your dinner budget
 Wedding Planning How to Manage the Getting Ready Process
 How to Plan a Wedding With a Photo Booth
 How to Plan a Wedding in 6 Months or Less
 Wedding Planning Communication Tips for Couples
 Wedding Planning How to Coordinate With Multiple Vendors
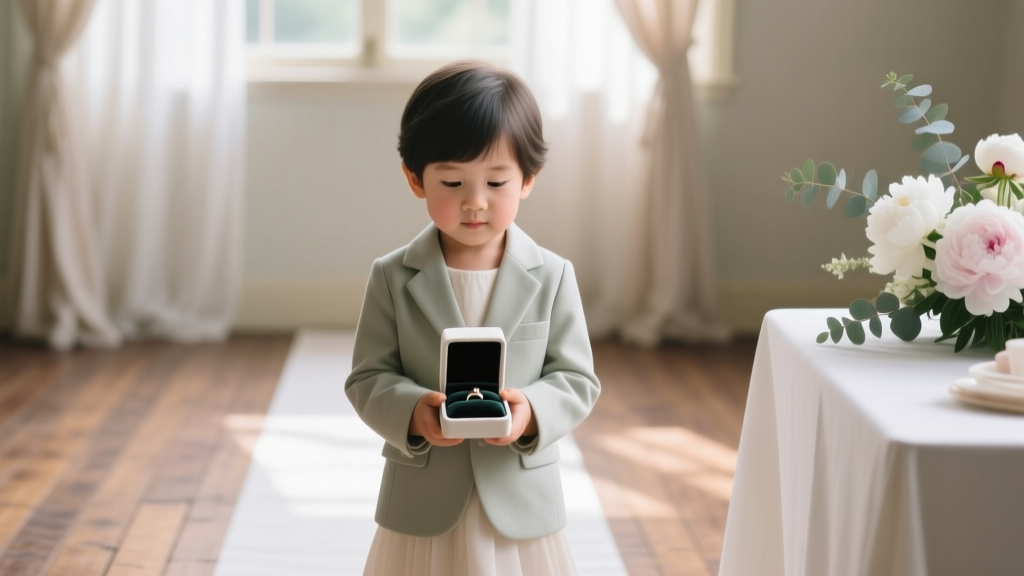 Wedding Planning How to Handle the Ring Bearer
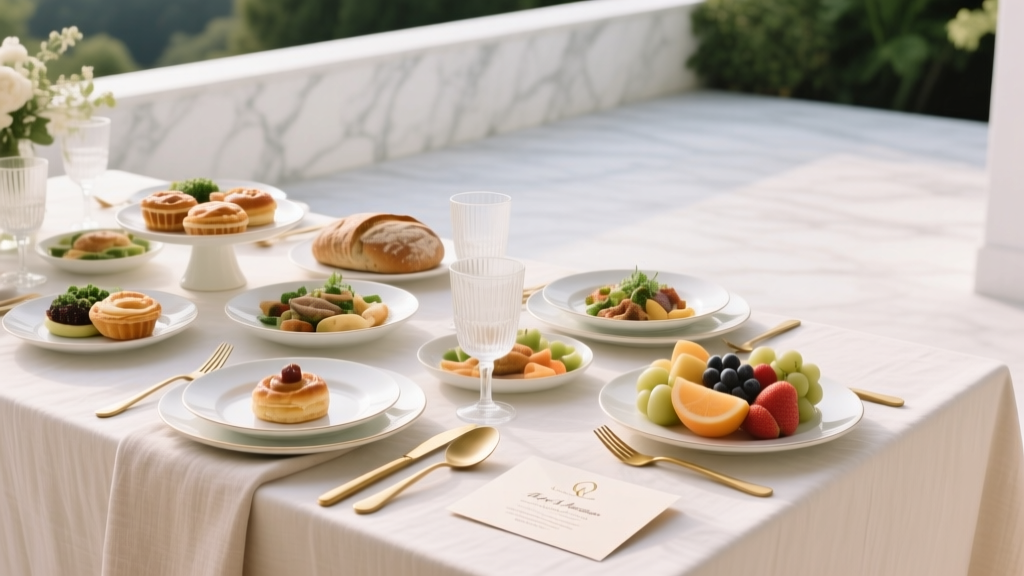 How to Plan a Wedding That Accommodates Dietary Restrictions
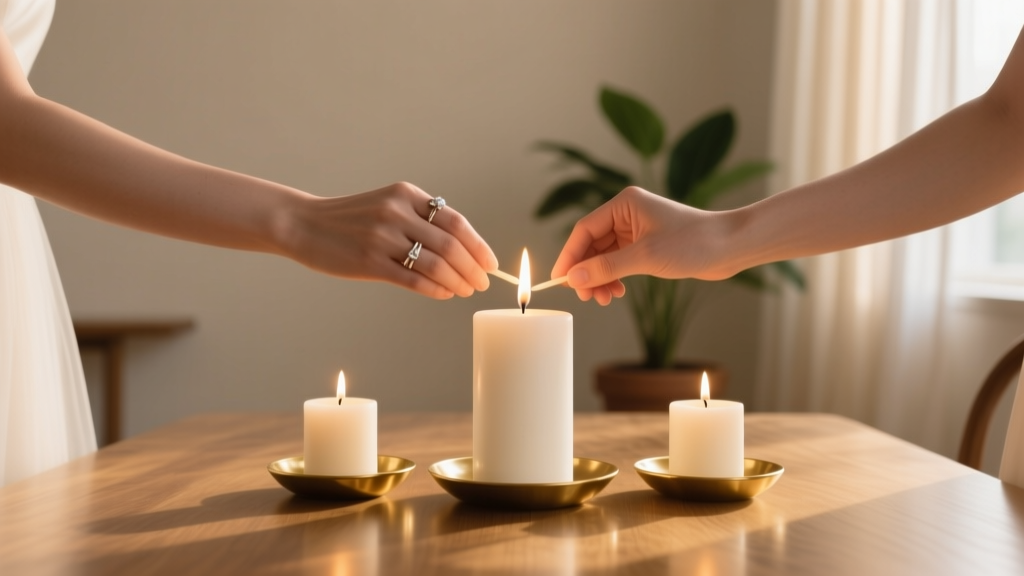 Wedding Planning How to Handle the Unity Candle Ceremony