
How to Plan a Wedding With a Photo Timeline Display
Between booking vendors, picking a menu, and figuring out who sits next to whom, wedding planning can start to feel like a giant checklist. A photo timeline display is one of those rare wedding details that’s both meaningful and practical: it tells your story, gives guests something to do during cocktail hour, and adds instant warmth to your décor.
If you’re the kind of couple who wants your wedding to feel personal (without adding a month of DIY stress), a photo timeline is a perfect fit. Think of it as a visual “meet us” moment for all the different parts of your guest list—your college friends, your grandparents, your coworkers—who may not know your whole journey yet.
This guide walks you through how to plan a wedding with a photo timeline display from start to finish, with realistic examples, budget options, and the timeline advice wedding planners lean on to keep this detail easy and impactful.
What Is a Wedding Photo Timeline Display?
A wedding photo timeline display is a curated set of photos arranged in chronological order (or in themed “chapters”) that shows your relationship story. It can be styled as:
- A wall gallery (frames, grids, or hanging prints)
- A table display (frames, easels, albums, or a “memory lane” runner)
- A clothesline or hanging installation (twine, clips, printed photos)
- A staircase or hallway moment (perfect for venues with natural flow)
- A digital display (slideshow on a screen, projector, or digital frame wall)
Most couples place it in one of these locations:
- Cocktail hour area (keeps guests engaged while you’re taking portraits)
- Reception entrance (a fun “welcome” experience before seating)
- Near the guest book (creates a natural moment for guests to pause and write)
- Along the path to restrooms (high traffic = more people actually see it)
Step-by-Step: How to Plan Your Photo Timeline Display
Step 1: Choose the story you want to tell
The best photo timelines aren’t just “every photo we could find.” They’re intentional. Start by picking a structure that matches your vibe and your guest list.
Popular timeline formats:
- Year-by-year: “2016: Met,” “2017: First trip,” “2020: Moved in,” “2024: Engaged.”
- Milestones: first date, first apartment, first pet, engagement, favorite adventures.
- Chapters: “Before we met,” “Falling in love,” “Building a life,” “Forever starts now.”
- Family blend: include childhood photos and family moments (especially meaningful for large families).
Real-world scenario: If you have lots of guests who haven’t met your partner (think: hometown wedding with your childhood friends and your fiancé’s city friends), a milestone timeline helps everyone feel connected quickly. If nearly everyone knows you both already, a “chapters” approach can feel more elevated and less like a scrapbook.
Step 2: Decide how big the display should be (and keep it realistic)
Size is where couples either nail it—or accidentally create a last-minute printing project the week of the wedding.
Use this quick sizing guide:
- Small (10–20 photos): best for intimate weddings, tight budgets, or minimal décor.
- Medium (25–45 photos): a crowd-pleaser for 80–150 guests.
- Large (50–100 photos): statement piece, best with a planner/design team or lots of setup time.
Pro tip: Choose fewer photos and print them larger. Guests engage more with 24 well-chosen 5x7s than 80 tiny prints they can’t see.
Step 3: Set a budget (with smart splurge options)
A wedding photo display can be beautifully budget-friendly or fully custom. Decide where you want to land early so you don’t overspend on frames at the last minute.
Typical budget ranges:
- $40–$150: printed photos + twine/clips or a simple tabletop setup with a few frames
- $150–$400: mixed frame sizes, easels, signage, and higher-quality prints
- $400–$1,000+: custom signage, professional printing, rentals, florals integrated into the display
Where to save:
- Use matching frames from a discount retailer (buy in bulk)
- Print in standard sizes (4x6, 5x7, 8x10) to avoid custom matting
- Mix a few framed “hero” photos with unframed prints on stands
Where to consider a splurge:
- A large-format welcome sign that introduces the timeline
- High-quality matte photo printing (less glare under venue lighting)
- Rental backdrops or shelving units for a clean, styled look
Step 4: Collect photos efficiently (without a week-long rabbit hole)
Give yourselves one focused session, not five scattered nights.
Photo collection checklist:
- Create a shared folder (Google Drive, Dropbox, iCloud) labeled “Wedding Timeline Photos.”
- Each partner adds 20–40 favorites.
- Include a few “context” photos (first apartment, favorite city, your dog, your proposal location).
- Ask close family for childhood photos if you’re including “before we met.”
- Narrow down together with a firm cap (example: 36 photos total).
Real-world scenario: If one partner has 3,000 photos and the other has 200, make it fair by giving each person the same number of “must-haves” (like 12 each), then choose the remaining photos together.
Step 5: Write captions that guests will actually read
Captions are what turn photos into storytelling. Keep them short, specific, and warm.
Caption ideas:
- “2018 — Our first road trip (and the playlist we still argue about).”
- “2019 — The day we adopted Luna.”
- “2021 — Moved in together. Learned we both fold towels differently.”
- “2024 — Engaged at the place that feels like home.”
Caption tips from planners:
- Keep captions to 8–14 words when possible.
- Use consistent formatting (year first, then the moment).
- Avoid inside jokes that exclude guests—unless you balance them with clear context.
Step 6: Choose your display style based on your venue and setup time
Your dream Pinterest setup still has to work with the venue layout, lighting, and your timeline for the wedding day.
Option A: Tabletop “Memory Lane” (easy + flexible)
Best for: venues with limited wall access, DIY-friendly couples, short setup windows.
- Use 1–2 tables near the guest book or cocktail area.
- Mix frames, small signs, and a few candles (battery-operated for safety).
- Keep height variation so it looks styled, not flat.
Option B: Hanging timeline (high impact, low cost)
Best for: rustic venues, outdoor tents, barn weddings, garden receptions.
- Twine + mini clothespins + 4x6 prints.
- Anchor between two stands or a backdrop frame if you can’t attach to venue walls.
- Use weights or secure corners if you’re outdoors (wind is real).
Option C: Framed gallery wall (classic + polished)
Best for: ballrooms, historic venues, modern spaces, couples who want a clean look.
- Use matching frames for a cohesive style.
- Plan the layout on the floor at home first and take a reference photo.
- Confirm with the venue what’s allowed for hanging (Command strips, hooks, or a rented wall).
Option D: Digital slideshow (minimal setup + great for destination weddings)
Best for: couples flying in, tight timelines, modern venues.
- Use a looped slideshow on a TV or projector.
- Keep it short: 2–4 minutes looping feels intentional.
- Test lighting and readability (some venues wash out screens).
Step 7: Plan the wedding-day logistics (so it doesn’t become a scramble)
This is where a photo timeline display either feels effortless or turns into a pre-ceremony stress spiral. Assign it like any other wedding task.
Wedding timeline logistics checklist:
- Confirm placement: choose a spot with good lighting and guest flow.
- Confirm setup time: ask your venue when vendors/you can arrive.
- Assign a point person: planner, coordinator, or a trusted friend (not you).
- Pack a “display kit”: tape/strips, extra clips, scissors, mini level, extension cord (if digital).
- Create a setup guide: a one-page photo + notes so someone else can install it.
Real-world scenario: If your ceremony starts at 4:30 and your venue access begins at 2:00, don’t plan a 60-frame gallery wall unless a coordinator is handling setup. Choose a tabletop version that takes 15–20 minutes, or switch to digital.
Where a Photo Timeline Fits Into Your Wedding Planning Timeline
Here’s a simple planning timeline that prevents last-minute printing and framing runs.
- 3–5 months before: decide the format, estimate photo count, confirm venue rules.
- 10–12 weeks before: gather photos, pick favorites, draft captions.
- 6–8 weeks before: order prints, frames, signage (or finalize slideshow).
- 3–4 weeks before: do a mock setup at home; adjust sizing and spacing.
- 1–2 weeks before: pack everything and label boxes; send setup instructions to your point person.
Common Mistakes to Avoid (and How to Fix Them)
- Mistake: Too many photos.
Fix: Cap it at 30–45 for most weddings. Use larger prints for readability. - Mistake: Printing glossy photos that reflect light.
Fix: Choose matte or lustre finishes, especially for bright venues. - Mistake: Forgetting how guests move through the space.
Fix: Place it where people naturally pause—bar line, guest book, or entry path. - Mistake: DIY setup with no time buffer.
Fix: Assign setup to someone else or use a simpler display style. - Mistake: Including sensitive family dynamics without thinking it through.
Fix: If divorces, estrangements, or loss are part of your story, keep the timeline focused on your relationship milestones and avoid photos that could create tension.
Wedding Planner Pro Tips for a Display That Feels Intentional
- Anchor the display with 2–3 “hero” moments (first trip, engagement, favorite portrait) in larger frames.
- Match the display style to your wedding theme (modern = clean frames; garden = soft colors and light florals; rustic = wood tones and twine).
- Add a simple header sign like “Our Story” or “From Then to Now” to make it feel curated.
- Keep spacing consistent—even a budget display looks elevated when alignment is tidy.
- Repurpose after the wedding: plan to hang the frames at home or gift a few to parents.
FAQ: Wedding Photo Timeline Displays
How many photos should a wedding photo timeline include?
For most weddings, 25–45 photos is the sweet spot. It’s enough variety to feel personal without overwhelming guests or your setup time. For small weddings, 10–20 can still feel complete.
Should we include childhood photos or keep it just our relationship?
Either works. Childhood photos are great for family-heavy guest lists and add emotion. If you want a cleaner look, keep it to your relationship milestones and include just one childhood photo each as a nod.
What’s the easiest format for a low-stress wedding day?
A tabletop display near the guest book is usually the easiest: minimal venue restrictions, quick setup, and it naturally draws guests in. A digital slideshow is also very low stress if the venue provides a screen.
How do we display photos if the venue doesn’t allow hanging items?
Use freestanding options: a rented backdrop wall, shelving, easels, grids on stands, or a photo timeline on tables. Always confirm with your venue what’s allowed for freestanding décor and how much floor space you can use.
Can we combine a photo timeline with a guest book moment?
Yes—and it’s a smart choice. Place the guest book at the end of the timeline so guests view your story first, then sign. Add a small sign like “Thanks for being part of our story—leave a note for our next chapter.”
What if we’re short on time and don’t have many good photos together?
Choose fewer images and make them count. Include photos of places, tickets, screenshots of early texts (printed tastefully), or a few engagement shoot photos. A tight set of 12–18 photos can still feel very heartfelt.
Your Next Steps: Make It Personal, Then Make It Easy
If you want your wedding to feel like you, a photo timeline display is one of the simplest ways to do it. Start by choosing a format (tabletop, hanging, wall, or digital), cap your photo count, and assign setup to someone you trust. When this detail is planned early, it becomes a joy—not a week-of project.
When you’re ready, explore more wedding planning guides on weddingsift.com for décor ideas, timeline templates, and stress-saving tips to keep your whole day feeling intentional.
More Articles
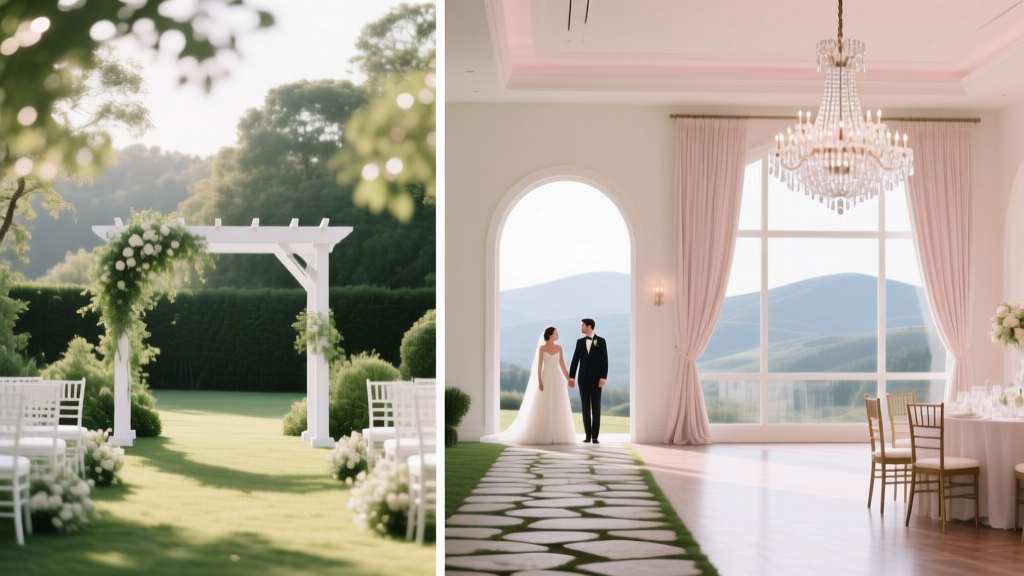 How to Choose Between Indoor and Outdoor Wedding Venues
 Wedding Planning How to Manage the Wedding Day Timeline
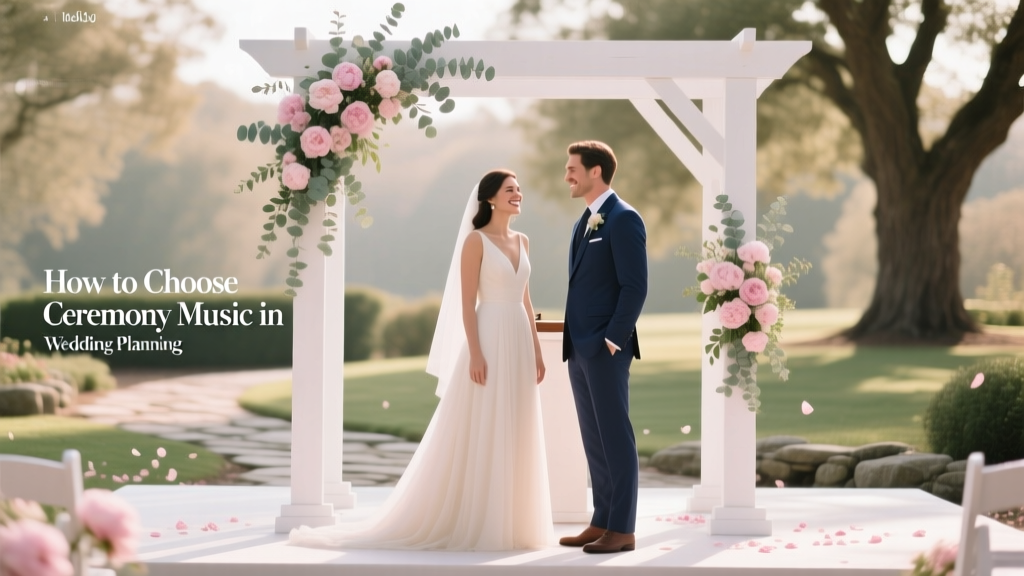 Wedding Planning How to Choose Ceremony Music
 Wedding Venue Red Flags to Watch Out For
 Wedding Insurance Is It Worth the Investment
 Wedding Planning Vendor Team Building Tips
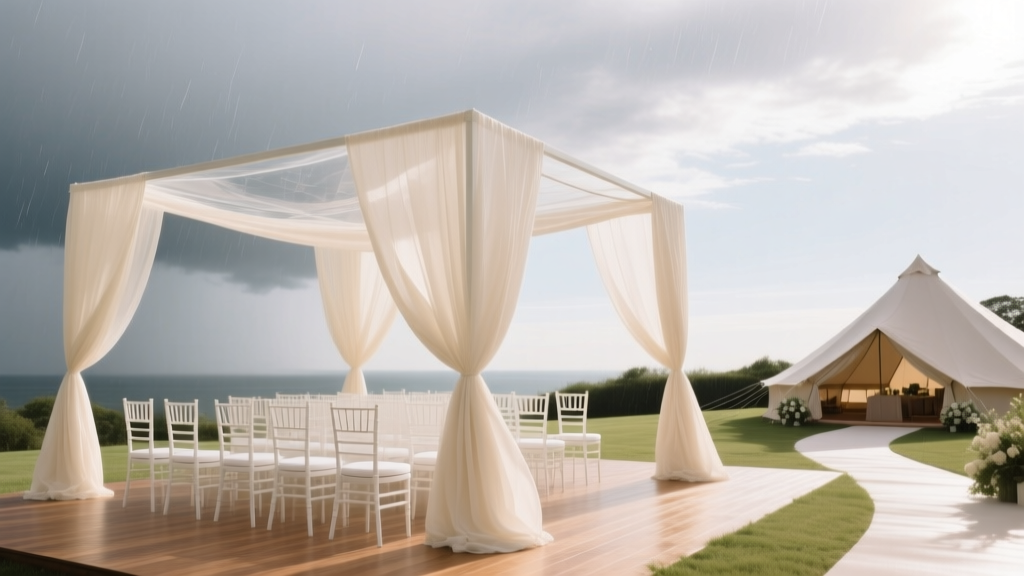 Wedding Planning How to Handle Weather Contingency Plans
 Last-Minute Wedding Planning Tips When Time Is Short
 How to Plan a Wedding That Welcomes International Guests
 How to Plan a Wedding With a Post-Ceremony Brunch