
How to Plan a Wedding With a Welcome Sign That Wows
You’ve picked a date, started a guest list, and maybe even fallen down a Pinterest rabbit hole or two. Then it hits you: your wedding day isn’t just a ceremony and a reception—it’s a full experience. The first moment your guests truly feel that experience often happens before they even see you. It happens when they arrive, take a breath, and find their way in.
That’s why a wedding welcome sign matters. It’s not “just decor.” It’s the opening line of your wedding story—setting the tone, easing nerves, and making people feel cared for from the very first step. A welcome sign that wows can be elegant, playful, modern, romantic, or deeply personal, but the best ones always do two things: they reflect you, and they help your guests.
This guide walks you through planning a wedding around a standout welcome sign—style, wording, materials, placement, timeline, and budget—so it feels seamless (not like a last-minute accessory you remembered the night before).
What Makes a Wedding Welcome Sign “Wow”?
A “wow” welcome sign isn’t necessarily expensive or oversized. It’s thoughtful. It fits the wedding style. It photographs beautifully. And it’s placed where guests naturally pause.
The 4 elements of a standout welcome sign
- Clarity: Guests instantly know they’re in the right place and what to do next.
- Design cohesion: It matches your wedding colors, typography, and overall theme.
- Personal touch: Names, a meaningful phrase, a custom illustration, or a detail that feels “so you.”
- Smart styling: The stand, florals, lighting, and placement elevate it into a moment.
Step 1: Decide the Job Your Welcome Sign Needs to Do
Before you choose acrylic vs. wood vs. mirror, decide what the sign should accomplish. Many couples want it to be pretty and then realize guests still wandered to the wrong building or missed the unplugged ceremony note.
Choose your primary purpose
- Warm greeting: “Welcome to the wedding of…” (simple, classic)
- Wayfinding: arrows to ceremony/reception, restrooms, parking, shuttles
- House rules: unplugged ceremony, adults-only reception reminder, or timing cues
- Schedule support: quick timeline: ceremony time, cocktail hour, reception start
- Theme setting: a design statement that previews your vibe (modern minimal, garden romance, coastal, black-tie)
Real-world scenario
Outdoor venue with two entrances: A large “Welcome” sign at the main walkway is lovely, but you’ll also want a small secondary sign at the alternate entrance: “Wedding parking this way →” to prevent guests from ending up at the staff lot.
Step 2: Pick a Style That Matches Your Wedding Aesthetic
Your welcome sign should feel like it belongs with your invitations, ceremony backdrop, and reception signage. Consistency reads as “polished,” even on a modest budget.
Popular welcome sign styles (and who they’re perfect for)
- Acrylic (clear or frosted): Modern, clean, and photographs well—great for minimalist and chic weddings.
- Wood (stained or painted): Warm and timeless—ideal for rustic, vineyard, barn, and outdoor weddings.
- Mirror: Glamorous and dramatic—beautiful for black-tie and ballroom settings.
- Foam board / poster: Budget-friendly and versatile—perfect for casual celebrations or when you want a large visual impact for less.
- Fabric (canvas or linen): Romantic, editorial, and soft—stunning for garden weddings and fine-art vibes.
Pro tip: Match fonts across your wedding
If your invitations use a modern serif and a clean sans-serif, repeat that pairing on your welcome sign, seating chart, bar menu, and programs. It’s one of the easiest “designer tricks” to make everything feel intentional.
Step 3: Write Wording That Feels Like You (and Helps Guests)
Welcome sign wording should be warm, readable, and short enough to scan. This is not the place for a full love story—save that for your wedding website or ceremony program.
Classic welcome sign wording templates
- Simple and timeless: “Welcome to the wedding of Alex & Jordan”
- With date: “Welcome to the wedding of Alex & Jordan • June 14, 2026”
- With location: “Welcome to the wedding of Alex & Jordan • The Cedar House”
- With a gentle instruction: “Welcome… Please take a program”
- Unplugged note: “Welcome… We’re having an unplugged ceremony. Please silence phones and enjoy this moment with us.”
Wording that feels personal (without being too long)
- “Welcome to our forever”
- “We’re so glad you’re here”
- “Choose a seat, not a side” (great for ceremonies)
Readability checklist
- Use 2 fonts max (one for names, one for details)
- Keep key text large: guests should read it from 6–10 feet away
- Avoid overly thin script for smaller lines (it disappears in photos)
Step 4: Plan Placement, Flow, and Guest Experience
A welcome sign only “wows” if guests actually see it. Placement is where couples often miss the mark—especially at venues with winding driveways, multiple buildings, or ceremonies in a separate spot from cocktail hour.
Where to place your welcome sign
- At the true entrance: where guests park or step off a shuttle
- At the ceremony approach: where people naturally slow down
- Near the guest book / card table: if you want it in a photo-heavy area
Mini wayfinding plan (highly recommended)
If your venue isn’t straightforward, create a tiny “sign system”:
- Parking sign (if needed)
- Welcome sign at main arrival point
- Ceremony → directional sign
- Restrooms → sign (guests will ask otherwise)
Real-world scenario
City wedding with limited lobby space: Use a sleek, vertical acrylic sign on an easel near the elevator bank: “Welcome to the wedding of…” plus “Ceremony: Rooftop • Reception: Ballroom B.” It prevents guests from wandering through the wrong event and keeps the vibe upscale.
Step 5: Choose Materials, Size, and Display Hardware
This is where budget, weather, and logistics come into play. The “wow” factor often comes from scale and styling—not necessarily premium materials.
Recommended sizes
- Standard statement sign: 18”x24” (great for most venues)
- Big impact: 24”x36” (excellent for outdoor entrances and photos)
- Extra-large moment: 30”x40” or larger (best when space allows)
Display options
- Easel: classic and easy (confirm your venue has one or rent)
- Standalone frame: stable outdoors and more polished
- Hanging sign: beautiful but requires a safe rigging plan and permission
- Mounted on an existing structure: fence, hedge wall, or entryway (always get venue approval)
Weather-proofing tips (outdoor weddings)
- Choose acrylic or sealed wood if rain is possible
- Avoid foam board outdoors unless you have a covered area
- Bring clear clips or discreet weights if wind is common
Step 6: Style It Like a “Moment” (Florals, Lighting, and Details)
If you want the sign to stop guests in their tracks, plan the styling like you would a mini vignette.
Easy styling formulas that look high-end
- Welcome sign + asymmetrical florals: one lush arrangement at the base (re-use ceremony flowers here!)
- Welcome sign + lanterns/candles: best for evening weddings (use flameless candles if required)
- Welcome sign + textured backdrop: hedge wall, drape, or a simple linen behind the easel
- Welcome sign + personal details: a framed photo of you two, a custom monogram, or a meaningful quote
Pro tip: Reuse flowers for maximum budget impact
Ask your florist to design a ceremony arrangement that can be moved to the welcome sign area after the ceremony. This is one of the most common wedding budget hacks planners use.
Step 7: Timeline and Checklist (So This Doesn’t Become a Last-Minute Panic)
Welcome signage sounds simple—until you’re chasing down an easel the week of the wedding. Build it into your wedding planning timeline like any other vendor item.
8–12 weeks before
- Finalize wording (names, date, venue spelling)
- Decide size/material based on venue and weather
- Order or design the sign (especially if custom calligraphy is involved)
4–6 weeks before
- Confirm display plan (easel, frame, hanging hardware)
- Coordinate fonts/colors with other wedding signage
- Plan styling elements (florals, lanterns, rug, backdrop)
1–2 weeks before
- Do a “proofread pass” with a fresh set of eyes
- Confirm who sets it up (planner, coordinator, venue staff, or a friend)
- Pack an emergency kit: clips, tape, zip ties, command strips, microfiber cloth
Wedding day
- Place sign where it’s visible from the natural guest path
- Check glare (especially with acrylic or mirror)
- Take a quick photo before guests arrive—your photographer will love the detail shot
Budget Considerations: What to Spend (and Where to Save)
You can create a stunning welcome sign at almost any price point. The goal is to spend where it makes the most visual difference for your wedding style.
Typical cost ranges
- DIY printable poster/foam board: $20–$120
- Custom foam board or PVC print: $75–$250
- Acrylic sign (printed): $150–$400
- Custom calligraphy on acrylic/mirror: $300–$900+
- Rental sign + setup (in some markets): $150–$600
Ways to save without looking “budget”
- Go bigger on size with a simple design (scale reads luxe)
- Use a clean printed design and invest in styling (florals/lanterns)
- Rent an easel instead of buying one you’ll never use again
- Repurpose the sign at the reception entrance for double duty
Common Mistakes to Avoid (and Planner-Approved Fixes)
- Mistake: Placing the sign where guests don’t walk.
Fix: Stand where guests arrive and follow the natural path—place it at the “pause point.” - Mistake: Script fonts that are hard to read.
Fix: Use script only for names; keep details in a clean serif or sans-serif. - Mistake: Forgetting the easel or assuming the venue has one.
Fix: Put “easel/frame” on your rental list and confirm two weeks out. - Mistake: Ignoring lighting and glare.
Fix: Angle acrylic/mirror away from direct sun; add soft lighting for evening. - Mistake: Overcrowding the sign with too much text.
Fix: Keep it simple—use separate signs for schedule, directions, and “unplugged” if needed.
Pro Tips From Wedding Planners for a Welcome Sign That Photographs Beautifully
- Plan for negative space: The design should “breathe” so it looks editorial in photos.
- Add a grounding element: A small rug, fabric drape, or low florals makes the sign feel intentional.
- Keep it clean: Bring a microfiber cloth (fingerprints show up on acrylic and mirror).
- Think about guest behavior: If you place it near the bar or guest book, it will appear in more candid photos.
- Coordinate with your ceremony setup: If your ceremony starts at 4:30, place the welcome sign early enough to avoid a pre-ceremony bottleneck.
FAQ: Wedding Welcome Signs
Do I really need a wedding welcome sign?
You don’t need one, but it’s one of the easiest ways to make guests feel instantly oriented and welcomed. It also creates a strong first photo moment and helps your wedding decor feel complete.
What should a wedding welcome sign say?
Most couples include: “Welcome to the wedding of [Names]” and the date. If helpful, add a short direction (“Ceremony starts at 4:30”) or an unplugged note. Keep it brief and readable.
Where should I place my welcome sign?
Place it where guests naturally arrive and pause—near the parking/shuttle drop-off, venue entry, or the walkway to the ceremony. If your venue is spread out, add a small directional sign too.
What size welcome sign is best?
For most weddings, 24”x36” is the sweet spot for impact and readability. Smaller (18”x24”) works well indoors or in tight entry spaces.
Can I DIY a welcome sign and still make it look high-end?
Yes. Use a clean template with consistent fonts, print it large, and style it with one strong element (a floral arrangement, lanterns, or a frame). The styling and placement often matter more than the material.
When should I order my welcome sign?
Aim for 8–12 weeks before the wedding if you’re going custom (especially hand lettering). For printed signs, 4–6 weeks is usually safe, with extra buffer for shipping and reprints.
Your Next Steps: Make It Easy, Make It You
If you want a welcome sign that wows, keep your plan simple: decide what job it needs to do, choose a style that matches your wedding theme, write short readable wording, and give it a great “home” with smart placement and styling.
- Pick your sign purpose (greeting, directions, schedule, unplugged message).
- Match the design to your invitations and wedding colors.
- Choose size and material based on venue and weather.
- Confirm setup logistics (who places it, and what it stands on).
- Add one styling upgrade (flowers, lanterns, backdrop, or lighting).
You’re creating a day where people you love will gather to celebrate you. A beautiful welcome sign is a small detail that makes a big emotional impact—guests feel guided, included, and genuinely welcomed right away.
For more approachable, practical wedding planning tips, explore the rest of our guides on weddingsift.com.
More Articles
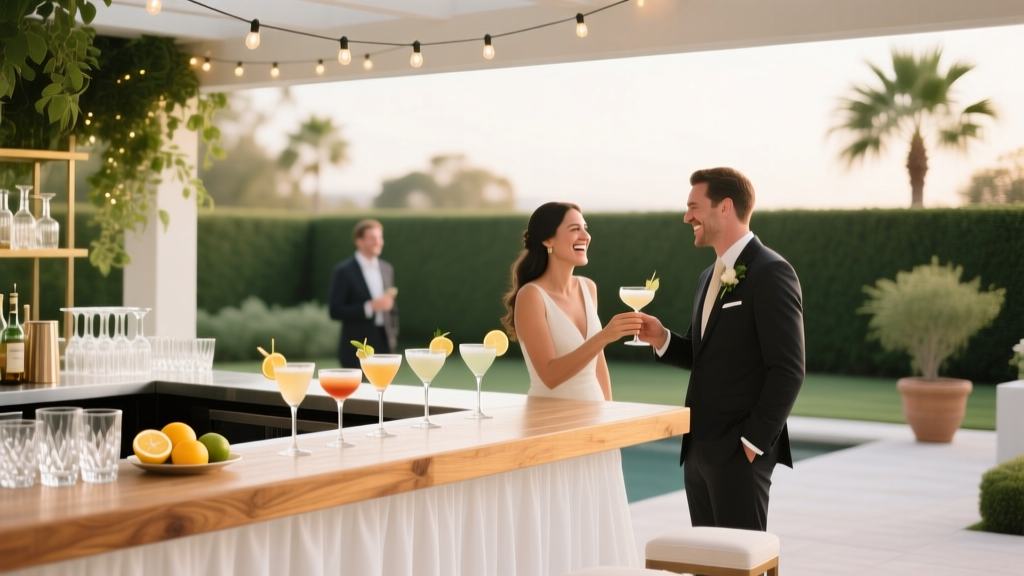 How to Plan a Wedding With a Cocktail Hour That Delights
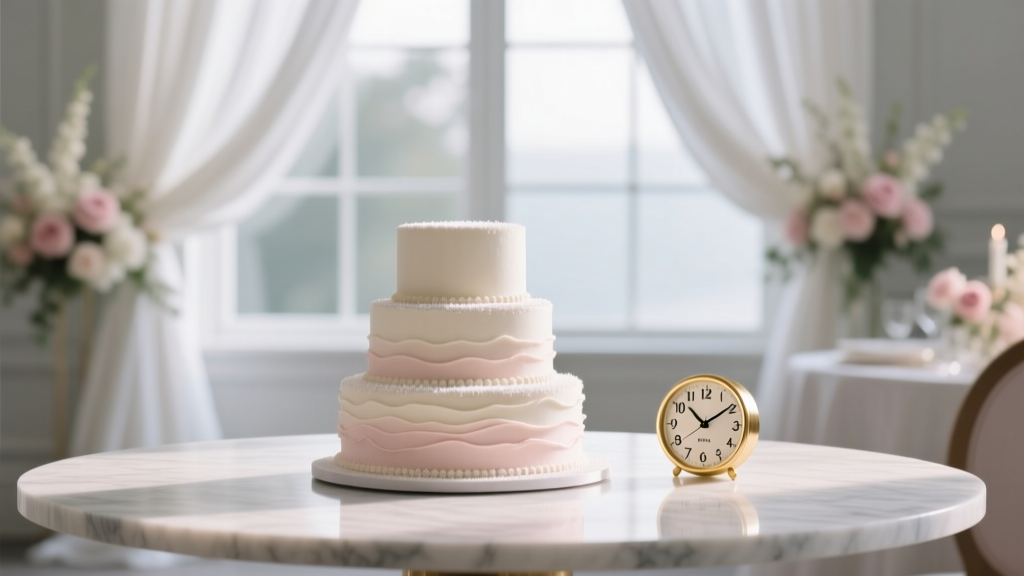 Wedding Planning How to Choose a Cake Cutting Time
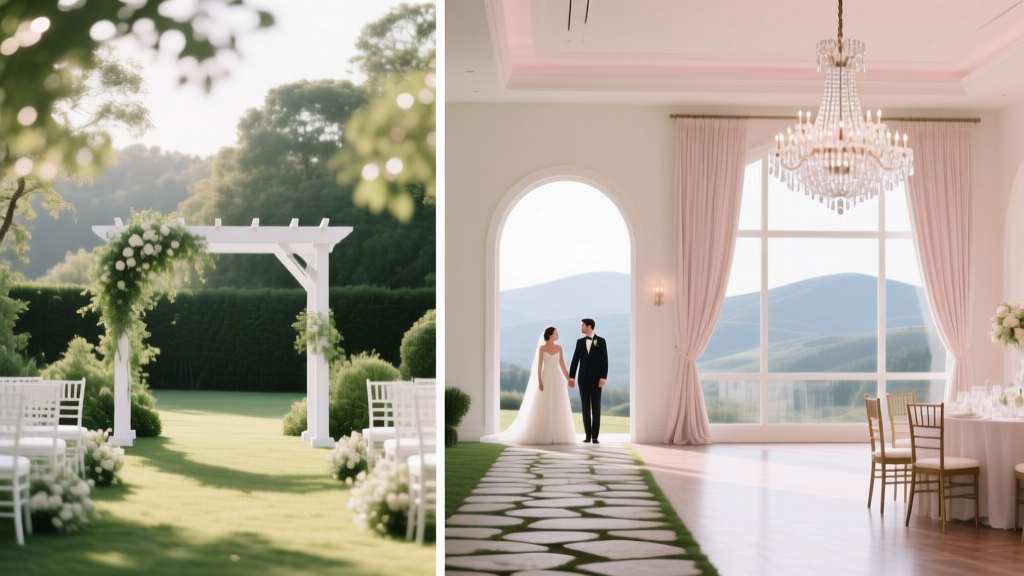
 How to Plan a Wedding With a Unique Ceremony Arch
 How to Plan a Wedding With a Cocktail Reception Style
 How to Choose Between Indoor and Outdoor Wedding Venues
 How to Plan a Wedding With a Dance Floor That Packs
 Wedding Planning for Short Engagements Survival Tips
 How to Plan a Wedding With a Welcome Reception
 Wedding Planning During a Pandemic What Changed Forever
 How to Plan a Wedding Around a Major Life Event