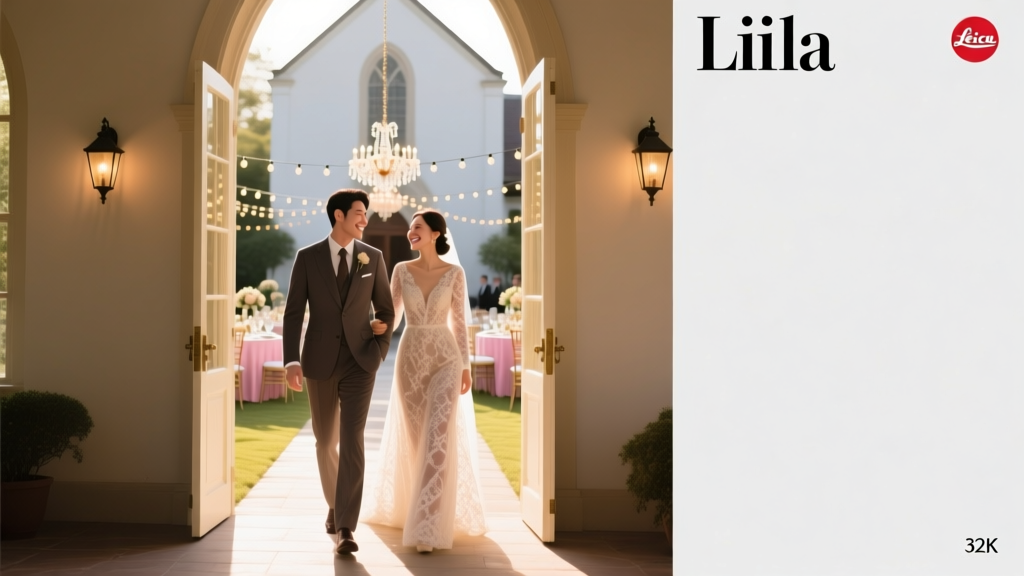
Wedding Planning Ceremony to Reception Transition Tips
You’ve pictured the big moments: walking down the aisle, the first kiss, the cheers, the hugs. But there’s a quieter part of the wedding day that can make everything feel either effortless or chaotic—the transition from ceremony to reception. That in-between window is where guests get confused, timelines slip, and couples end up missing their own cocktail hour.
The good news: with a little planning, the ceremony-to-reception transition can feel smooth, welcoming, and even fun. Think of it like choreographing a handoff: guests know where to go, vendors know what to do, and you get to stay present instead of problem-solving in formalwear.
This guide walks you through practical wedding planning tips, timeline advice, budget-friendly options, and real-world scenarios so your wedding day flow feels polished—without feeling over-produced.
What “Transition” Really Means (And Why It Matters)
The ceremony-to-reception transition includes everything that happens after the ceremony ends and before guests are seated for dinner (or before the reception officially begins). Depending on your day, that might include:
- Receiving line or quick hellos
- Family and wedding party photos
- Travel from ceremony site to reception venue
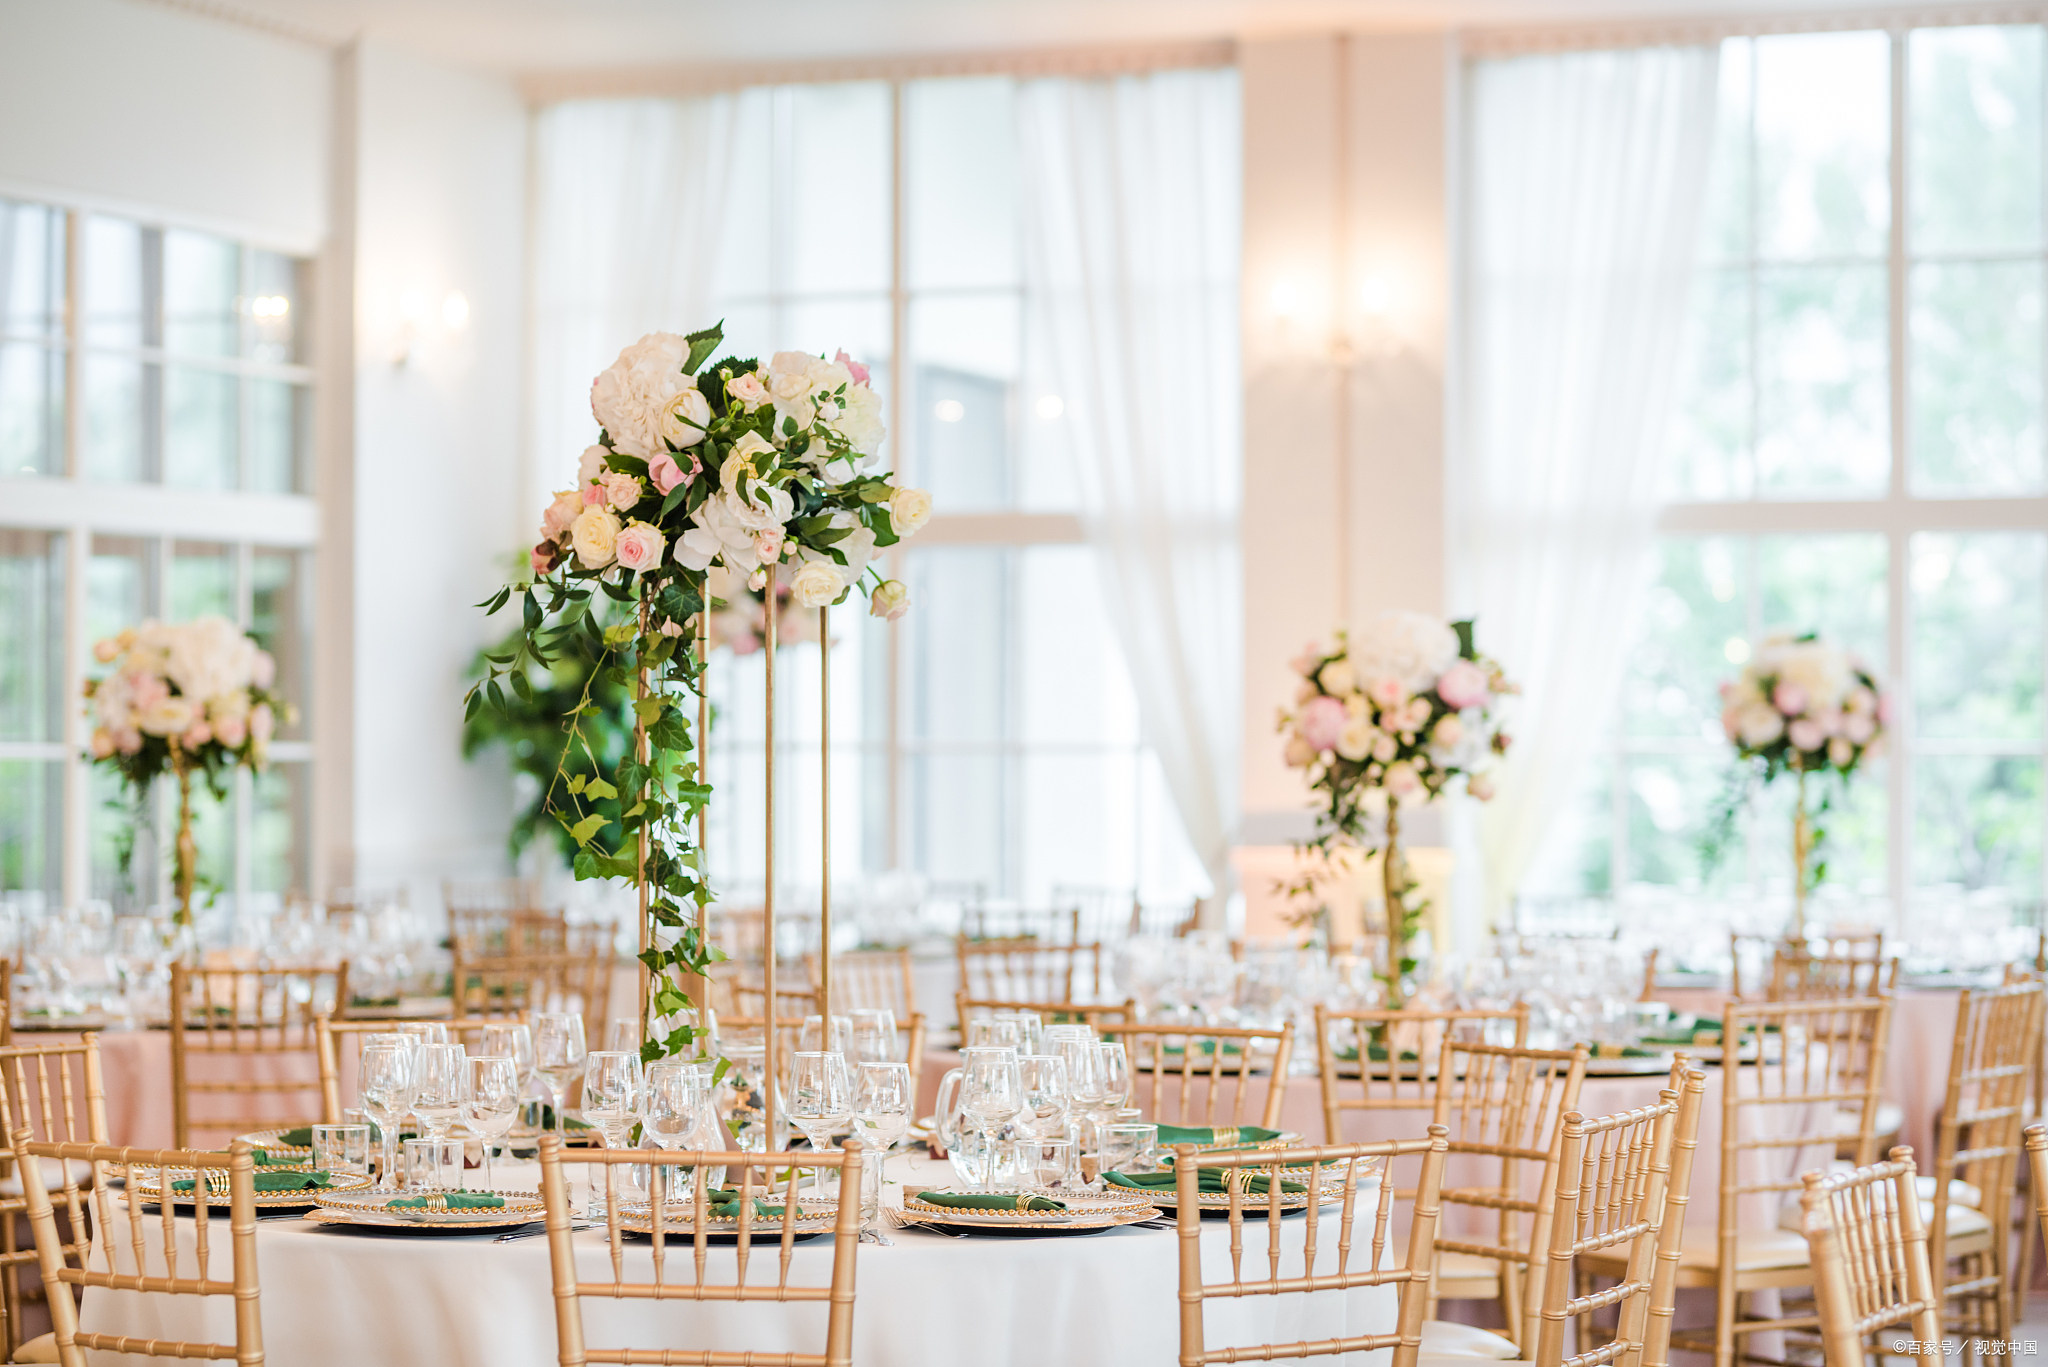
- Cocktail hour (or welcome drinks)
- Room flip (if ceremony and reception are in the same space)
- Grand entrance and first events (first dance, toasts, dinner service)
When the transition is planned well, guests feel cared for and entertained, vendors can stay on schedule, and you’re not rushed into the reception already stressed.
Start With the Two Big Questions
1) Are ceremony and reception at the same venue?
This determines the complexity of your wedding timeline. Same-site weddings often feel easier for guests, but may involve a “room flip.” Two-location weddings avoid flips, but require transportation planning and clear communication.
2) Are you doing photos before the ceremony, after, or both?
Photo timing is the #1 factor that changes the transition experience. Couples who do a first look and pre-ceremony portraits typically enjoy more of cocktail hour. Couples who save photos for after the ceremony need a stronger guest plan during that window.
A Simple, Reliable Transition Timeline (With Realistic Time Blocks)
Use this as a starting point and adjust based on your priorities, guest count, season, and travel time.
Sample Timeline: Same Venue, No Travel
- Ceremony ends: 4:30 PM
- Immediate post-ceremony moment: 4:30–4:40 (hugs, aisle exit, quick congratulations)
- Family photos: 4:40–5:10
- Cocktail hour: 4:40–5:40 (guests head straight to cocktails)
- Couple portraits: 5:10–5:35 (golden hour if possible)
- Guests seated: 5:35–5:45
- Grand entrance: 5:45
Sample Timeline: Two Locations With Travel
- Ceremony ends: 3:30 PM
- Receiving line or quick hellos: 3:30–3:45
- Travel buffer (guests): 3:45–4:30
- Cocktail hour begins: 4:30
- Photos (couple + wedding party): 3:45–4:30 (either at ceremony site or reception venue)
- Guests seated: 5:20–5:30
- Reception begins: 5:30
Planner pro tip: Always build in a 10–15 minute “reality buffer.” Dresses bustle slowly. Aunties hug longer than expected. Transportation arrives early or late. A small buffer keeps the rest of the day intact.
Step-by-Step: Plan the Transition Like a Pro
Step 1: Map guest movement (literally)
Whether you’re hosting 40 guests or 240, people need to know where to go next without guessing.
- Same venue: confirm the path from ceremony to cocktails to reception. Make it visible and accessible.
- Different venues: share addresses, parking info, and expected travel time on your wedding website and invitation details card.
- Accessibility check: consider stairs, uneven terrain, distance in heels, and any guests who need mobility support.
Scenario you’ll recognize: The ceremony ends outdoors, cocktail hour is on a side patio, and the reception is inside. Without signs, half the guests drift to the parking lot or hover awkwardly waiting for direction. A clear path plus one person guiding guests solves it instantly.
Step 2: Assign a “transition captain” (not you)
The couple should not be the point person. Choose someone who can answer simple questions and keep vendors aligned.
- Day-of coordinator or venue manager (ideal)
- A trusted friend who’s organized and assertive
- A family member who won’t get pulled into emotions or distractions
Give them a one-page summary with:
- Timeline highlights
- Vendor contact list
- Photo shot list + family photo order
- Where personal items go (guest book, cards, décor, bouquet, etc.)
Step 3: Create a photo plan that protects your time
If you want a calm transition, tighten your family photo list. Long family photo sessions are one of the biggest timeline killers.
Checklist to speed up family photos:
- Write a list of groupings (keep it to 8–15 groups if possible)
- Put one assertive relative “in charge” of finding people
- Tell family ahead of time: “Please stay nearby for photos right after the ceremony”
- Do any extended family photos at the reception, not in the transition window
Budget note: If your photography package is tight on hours, an efficient photo plan can prevent paying for extra coverage. On the flip side, if you know you’ll want more portraits and breathing room, adding an hour of coverage is often more valuable than extra décor.
Step 4: Keep guests comfortable during the gap
Guests don’t mind waiting when they’re cared for. They mind waiting when they’re confused, thirsty, or stuck in the sun.
- Offer a clear next step: “Please join us for cocktails on the terrace.”
- Provide drinks quickly: a welcome drink station or passed beverages right after the ceremony works wonders.
- Plan for weather: shade, heaters, umbrellas, or indoor backup space.
- Restrooms: make them easy to find with signage.
Real-world example: A summer garden ceremony ends at 4:00 PM. Guests walk into full sun for cocktails with no water station. By 4:10 PM, people are fanning themselves and leaving early. A $60 water dispenser setup plus a shaded seating area would have changed the whole feel.
Step 5: Use signage, announcements, and subtle cues
You don’t need a microphone announcement for everything, but you do need clarity.
- One simple sign at the ceremony exit: “Cocktail Hour →”
- Directional signs for restrooms and reception entrance
- If travel is involved: a sign that confirms shuttle timing or the reception address
- A short announcement from the officiant or DJ: “Please make your way to…”
Budget-friendly tip: Print a few clean directional signs on foam board or frames instead of custom large-scale signage everywhere. Prioritize signs at decision points (exits, forks in walkways, parking areas).
If You’re Doing a Room Flip: How to Make It Feel Seamless
A room flip is when the ceremony space becomes the reception space. This can be beautiful and efficient, but it requires a tight plan so guests aren’t left standing around.
Room flip success checklist
- Flip time: confirm how long your venue needs (often 45–90 minutes)
- Guest plan: cocktail hour must be in a separate area with enough space
- Décor plan: keep ceremony décor that can be repurposed (aisle arrangements to sweetheart table, arch florals to photo backdrop)
- Coordinator cueing: someone must confirm “ceremony cleared” so staff can begin
- Personal items: designate who moves unity ceremony items, card box, guest book, or memorial items
Planner pro tip: If your venue suggests a 60-minute flip, plan for 75. It’s much easier to start dinner early than to keep guests lingering because tables aren’t ready.
Transportation and Travel: Avoid the “Where Are We Going?” Panic
If you’re hosting a ceremony at one location and a reception at another, transportation is the make-or-break piece of the transition.
Best practices for guest travel
- Share exact addresses: include suite numbers and venue entrance notes
- Build in a travel buffer: traffic, parking lines, and wrong turns happen
- Consider a shuttle: especially if parking is limited or guests will be drinking
- Make the shuttle plan crystal clear: pickup times, location, and whether it’s continuous loops or set departures
- Assign a shuttle point person: someone to help guests and communicate with the driver
Budget consideration: If a shuttle is expensive, consider a partial solution—like one shuttle from hotel to venue and encourage rideshare for the return (or vice versa). Another cost-saver is booking a smaller shuttle for multiple trips rather than a large bus for a single run, depending on distances and timing.
How to Protect Your Cocktail Hour (If You Actually Want to Enjoy It)
Many couples unintentionally schedule themselves out of their own cocktail hour. If mingling matters to you, plan for it.
Options that help you attend cocktail hour
- Do a first look + portraits before the ceremony to reduce post-ceremony photos
- Limit wedding party photos to a quick set, then release everyone
- Sneak 10 minutes alone after the ceremony for a private breather and a snack
- Join cocktail hour for the last 20–30 minutes even if you miss the beginning
Snack strategy: Ask your caterer to pack two small plates and drinks for you right after the ceremony. Couples often forget to eat until dinner, and hunger makes everything feel rushed.
Common Mistakes to Avoid (And How to Fix Them)
- Mistake: No clear direction after the ceremony.
Fix: Add one announcement + two signs (cocktails and restrooms) and assign a greeter to guide guests. - Mistake: Underestimating photo time.
Fix: Build a realistic family photo list and start family photos immediately after the ceremony while everyone is present. - Mistake: Leaving guests without water, shade, or seating.
Fix: Prioritize comfort basics over extra styling. Guests remember how they felt more than what the linen color was. - Mistake: A too-tight timeline with no buffer.
Fix: Add 10–15 minutes of cushion around travel, photos, and room flips. - Mistake: Confusing transportation plans.
Fix: Put shuttle details on your wedding website, in a printed welcome note, and on signage at pickup points.
Wedding Planner Pro Tips for a Smooth, Calm Transition
- Have a “personal items” bin: One labeled box for card box signage, guest book pens, vow books, cake knife, etc. Your coordinator (or a trusted helper) can move it quickly.
- Keep your vendor team aligned: Your photographer, DJ/band, caterer, and coordinator should all have the same final timeline.
- Do a quick ceremony rehearsal of the exit: Practice how you’ll walk back down the aisle and where you’ll go immediately after.
- Plan lighting with the transition in mind: Sunset timing affects photos and guest comfort. If it will be dark by cocktail hour, budget for string lights, lanterns, or uplighting.
- Consider a “soft opening” reception: Let guests enter the reception space to find seats or browse a seating chart while you finish photos, then do a formal entrance when you’re ready.
Quick Transition Checklist (Save This for Your Timeline Call)
- Confirm ceremony end time and where guests go next
- Decide: first look or no first look
- Create family photo list + assign a family wrangler
- Build 10–15 minute buffers into key moments
- Confirm cocktail hour location, comfort needs (shade/heaters), and restroom signage
- Finalize transportation plan and communicate it in 3 places (website, signage, printed note)
- Plan for room flip if needed (timing + guest location)
- Arrange couple snacks/drinks post-ceremony
- Share the final timeline with all vendors
- Assign a transition captain for day-of questions
FAQ: Ceremony to Reception Transition Planning
How long should cocktail hour be?
Most weddings do best with 60 minutes. If you’re doing lots of post-ceremony photos or a room flip, 75–90 minutes can work well—as long as guests have enough food, drinks, and space to relax.
What if we don’t want a cocktail hour?
You can skip it, but you still need a transition plan. Consider a “welcome drink” as guests arrive at the reception space, or start with a casual mingling period before a quick welcome toast and dinner. If you’re doing photos after the ceremony, guests will still need something to do.
Should we do a receiving line after the ceremony?
Receiving lines can be meaningful, but they often extend the transition. A compromise: greet immediate family and wedding party right away, then do table visits during dinner or mingle during cocktail hour.
How do we keep guests informed without feeling bossy?
Use warm, simple cues: one brief announcement, clear signage, and a greeter. Guests typically appreciate direction—especially at unfamiliar venues or multi-location weddings.
What’s the best way to handle family photos quickly?
Make a short list, do them immediately after the ceremony, and assign a “family wrangler” who knows faces and can pull people in fast. Share the list with your photographer ahead of time so they can lead efficiently.
Do we really need a day-of coordinator for this?
It’s one of the best investments for a smooth wedding day flow, especially for room flips or two-location weddings. If it’s not in your budget, appoint a transition captain and make sure vendors have a clear timeline and contacts list.
Your Next Steps for a Smooth Transition
Choose your ideal flow first (more photos, more mingling, more relaxation), then build the timeline around it. Draft a transition plan this week, share it with your venue and photographer, and confirm exactly how guests will move from one moment to the next. Add comfort basics, clear signage, and a buffer—and you’ll be amazed how calm the day feels.
If you want more help polishing your wedding timeline and guest experience, explore more planning guides on weddingsift.com—we’re here to help you plan with confidence.
More Articles
 Wedding Planning Final Walkthrough Checklist
 How to Plan a Wedding That Balances Both Families Wishes
 Wedding Planning How to Create a Stress-Free Morning
 How to Plan a Wedding With a Unified Color Palette
 How to Plan a Wedding With a Signature Cocktail
 How to Plan a Wedding With a Guest Book Alternative
 Wedding Planning Communication Tips for Couples
 Wedding Planning on a Timeline of 3 Months or Less
 How to Plan a Wedding With a Dessert Bar
 White linen, dried pampas, and one thrifted brass tray—minimalist wedding decor that costs less than your dinner budget