
Wedding Planning Final Walkthrough Checklist
The final walkthrough is one of those wedding planning milestones that can instantly calm your nerves—or uncover a handful of “Oh no, we didn’t think of that” details while there’s still time to fix them. If you’re feeling a mix of excitement and stress, you’re not alone. Most couples reach this stage thinking they’ve handled everything… and then realize the venue and vendor logistics need one last, clear plan.
Think of your final walkthrough as your wedding day dress rehearsal for the space. You’re not just admiring how pretty it will look. You’re confirming where everything goes, how guests will flow through the day, what happens if weather changes, and who is responsible for each task. When done well, the final walkthrough protects your budget, your timeline, and your peace of mind.
This guide will walk you through exactly what to check, who to bring, what questions to ask, and how to avoid common last-minute surprises—so you can head into your wedding weekend feeling confident and cared for.
What Is a Final Walkthrough (and When Should You Schedule It)?
A wedding venue final walkthrough is a scheduled visit to your ceremony and/or reception location (sometimes two different sites) to confirm the layout, logistics, and responsibilities for wedding day. It’s typically done with your venue coordinator, and sometimes your planner or key vendors.
Best timing
- Ideal: 2–4 weeks before the wedding (after RSVPs are mostly finalized and your floor plan is close to locked).
- For high-season venues: 3–6 weeks ahead if dates book tightly and you need time to adjust.
- If your wedding is outdoors: Aim for a similar time of day as your ceremony (light, temperature, and sun angles matter).
How long it takes
- Most walkthroughs run 60–90 minutes.
- Add time if you’re reviewing multiple spaces (ceremony + cocktail hour + reception + getting-ready suites).
Who Should Attend the Final Walkthrough?
You don’t need a crowd, but you do need the right decision-makers. The goal is clarity—fewer “I thought you were handling that” moments.
- Both partners (if possible)
- Venue coordinator/manager
- Your wedding planner or day-of coordinator (highly recommended)
- Caterer or catering manager (especially if they’re handling rentals, staffing, and timeline)
- Decorator/florist (optional but helpful if installations are complex)
- Rental company rep (usually not needed in-person, but bring rental diagrams)
Real-world scenario: If your venue is providing tables and chairs but your caterer is providing linens and place settings, you’ll want both teams aligned on who sets what—and when. Otherwise, couples often get hit with last-minute labor fees.
Before You Go: What to Bring (Don’t Rely on Memory)
Come prepared so you can make decisions on the spot and avoid a second walkthrough.
- Printed floor plan drafts (ceremony + reception + rain plan)
- Final guest count estimate (or current RSVP tally)
- Your wedding day timeline
- Vendor contact list (phone + email)
- Rental order summary (tables, chairs, linens, tenting, heaters, etc.)
- Décor inventory list (what you own vs. what’s rented)
- Photos/screenshots of inspiration that match your venue (tablescapes, ceremony layout)
- Notepad or shared notes app for action items
- Measuring tape (surprisingly useful)
Wedding Planning Final Walkthrough Checklist (Step-by-Step)
Use this as your on-site checklist. If you have a planner, they’ll often lead this. If you’re DIY planning, no problem—this list will keep you focused.
1) Confirm Spaces and Guest Flow
- Entrance and greeting: Where do guests arrive? Is signage needed? Who places it?
- Ceremony seating: How will guests know where to sit? Are reserved rows labeled?
- Accessibility: Confirm ramps, elevators, and accessible restrooms. Note any steep paths or steps.
- Cocktail hour: Where will it happen? What if weather shifts?
- Reception layout: Identify the path from cocktail hour to reception and how you’ll “flip” spaces if needed.
Pro tip: Walk the full route as if you’re a guest in heels. If it’s grassy, rocky, or dim, plan for lighting, aisle runners, or signage to prevent trips and frustration.
2) Lock the Floor Plan Details
- Table count and sizes: Rounds vs. rectangles, sweetheart table vs. head table.
- Dance floor placement: Confirm size and whether it’s included or rented.
- DJ/band location: Ensure access to power and enough space for speakers/instruments.
- Bar setup: Number of bars, locations, and lines (avoid bottlenecks).
- Buffet vs. plated: Confirm where buffet lines start/end and where service stations go.
- Photo booth/lounge areas: Confirm footprints and outlets.
Real-world scenario: Couples often place the dance floor in a “logical” spot—then realize it blocks the restroom hallway or creates a traffic jam near the bar. During the walkthrough, physically stand in those spaces and imagine 150 people moving at once.
3) Review Your Rain Plan (Even If the Forecast Is Sunny)
- Plan A vs. Plan B layouts: Ask the venue to show you exactly where ceremonies move indoors.
- Decision deadline: When must you call it—24 hours, 48 hours, morning of?
- Tent details: Sidewalls, lighting, flooring, heaters, fans.
- Umbrella plan: Who provides them, and where are they stored?
- Guest comfort: Shade, water station, bugs (consider citronella or venue-approved options).
Budget note: Rain plans can add costs fast—tent upgrades, flooring, heaters, extra labor. Ask for written pricing and deadlines so you’re not stuck making expensive decisions under pressure.
4) Clarify Venue Rules, Timing, and Staff Responsibilities
- Access times: When can vendors arrive? When can you arrive for getting ready?
- Noise curfew: What time must music end? When do guests need to be off property?
- Cleanup expectations: Who breaks down décor? Are trash bags and bins provided?
- Security requirements: Does the venue require licensed security or off-duty officers?
- Insurance: Confirm any certificate of insurance (COI) requirements and deadlines.
- Alcohol policies: Who serves? Can you bring your own alcohol? Are there last-call rules?
Common mistake: Couples assume “cleanup is included,” then discover they’re expected to pack up personal décor and gifts within 30 minutes of the last song. If you don’t have a planner, assign a trusted friend or hire teardown help.
5) Walk Through the Ceremony Setup
- Arch/chuppah placement: Centered? Wind-safe? What’s the backup plan if it’s breezy?
- Processional path: Where does the wedding party line up? Any tight corners or slippery paths?
- Officiant location: Confirm spacing for you, officiant, and any musicians.
- Microphones: Handheld vs. lapel vs. stand. Test sound if possible.
- Unity ceremony items: Who sets them and removes them?
Pro tip: If your ceremony is outdoors, ask about wind and audio. Even a light breeze can make vows hard to hear. A microphone for the officiant (and ideally for both partners) is one of the best “small spend, big impact” upgrades.
6) Confirm Lighting, Power, and Temperature Control
- Lighting plan: What happens after sunset? Are there string lights, uplighting, pathway lights?
- Outlets and power load: DJ, band, photo booth, uplighting, catering equipment.
- Generator needs: If outdoors or in a tent, confirm who supplies and who monitors it.
- Heating/cooling: Fans, heaters, AC settings, and who controls thermostats.
Real-world scenario: A couple hosts a summer wedding in a gorgeous glass greenhouse. It looks dreamy at 5 p.m., but by dinner the space is hot and humid. During the walkthrough, ask how temperature is managed during peak sun and with a full room of guests.
7) Identify Vendor Load-In, Parking, and Back-of-House Areas
- Vendor entrance: Where do caterers, florists, and DJs load in?
- Parking: Where do guests park? Where do vendors park?
- Staging areas: Where can vendors store cases, extra florals, and supplies?
- Elevators/stairs: Any restrictions for heavy items?
- Trash and recycling: Where is it located and who manages it?
Budget consideration: If load-in is far from the reception space or requires stairs, vendors may charge extra labor. It’s better to know now than see surprise fees later.
8) Plan Your Décor Drop-Off and Personal Item Logistics
Personal décor is where couples often get overwhelmed. The walkthrough is your chance to simplify.
- What you’re dropping off: card box, guest book, signage, favors, photos, place cards, table numbers
- Drop-off window: When can items be delivered? Who will accept and store them?
- Setup instructions: Provide a labeled bin system and a one-page “setup guide” with photos.
- What gets packed at the end: Who takes gifts and leftover décor home?
Pro tip: Pack like a pro: one bin for “ceremony,” one for “cocktail,” one per “reception tables,” and one for “end-of-night.” Label clearly. This protects your budget by reducing setup time and preventing lost items.
9) Confirm Bathrooms, Guest Comfort, and Safety
- Restroom count and location: Are they easy to find? Do you need signage?
- Restocking plan: Who restocks toilet paper and soap during the event?
- Outdoor safety: Pathway lighting, bug control, uneven ground warnings.
- Kids and family needs: Changing tables, quiet corner, nursing room (if available).
10) Walk the Full Wedding Day Timeline On-Site
This is the magic step that turns a nice plan into a smooth wedding day.
- Stand where you’ll get ready. Confirm mirrors, outlets, and lighting.
- Trace the first look route (if doing one). Check privacy and photo lighting.
- Walk the ceremony line-up and processional timing.
- Confirm cocktail hour location and where you’ll be (hidden away or mingling).
- Test the grand entrance path.
- Confirm where speeches happen and how microphones are handled.
- Locate cake cutting, dessert display, and coffee station.
- Plan last dance and send-off logistics.
Pro tip: Add 10–15 minutes of buffer around major transitions (ceremony to cocktail, cocktail to reception, dinner to dancing). That buffer is often what keeps your photographer from feeling rushed—and keeps you from feeling frazzled.
Common Final Walkthrough Mistakes (and How to Avoid Them)
- Not bringing your floor plan or rental list: You’ll miss mismatches like 10 linens for 12 tables.
- Skipping the rain plan conversation: Weather decisions are less stressful when you’ve already agreed on triggers and costs.
- Assuming someone else handles setup/teardown: Assign names, not vague roles. “My cousin” becomes “Aunt Lisa at 9:45 p.m.”
- Forgetting lighting after sunset: Gorgeous daytime venues can become dark maze-like spaces at night.
- Not confirming vendor arrival times and access: A locked gate or wrong entrance can delay the whole day.
Wedding Planner Pro Tips for a Smoother Walkthrough
- Take a quick video walkthrough while narrating key decisions (bar location, sweetheart table, gift table). It’s gold later.
- Ask the venue what couples always forget. Venue teams see patterns—learn from them.
- Create a one-page “Wedding Day Details” sheet with: floor plan, rain plan, timeline, vendor contacts, and setup notes.
- Protect your budget by confirming what’s included (tables, chairs, staff hours, overtime fees, lighting, sound restrictions).
- Decide who has the authority to make day-of calls. If you’re taking photos, you shouldn’t be approving tent sidewalls.
FAQ: Final Walkthrough Checklist Questions
How close to the wedding should the final walkthrough be?
Most couples schedule it 2–4 weeks before the wedding. If you’re finalizing a seating chart late or hosting a complex setup (tent, multiple spaces, large guest count), aim closer to 4–6 weeks so you have time to adjust.
What if my venue doesn’t offer a final walkthrough?
Ask if you can schedule a planning visit during business hours. If not, do a self-guided visit (when allowed) and set a phone call with the venue manager to confirm rules, timing, and logistics. Bring photos and measurements to keep everyone aligned.
Should my photographer attend the final walkthrough?
Usually not required, but it can help for large venues, strict timeline constraints, or tricky lighting situations. A middle-ground option: send your photographer a short video of the spaces and your timeline after the walkthrough.
What do we do if our guest count changes after the walkthrough?
Small changes are normal. Update your venue and caterer as soon as you have new numbers, and confirm deadlines for final counts and seating changes. Keep a few “flex seats” in your floor plan when possible.
How do we handle personal décor without a planner?
Create labeled bins and a printed setup guide with photos. Assign two reliable helpers: one for placing items at the beginning and one for packing items at the end. Confirm the venue’s rules about what can be left overnight.
What’s the biggest thing couples forget during the walkthrough?
End-of-night logistics: who packs gifts, where leftover cake goes, who returns rentals, and when everyone must be out. Those details affect overtime fees and stress levels more than most couples expect.
Your Next Steps After the Walkthrough
- Send a follow-up email to the venue (and planner/caterer) summarizing decisions: layouts, rain plan, timing, responsibilities.
- Update your wedding day timeline with any new transition times or restrictions.
- Finalize your floor plan and share it with key vendors (catering, rentals, DJ/band, florist).
- Pack décor bins with labels and a one-page setup guide.
- Confirm final payments, COIs, and arrival times one more time during wedding week.
You’re closer than you think. The final walkthrough is your chance to turn months of planning into a wedding day that feels effortless, welcoming, and fully “you.” Keep the focus on clarity, comfort, and communication—your future selves will be grateful.
Signoff: Want more calm, practical planning help? Explore more wedding planning guides on weddingsift.com and keep building your day with confidence.
More Articles
 Wedding Guest List Etiquette Who to Invite and Who Not To
 Wedding Planning Communication Tips for Couples
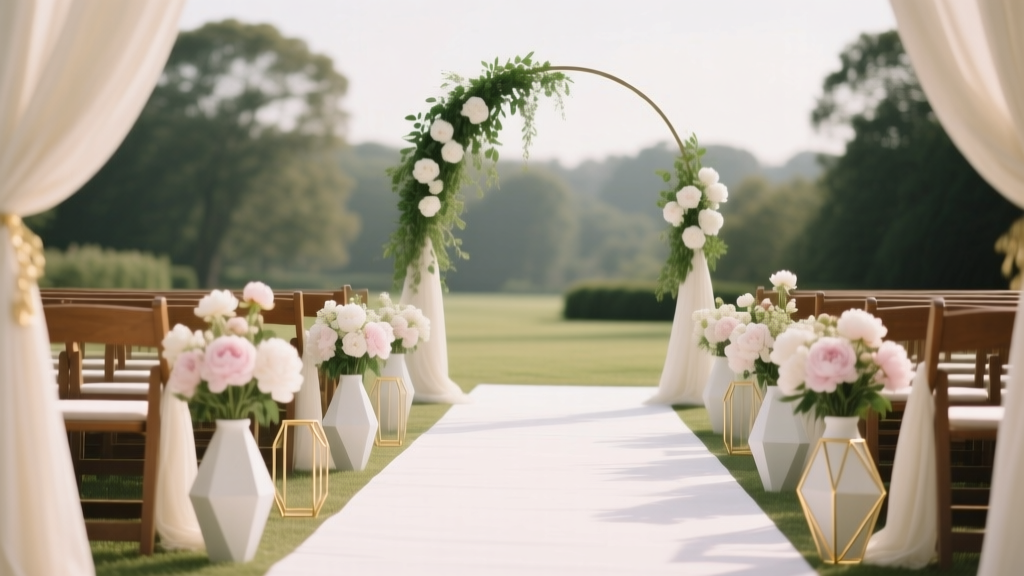 How to Plan a Wedding With a Ceremony Aisle Decor
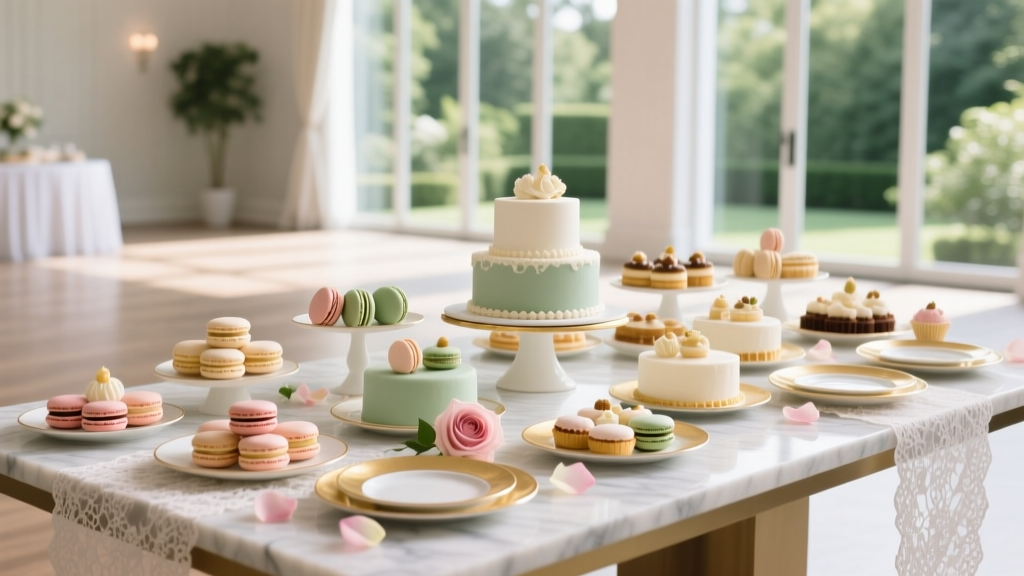 How to Plan a Wedding With a Dessert Table Instead of Cake
 Wedding Planning How to Manage Getting Ready Photos
 Wedding Planning Checklist for the Week of the Event
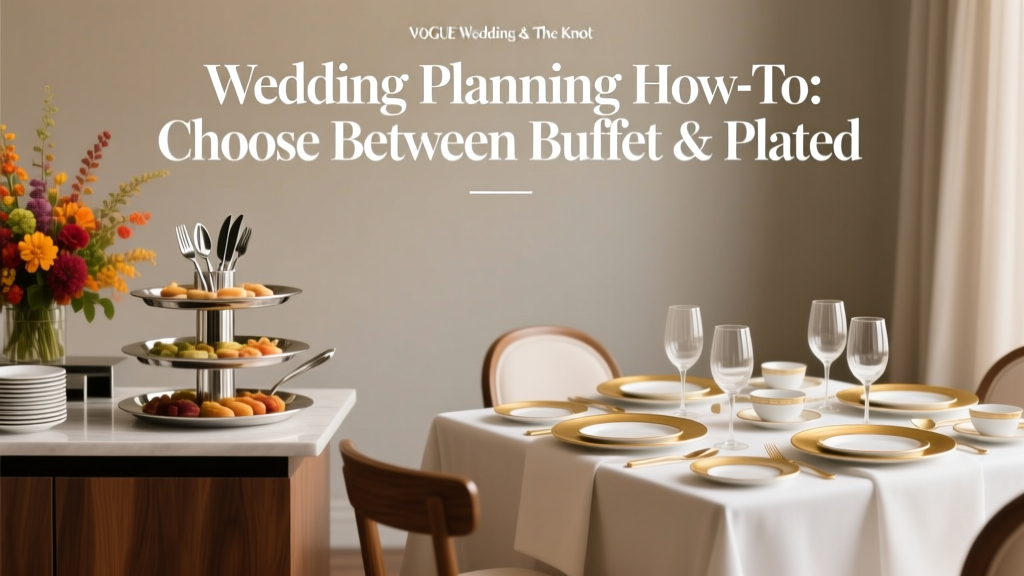 Wedding Planning How to Choose Between Buffet and Plated
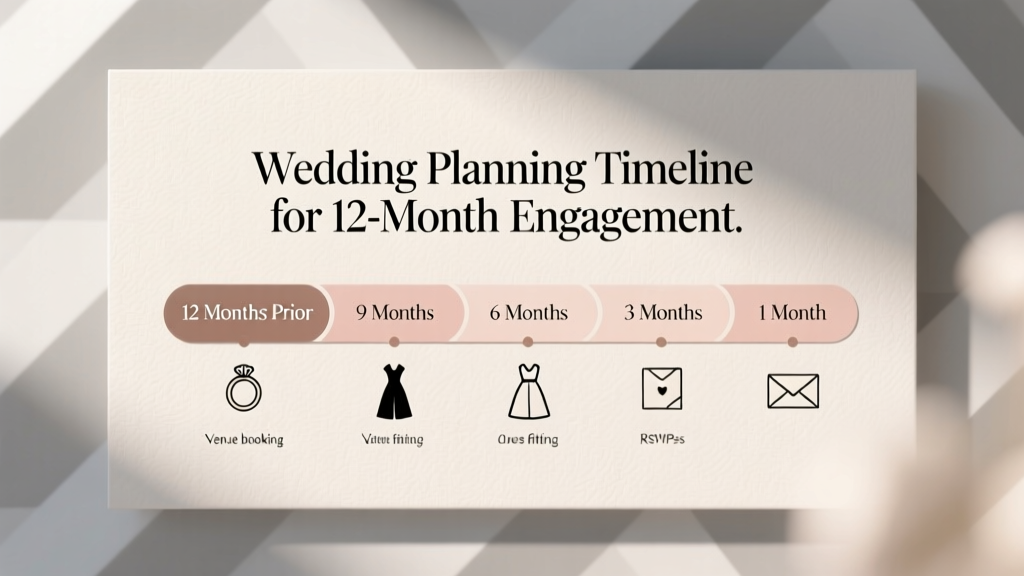 Wedding Planning Timeline for 12-Month Engagement
 How to Plan a Wedding With a Late-Night After Party
 DIY Wedding Planning Tips for Budget-Conscious Couples