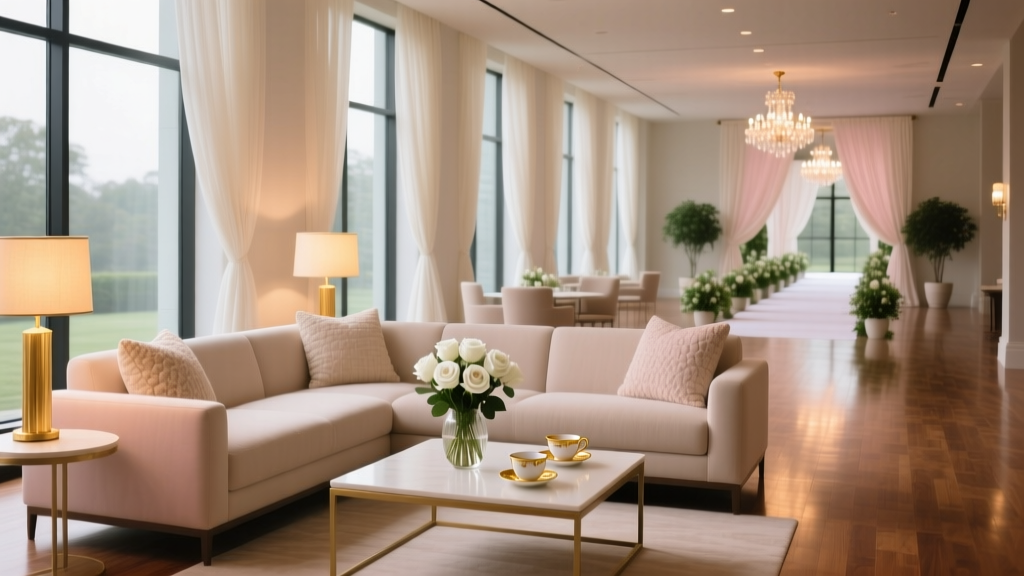
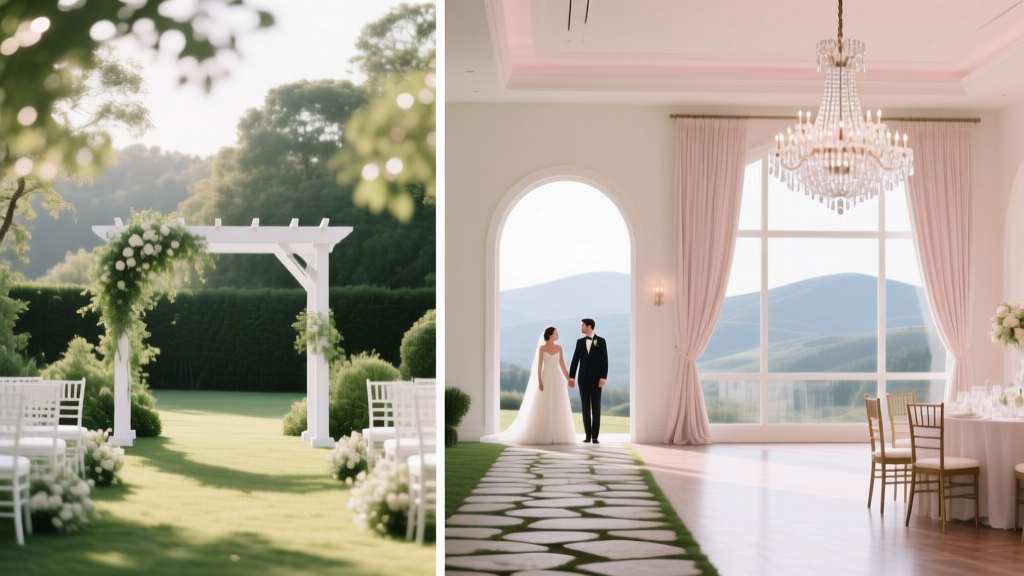
How to Plan a Wedding With a Lounge Area
At some point in wedding planning, most couples realize they’re not just hosting a ceremony and a meal—they’re hosting people. Your people. The friends who will dance all night, the aunties who want to catch up, the grandparents who need a comfortable place to rest, and the college friends who haven’t been in the same room in years.
That’s where a wedding lounge area becomes magic. It gives guests permission to slow down, connect, and recharge without leaving the celebration. Done well, it also elevates the look and feel of your reception—like you created a whole experience, not just a timeline.
If you’re considering a lounge but feeling unsure about budget, layout, rentals, or whether it’ll “fit” your venue, you’re in the right place. Here’s a practical, planner-style guide to creating a lounge area that looks intentional, works for your guest flow, and feels like you.
What a Wedding Lounge Area Actually Does (and Why Guests Love It)
A lounge area is a designated seating zone—separate from dining tables—where guests can relax, chat, sip cocktails, and take a break from the dance floor. Think: soft seating, cozy lighting, small tables, and styling that matches your wedding decor.
Top benefits of having a lounge area
- Improves guest comfort: Especially for older guests, parents with little kids, or anyone who needs a breather.
- Encourages mingling: Lounges naturally create conversation pockets.
- Supports a better reception flow: Guests who aren’t dancing still have a place to enjoy the party.
- Adds photo-worthy design: A well-styled lounge reads as upscale and intentional.
- Helps with noise management: When placed strategically, it gives guests a quieter option.
Real-world scenario
If your guest list includes a mix of party people and quieter conversationalists (most do), a lounge keeps everyone engaged. Without one, those guests often disappear outside, cluster in hallways, or leave early—simply because they don’t have a comfortable “home base.”
Step 1: Decide the Purpose of Your Lounge (This Drives Every Choice)
Before you look at furniture or mood boards, get clear on what your lounge is meant to do. Different goals require different layouts, locations, and budgets.
Common lounge “roles” to choose from
- Cocktail hour conversation zone (near bar or hors d’oeuvres)
- Reception chill-out space (near dance floor but slightly removed)
- Quiet corner (for grandparents, sensory breaks, or guests who want to talk)
- Photo moment lounge (styled vignette with statement backdrop)
- After-party vibe (low lighting, plush seating, late-night snacks nearby)
Quick decision checklist
- Do you want it to be heavily used, or mostly for styling/photos?
- Will kids be at the wedding (and need a parent-friendly spot)?
- Is your crowd more dance-forward, talk-forward, or mixed?
- Is there an outdoor area you want guests to actually enjoy?
Step 2: Choose the Best Location Based on Guest Flow
Placement matters as much as the furniture. The goal is to make the lounge easy to find, comfortable to use, and not in the way.
Great places to put a lounge area
- Adjacent to the dance floor: Guests feel part of the energy but can sit down.
- Near the bar: Perfect for cocktail conversation and people-watching.
- In a transitional space: Foyer, patio, covered terrace, or a wide hallway that otherwise feels empty.
- Outdoor lounge: Ideal for sunset moments, fresh air breaks, and quieter chats.
Avoid these placements
- Blocking server pathways: This slows dinner service and creates congestion.
- Behind the DJ or speakers: Too loud, not relaxing.
- So far away guests forget it exists: If it’s hidden, it won’t get used.
- Right at the entrance of the room: Creates a bottleneck during grand entrance, dinner seating, and dancing.
Pro tip from planners
When you review your floor plan, look for “dead zones”—awkward corners, unused alcoves, empty patios. Lounges are a perfect solution for spaces that feel bare but can’t fit more dining tables.
Step 3: Pick a Lounge Size That Matches Your Guest Count
You don’t need seating for every guest. A lounge works best as supplemental seating—like little islands throughout your reception.
Simple sizing guidelines
- Under 75 guests: 1 lounge area (or 2 small vignettes) is usually plenty.
- 75–150 guests: 2 lounge areas, or 1 larger lounge + a couple of accent seating moments.
- 150+ guests: 3+ lounge areas or a mix of lounge clusters and cocktail seating (high tops).
Example layouts couples love
- “Two-zone” reception: One lounge near dance floor + one quieter lounge outdoors.
- “Bar-lounge hub”: U-shaped lounge framing the bar line, making waiting feel social.
- “Vignettes” approach: Two chairs + small table in 3–4 corners—budget-friendly and space-savvy.
Step 4: Choose Furniture and Decor That Feel Intentional
A lounge area looks best when it feels designed—not like random extra chairs. Cohesion comes from repeating shapes, colors, and materials you already have in your wedding design.
Core lounge pieces
- Sofa or settee: Anchors the lounge and creates a focal point.
- 2–4 accent chairs: Adds flexibility and encourages conversation.
- Coffee table or small tables: Essential for drinks, clutches, and plates.
- Rug: Visually “zones” the lounge and elevates the look.
- Lighting: Floor lamps, table lamps, lanterns, or lots of candles (venue-permitting).
Styling touches that make it feel polished
- Throw pillows in your wedding color palette
- A small floral arrangement or bud vases
- Framed signage (signature cocktails, “Take a seat,” a sweet quote)
- Books, vintage trays, or textured linens for depth
- Soft blankets for fall/winter outdoor lounges
Design tip
Match your lounge vibe to your overall wedding style. A modern wedding lounge might feature clean-lined sofas, neutral tones, and acrylic accents. A garden wedding lounge could include rattan chairs, patterned rugs, and soft florals. A glam ballroom lounge can handle velvet, gold frames, and dramatic lighting.
Step 5: Budget for Your Lounge Area (Without Surprises)
Adding a wedding lounge area can be done on a range of budgets—from a simple seating vignette to a full designer lounge moment.
Typical lounge budget ranges
- DIY / minimal rentals: $200–$800 (using venue furniture + a few rentals or thrifted pieces)
- Standard rental lounge: $800–$2,500 (sofa, chairs, rug, tables, basic styling)
- Luxury / multiple lounges: $2,500–$7,000+ (multiple zones, specialty pieces, lighting, delivery/logistics)
Don’t forget these line items
- Delivery, setup, and pickup fees (often the biggest surprise)
- Labor for flipping spaces if your lounge changes between cocktail hour and reception
- Insurance requirements for certain venues or rental companies
- Outdoor contingency (tenting or a backup indoor lounge plan)
Money-saving strategies that still look great
- Build lounges from venue pieces: Many venues have upholstered chairs, side tables, or benches you can regroup.
- Rent fewer “big” pieces: One sofa + two chairs can look complete if you add a rug and good lighting.
- Use florals strategically: Repurpose ceremony arrangements to style the lounge.
- Create “mini lounges”: Several small vignettes can cost less than one massive lounge.
Step 6: Plan the Timeline So the Lounge Is Ready When Guests Need It
Your lounge should be usable at the moment guests would naturally look for it—usually cocktail hour and the first hour of the reception.
Timeline planning tips
- If the lounge is for cocktail hour: Have it fully set before guests arrive. This is not a “during cocktail hour” setup item.
- If the lounge is for the reception: Confirm it won’t interfere with dinner service lanes.
- If you’re reusing a space: Schedule a flip window (typically 30–90 minutes depending on complexity) and assign a team.
- If it’s outdoors: Decide your weather call time (often 10 a.m. or 12 p.m. on wedding day).
Quick vendor coordination checklist
- Confirm lounge inventory and measurements with your rental company.
- Share the floor plan with your planner/coordinator and venue.
- Ask your caterer where service routes and bus stations will be.
- Confirm power access if you want lamps, neon signs, or charging stations.
- Assign who styles the lounge (planner, florist, you + friends, venue staff).
Make Your Lounge Guest-Friendly (Not Just Pretty)
Planners love a beautiful lounge, but guests love a useful lounge. A few comfort details go a long way.
Guest-comfort upgrades
- Add plenty of surfaces: Small tables prevent the “Where do I put my drink?” problem.
- Keep pathways wide: Aim for clear walkways so guests in formalwear can move easily.
- Consider lighting after dark: Soft lamp light feels cozy and helps guests navigate.
- Offer subtle extras: Fans (summer), blankets (winter), bug spray wipes (outdoors), or heel stoppers (grass).
Specific scenario: Mixed-age guest list
If you have grandparents, older relatives, or guests who don’t dance, place one lounge where they can still watch the action—near the dance floor but angled away from speakers. Add chairs with arms (easier to get up from) and slightly higher seat height if available.
Common Mistakes to Avoid (and Easy Fixes)
- Mistake: The lounge is too far away.
Fix: Move it closer to the bar, dance floor, or main traffic route. - Mistake: No tables.
Fix: Add cocktail tables, nesting tables, or even sturdy vintage suitcases/trunks styled as surfaces. - Mistake: Furniture scale is off.
Fix: Confirm measurements. Oversized sofas can swallow a room; tiny chairs can look sparse in a ballroom. - Mistake: The lounge looks like a random waiting area.
Fix: Add a rug, consistent pillows, and one focal detail (florals, lamp, or backdrop). - Mistake: Outdoor lounge without a backup plan.
Fix: Create an indoor “Plan B” layout using the same pieces, and decide your weather call time.
Wedding Planner Pro Tips for a Lounge That Feels High-End
- Repeat materials from your tablescape: If you have gold flatware, echo that with brass side tables or frames.
- Use rugs to define zones: Even in a plain venue, rugs instantly make it feel designed.
- Anchor with lighting: One floor lamp can transform a lounge from “seating” into “atmosphere.”
- Create a photo-friendly angle: Position the lounge so the background is pretty (not a service door or fire extinguisher).
- Think in pairs: Two matching chairs or two matching side tables make the setup feel intentional.
- Ask for a rental mock-up photo: Many rental companies can show previous lounge builds or propose a curated set.
FAQ: Planning a Wedding Lounge Area
How many lounge seats do I need for my wedding reception?
You don’t need enough for everyone—think supplemental seating. A good starting point is lounge seating for about 10–20% of your guest count, spread across one or more lounge areas depending on the space.
Is a lounge area worth it for a small wedding?
Yes, especially if your wedding is under 75 guests and you want it to feel intimate and elevated. A single sofa with two chairs, a rug, and a small table can create a cozy “living room” vibe that encourages conversation.
Can I create a lounge area without renting a full set?
Absolutely. Many couples use venue furniture and add a few key pieces: a rug, two statement chairs, and a coffee table. Thrifted or borrowed decor (pillows, lanterns, framed photos) can help tie it together.
Where should a lounge area go at an outdoor wedding?
Place it on a stable surface (patio, decking, or under a tent) and close enough to the main reception that guests don’t feel like they’re leaving the party. If it’s on grass, consider rugs plus furniture that won’t sink or wobble.
How do I keep my lounge from competing with the dance floor?
Set it near the dance floor but not facing speakers directly. The best lounges feel connected to the energy while still comfortable for conversation. Also, keep the lounge seating inviting but not so deep and hidden that guests disappear from the party.
Do I need signage for the lounge area?
Not always, but subtle signage can help if the lounge is in a side space or outdoors. A small “Take a seat” sign, a menu of signature cocktails, or a cozy lighting cue often does the job without feeling forced.
Next Steps: Bring Your Lounge Plan to Life
If you’re ready to move from idea to execution, here’s a simple action plan you can knock out this week:
- Choose your lounge purpose (cocktail, reception chill zone, quiet corner, photo moment, or after-party).
- Mark the best location on your floor plan and confirm it won’t disrupt service pathways.
- Set a realistic budget range and ask rental companies for curated lounge packages with delivery/labor costs included.
- Select 1–2 anchor pieces (sofa or statement chairs) and build around them with rugs, tables, and lighting.
- Create a weather/back-up plan if any part of the lounge is outdoors.
Your wedding lounge area doesn’t have to be complicated to be impactful. When it’s comfortable, thoughtfully placed, and styled to match your day, it becomes one of those “small” details guests remember—because it made them feel cared for.
Want more planning help? Explore more wedding planning guides and ideas on weddingsift.com—we’re here for every step.
More Articles
 Wedding Planning Checklist for the Month Before
 How to Plan a Wedding With a Photo Slideshow
 How to Plan a Wedding With a Late-Night After Party
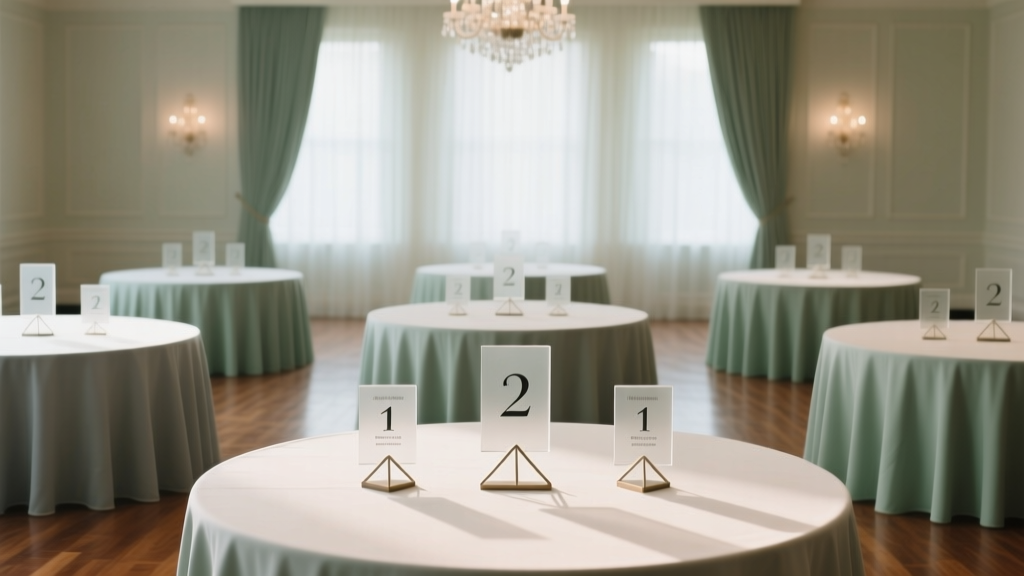 Wedding Planning How to Choose the Perfect Table Numbers
 How to Plan a Themed Wedding From Concept to Execution
 How to Handle Wedding Planning Stress and Anxiety
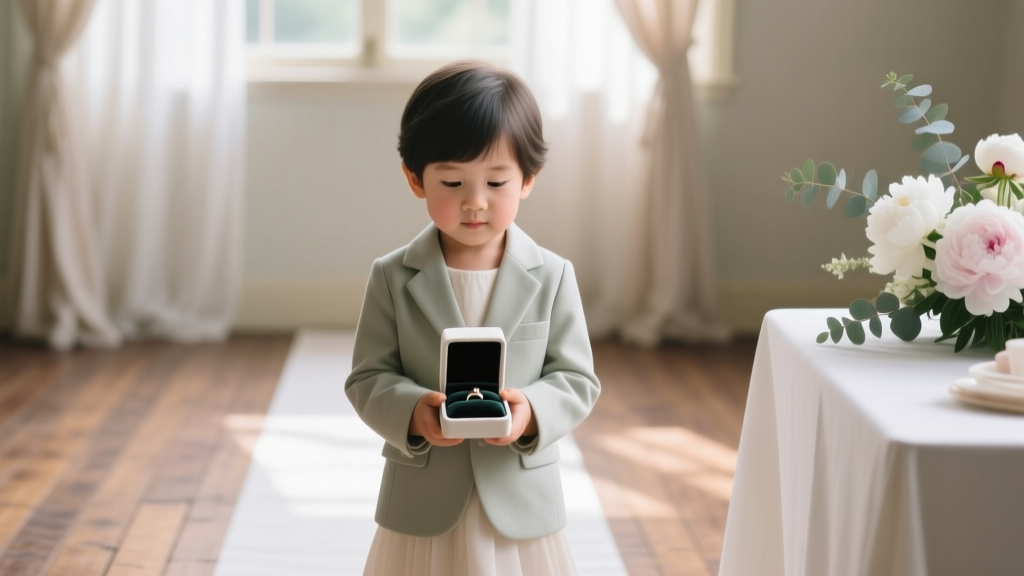 Wedding Planning How to Handle the Ring Bearer
 Wedding Rehearsal Dinner Planning Made Easy
 How to Choose Between Indoor and Outdoor Wedding Venues
 Wedding Planning for Short Engagements Survival Tips