Wedding Storage Solutions Before the Big Day
You know that moment when a “quick” wedding purchase shows up at your door—maybe it’s votives, place cards, or a stack of linen napkins—and suddenly your living room looks like a mini event warehouse? You’re not alone. Wedding planning is exciting, but the physical stuff (decor, outfits, favors, signage, gifts) can sneak up on you fast.
Most couples plan the timeline, the vendor list, and the guest count… but forget to plan where everything will live until the wedding. And when storage isn’t planned, it tends to show up as last-minute stress: wrinkled linens, missing escort cards, broken décor, or the dreaded “Where did we put the marriage license?” scramble.
This guide will help you set up wedding storage solutions that keep your home livable and your wedding day setup smooth. Think of it as the calm, practical system a seasoned wedding planner would set up with you—so you can enjoy the fun parts without tripping over centerpiece boxes for months.
Why Wedding Storage Matters (More Than You Think)
Storage isn’t just about tidiness. It protects your budget, your timeline, and your sanity.
- Prevents damage: humidity, sunlight, pets, and curious kids can ruin paper goods, florals, and fabrics.
- Keeps setup efficient: an organized system makes it easier for you, your wedding party, or your coordinator to load in and set up.
- Avoids duplicate purchases: how many couples re-buy cake toppers or signage stands because they can’t find the original?
- Supports smoother vendor handoffs: rentals, DIY décor, and personal items are easier to deliver when they’re labeled and staged.
Start With a Simple Storage Plan
Step 1: Do a 20-minute wedding inventory sweep
Walk through your home and gather anything wedding-related (even if it’s currently in random drawers). Put it in one spot temporarily, then sort into categories.
Quick category list:
- Attire & accessories (dress, shoes, veil, suit items, jewelry)
- Paper goods (save-the-dates, invites, programs, menus, vows)
- Reception décor (vases, candles, frames, signage, table numbers)
- Ceremony items (unity ceremony supplies, aisle décor, card box)
- Favors & welcome bags
- Emergency kit & day-of supplies
- Vendor documents (contracts, seating chart drafts, shot list)
- Gifts (for wedding party, parents, each other)
Step 2: Choose your “Wedding Storage Zone”
Pick a dedicated space that won’t disrupt daily life. The best zone is dry, clean, and easy to access.
- Best options: guest room closet, under-bed storage, a spare corner of an office, a clean basement shelf, a top shelf in a hall closet
- Avoid if possible: damp basements, hot attics, garages with pests, areas with strong odors (paper goods absorb smells)
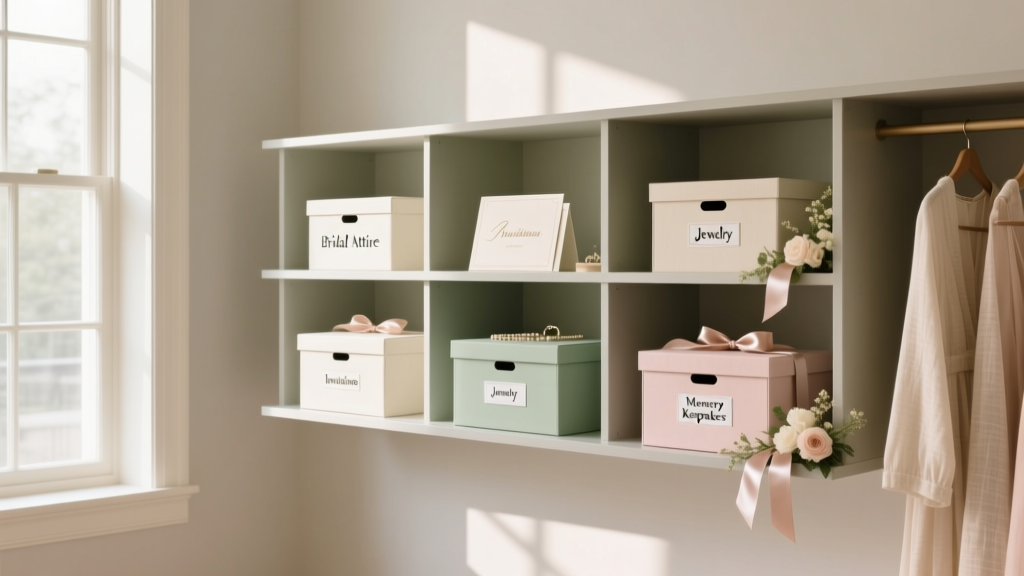
Step 3: Set up a label-and-list system
This is the secret to staying organized for months. Keep it simple enough that you’ll actually use it.
- Label every bin (big text on two sides).
- Number bins (Bin 1, Bin 2…) and keep a note on your phone with what’s inside each.
- Create a “Do Not Open / Day-Of Only” bin for items that should stay pristine (like printed signage and ceremony programs).
Storage Solutions by Wedding Category
Paper Goods: Invitations, Escort Cards, Signage
Paper is one of the easiest wedding items to damage—and one of the most expensive to replace quickly.
- Store in a rigid plastic bin with a tight lid (not a soft-sided bag).
- Add a silica gel pack to reduce moisture risk.
- Use large envelopes or file folders labeled: “Invites,” “Programs,” “Menus,” “Signage,” “Extra paper.”
- Keep away from sunlight to prevent fading (especially for signage and photos).
Real-world scenario: You finish seating assignments two nights before the wedding. If your escort cards are in a labeled folder inside “Bin 4: Paper Goods,” you’re calm. If they’re in an unmarked shopping bag somewhere, that’s when mistakes happen.
Attire: Wedding Dress, Suit, Shoes, Accessories
Attire deserves VIP storage. A small issue (wrinkles, snags, discoloration) can create a big emotional and financial headache.
- Wedding dress: keep in a breathable garment bag in a closet, away from kitchen odors and direct sunlight. Avoid storing in plastic long-term.
- Suits/tux: hang with space around it; store shoes in dust bags or their boxes.
- Accessories: small clear containers for jewelry, cufflinks, veil pins, hairpieces.
- Break-in shoes safely: store shoes with a note: “Worn + ready” so you don’t accidentally pack unworn shoes day-of.
Pro tip: Keep a “getting ready” bag separate from your main storage bins. Include your day-of accessories, vows, fragrance, and an emergency kit—then stash it in a spot you won’t accidentally move.
Decor & DIY Builds: Centerpieces, Candles, Frames, Table Numbers
Decor tends to multiply because it’s purchased in batches. The key is protecting fragile items and making setup easy.
- Use stackable clear bins so you can see what’s inside.
- Wrap fragile items with packing paper or bubble wrap; label “FRAGILE” on the bin.
- Store candles in a cool, stable place to prevent warping (avoid garages or hot attics).
- Bundle like items together: all votives in one bin, all signage stands in another.
Specific scenario couples recognize: You’re doing DIY bud vases with a mix of 60 glass pieces. If they’re loose in a cardboard box, you’ll find chips and cracks. If they’re wrapped and packed snugly in a plastic bin with dividers, they arrive wedding-day-ready.
Florals (Artificial), Greenery, and Rentals
- Artificial florals: store in boxes so they don’t flatten. Keep away from dust and humidity.
- Greenery garlands: avoid tight folds; loosely coil and place in a large bin.
- Rental items: don’t store rentals longer than necessary. Confirm delivery/pickup timelines and keep the rental agreement in your vendor document folder.
Favors, Welcome Bags, and Guest Amenities
These items often include food, paper, or small pieces that are easy to lose.
- Keep favors in their original packaging until assembly time.
- Store edible favors (like chocolates) in a cool, dry place—consider waiting to purchase until 2–3 weeks out.
- Use a bin labeled: “Welcome Bags: Assembly Line” and keep everything together (bags, inserts, ribbon, tags, staples).
Budget tip: If you’re on a tight budget, avoid buying welcome bag supplies too early “just because they’re on sale.” Storage issues can cause waste, and last-minute design changes are common.
A Practical Wedding Storage Timeline
Use this as a flexible guide for when to buy and where to store items throughout your wedding planning timeline.
3–6 months before
- Choose your wedding storage zone
- Buy storage basics: bins, labels, garment bags, packing paper
- Start a “Paper Goods” bin for samples, proofs, and extra envelopes
- Begin collecting décor only if your design is finalized
6–8 weeks before
- Assemble non-perishable favors
- Finish signage design and store printed items flat
- Create a “Day-Of Setup” bin for décor that must be placed at the venue
2–3 weeks before
- Stage items by function: ceremony, cocktail hour, reception, after-party
- Confirm vendor drop-offs and decide who is transporting personal décor
- Pack a “Wedding Weekend” suitcase separate from décor storage
Wedding week
- Do a final inventory check using your bin list
- Charge batteries (candles, microphones, photo booth props)
- Put marriage license, rings, and vows in a secure, known location
- Load bins in the order they’ll be used at the venue
Budget-Friendly Storage Ideas (That Still Look Organized)
- Borrow bins: ask recently married friends if you can use their storage totes.
- Use banker boxes for paper goods: sturdy, stackable, and inexpensive—just keep them dry.
- Repurpose shoeboxes: ideal for small items like cake topper pieces, card box keys, vow books.
- Buy clear bins only for high-frequency categories: décor and paper goods benefit most from visibility.
Where to spend a little extra: a quality garment bag for your wedding dress, and sturdy bins for fragile décor. Replacing broken items often costs more than storing them safely.
Step-by-Step: Pack a “Day-Of Essentials” Storage System
This system keeps critical items from getting mixed into general storage. Think: what you’d be upset to forget.
1) Create three clearly labeled bags/bins
- Getting Ready Bag (stays with you)
- Ceremony Essentials (assigned to a trusted person or coordinator)
- Reception & After-Party Essentials (goes to the venue with décor)
2) Fill them with specific items
- Getting Ready Bag: vows, perfume/cologne, accessories, touch-up makeup, stain remover pen, snacks, phone charger
- Ceremony Essentials: rings (or ring boxes), marriage license, unity ceremony items, reserved seat signs, officiant tip envelope
- Reception Essentials: card box, cake knife/server, toasting flutes (if personal), guest book + pens, signage stands, vendor tip envelopes
3) Assign responsibility now
Pick one person for each bin—don’t assume “someone will grab it.” A sibling, best friend, or planner is ideal. If you’re working with a month-of coordinator, confirm what they will transport and what they won’t.
Common Wedding Storage Mistakes (and How to Avoid Them)
- Mistake: Mixing everything into one “wedding box.”
Fix: Separate by category and by event moment (ceremony vs. reception). - Mistake: Storing paper goods in humid spaces.
Fix: Keep paper in a dry closet, in a lidded bin, with a moisture absorber. - Mistake: Buying too early without a final plan.
Fix: Set a purchase window and stick to it; store only what matches your confirmed wedding décor plan. - Mistake: Not labeling cords, batteries, and small pieces.
Fix: Use zip bags labeled “Neon sign power cord” or “LED candle remotes.” - Mistake: Forgetting return windows.
Fix: Keep a “Returns” folder and label bins with “Return by: date” sticky notes.
Wedding Planner Pro Tips for Stress-Free Storage
- Use a master photo list: Take a quick photo of each bin’s contents before closing it. It’s a lifesaver when you’re searching later.
- Stage a mock setup: If you’re DIY-ing centerpieces, set one up completely, photograph it, then store the photo in the décor bin for whoever sets up day-of.
- Keep vendor documents digital + printed: Store a printed copy in a labeled folder, but also keep a shared digital folder (Google Drive) for easy access.
- Think about load-in order: Pack the last-used items (like ceremony décor) so they’re easiest to access first, depending on your venue schedule.
- Don’t store everything at one house: If you and your partner live separately or with family, assign one “official” storage location to prevent items splitting and disappearing.
FAQ: Wedding Storage Solutions Before the Big Day
Where should we store wedding décor if we live in a small apartment?
Prioritize vertical storage (stackable bins) in one dedicated corner or closet. Under-bed bins work well for linens and paper goods. If space is extremely tight, consider asking a family member to store one category (like décor only) and keep paper goods and essentials with you.
Is it okay to store wedding items in the garage or basement?
Only if it’s climate-controlled, dry, and pest-free. Garages and basements often cause moisture damage, odors, warped candles, and rust on metal items. If you must store items there, use sealed plastic bins and keep paper and fabrics indoors.
When should we start packing everything for the venue?
Start staging bins 2–3 weeks before the wedding, then do a final inventory check wedding week. Packing too early can lead to missing items you still need (like vow books for practice) and last-minute changes.
How do we keep track of what’s in each box without making it complicated?
Number the bins and keep a simple note on your phone: “Bin 1: Candles + holders,” “Bin 2: Table numbers + signage stands.” Add photos of open bins if you want an even faster way to find things.
What items should never go into general storage bins?
Keep these separate and secure: marriage license, rings, vows, passports/IDs for travel, prescriptions, and anything irreplaceable (heirlooms). Use a dedicated “Essentials” pouch or small lockbox and assign one person to be responsible for it.
How can we prevent last-minute DIY chaos when everything is stored away?
Create one “DIY Station” bin with your tools (scissors, glue dots, tape, pens, labels, ribbon, extra batteries). That way, when you need to assemble something quickly, you’re not searching through five different boxes.
Next Steps: Set Up Your Storage This Week
If wedding planning feels like it’s taking over your home, treat storage as a mini project you can finish in one or two evenings. Start by choosing your wedding storage zone, grabbing a few bins, and labeling them by category. Then build your “Day-Of Essentials” system so the most critical items are always easy to find.
You’re building a celebration—and you deserve a planning season that feels organized, not overwhelming. When your storage is handled, everything else gets lighter.
For more practical, real-life wedding planning tips, explore the latest planning guides on weddingsift.com.
More Articles
 How to Plan a Wedding Reception That Guests Will Remember
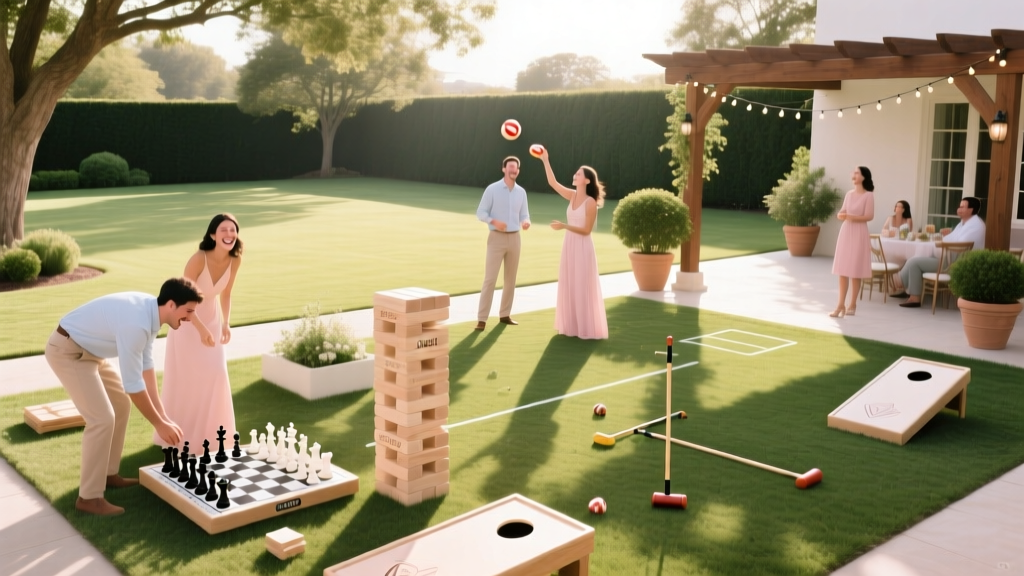 How to Plan a Wedding With a Lawn Game Area
 Wedding Planning Guest Transportation Shuttle Services
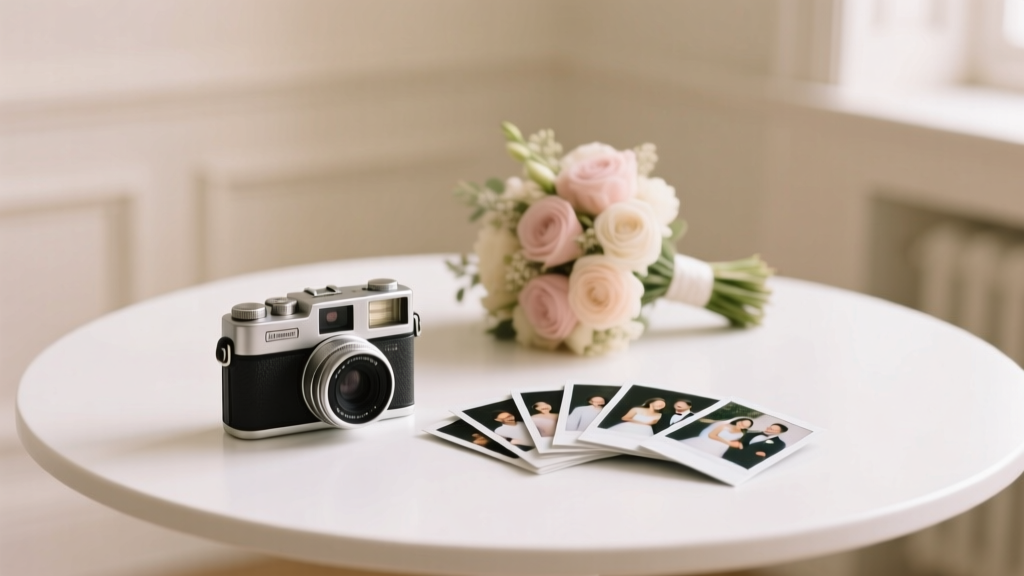 How to Plan a Wedding With a Polaroid Guest Book
 How to Plan a Wedding With a Live Streaming Option
 How to Plan a Wedding Venue Visit Efficiently
 How to Plan a Wedding With a Welcome Reception
 Wedding Planning How to Choose Between Buffet and Plated
 How to Plan a Sustainable Eco-Friendly Wedding
 How to Plan a Wedding With a Grand Entrance