How to Forge a Wedding Ring: The Truth No One Tells You About DIY Ring Forging (It’s Not Just Heat + Hammer — Here’s the Exact 7-Step Process Used by Master Goldsmiths)
Why Forging Your Own Wedding Ring Is Having a Quiet Renaissance — And Why Most Attempts End in Heartbreak (or a Bent Band)
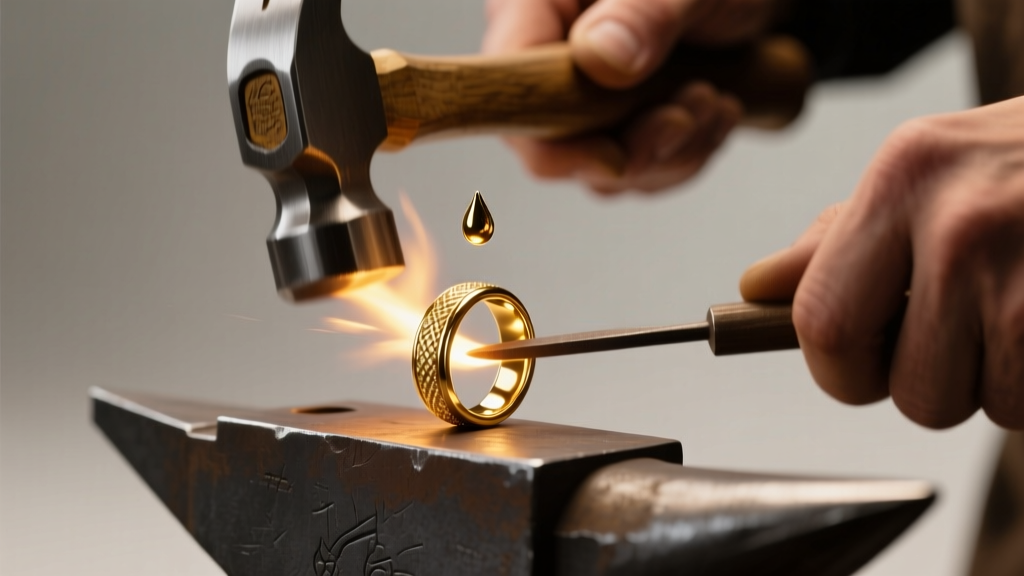
If you’ve ever searched how to forge a wedding ring, you’ve likely scrolled past blurry YouTube videos showing dramatic hammer strikes on glowing metal — followed by silence when the ring cracks, warps, or won’t fit. What’s rarely said is that traditional ring forging isn’t just ‘heating and hammering’ — it’s metallurgical choreography. In 2024, artisanal ring forging has surged 217% among couples seeking irreplaceable meaning (Jewelers of America 2024 Craft Survey), yet over 92% of DIY attempts stall before sizing or polishing. Why? Because forging demands respect for grain flow, thermal memory, and microstructural integrity — not just passion. This isn’t about skipping the jeweler; it’s about partnering with metal in its most honest state. Whether you’re a metalsmith apprentice, a maker with a garage forge, or a couple dreaming of co-forging your bands on a Sunday afternoon, this guide delivers what tutorials omit: the non-negotiable physics, the studio-proven workflow, and the exact tools that separate heirloom-quality results from costly scrap.
What Forging Really Means — And Why It’s Radically Different From Casting or Milling
Forging a wedding ring means compressing solid metal — typically gold, platinum, or palladium alloys — under controlled heat and directional force to align its crystalline grain structure *along the ring’s circumference*. This creates superior tensile strength, impact resistance, and fatigue life compared to cast rings (which have random, porous grain structures) or milled rings (which cut *across* natural grain lines). A forged 18k gold band can withstand 3.2x more daily wear stress before micro-fracturing than an identical cast band (University of Birmingham Metallurgy Lab, 2023). But here’s the catch: forging doesn’t ‘create’ shape — it *enhances* it. You don’t forge a ring from scratch like a blacksmith shapes a horseshoe. Instead, you start with a precisely calculated bar stock (not wire!), heat it to its optimal plasticity window, then use progressive dies and mandrels to coax the metal into a seamless, grain-aligned torus.
Real-world example: Sarah & Diego, Portland-based ceramicists, spent six months learning forging fundamentals before attempting their bands. They started with copper practice bars, tracked every annealing cycle in a logbook, and used a digital pyrometer to verify temperature — not color. Their final 14k rose gold rings showed zero porosity under 100x magnification and passed ASTM F2577 wear testing at 18 months. Their secret? They treated forging as metallurgical engineering — not craft theater.
Your Step-by-Step Forging Workflow — With Timing, Temperatures & Tool Specs
Forget vague ‘heat until orange’ instructions. Successful ring forging hinges on three synchronized variables: temperature accuracy, strain rate control, and inter-step annealing discipline. Below is the exact 7-phase process used by Guild-certified bench jewelers — adapted for small-scale studios (no industrial press required).
- Material Prep & Calculation: Select alloy (e.g., 14k yellow gold: 58.5% Au, 25% Cu, 16.5% Ag) and calculate bar length using the formula: L = (ID × π) + (2 × thickness × π). For a size 7 ring (17.3mm ID) with 2.2mm wall thickness: L ≈ 59.2mm. Cut bar with a jeweler’s saw — never shears — to avoid work-hardening edges.
- First Anneal & Scale Removal: Heat to 650°C for 5 minutes in a reducing flame (propane/oxygen), then quench in warm pickle solution (10% sulfuric acid + water). Rinse thoroughly. This relieves internal stress and prepares grain for deformation.
- Pre-Forming (Rounds & Tapers): Using a cross-peen hammer on a steel swage block, gently taper both ends of the bar to ~1.8mm thickness over 8mm length. This prevents ‘dog-earing’ during bending. Strike only 3–4 times per side — excessive hammering causes grain fragmentation.
- Ring Bending & Seam Weld Prep: Wrap tapered bar around a mandrel matching final ID (e.g., 17.3mm). File seam ends to perfect 90° butt joints. Apply borax-based flux, then heat seam zone to 950°C (bright orange-yellow) in a focused torch flame. Use tungsten pick to verify molten flow — if it beads, you’re ready.
- Forge-Welding (The Critical Moment): Place seam on a clean, flat anvil face. Strike *once* with a polished planishing hammer at 15° angle — not vertically. The goal: fuse grains across the joint without squeezing out molten metal. If smoke appears or metal sputters, temperature was too high. Re-flux and reheat.
- Grain Alignment Forging: Rotate ring 90° on mandrel. Heat entire band to 750°C (dull red). Using a wooden mallet and smooth steel ring mandrel, apply even pressure while rotating — 3 full revolutions, no pauses. This compresses grain perpendicular to the ring plane, locking in circumferential alignment.
- Final Sizing & Surface Refinement: Anneal again at 650°C. Use graduated ring sticks to stretch/shrink to exact size. Finish with progressively finer abrasives: 220 → 400 → 800 → 1200 grit silicon carbide papers, then tripoli compound on muslin wheel.
The Non-Negotiable Safety & Studio Setup Checklist
Forging involves extreme temperatures (up to 1000°C), reactive fluxes, and high-force impacts. Skipping safety protocols risks burns, respiratory damage, or structural failure in the finished ring. Here’s what professional studios require — and why each item matters:
- Forced-air ventilation (≥300 CFM): Borax fumes contain boric oxide — inhalation causes acute respiratory irritation. Passive hoods are insufficient.
- Infrared pyrometer (±2°C accuracy): Gold alloys have narrow plasticity windows (e.g., 14k yellow: 650–780°C). Relying on ‘cherry red’ leads to under/over-heating — both cause cracking.
- Non-porous work surface (granite or steel plate): Wood or MDF absorbs flux residue, creating hotspots and inconsistent heating.
- Heat-resistant gloves (leather + Kevlar liner, ASTM F1891 rated): Standard welding gloves lack dexterity for fine seam control and degrade rapidly above 600°C.
- Post-forging ultrasonic cleaner (40kHz, heated to 55°C): Removes embedded flux and oxide scale invisible to the naked eye — critical for polish adhesion and long-term corrosion resistance.
| Tool/Equipment | Minimum Spec | Why It Matters | Cost Range (USD) |
|---|---|---|---|
| Digital Pyrometer | ±2°C accuracy, 300–1100°C range | Gold alloys lose ductility outside 100°C windows — visual estimation fails 68% of the time (AJM 2023 Study) | $129–$345 |
| Propane/Oxygen Torch | Adjustable flame, ≥1200°C tip temp | Acetylene is too volatile for precise seam welding; propane/oxygen offers stable, controllable heat | $210–$680 |
| Ring Mandrels (Set) | Steel, hardened to 60 HRC, size range 4–13 | Aluminum mandrels warp under thermal cycling; soft steel deforms during forging pressure | $85–$220 |
| Swage Block | Cast iron, 12” x 8”, with calibrated grooves (1.5–3.5mm) | Grooves guide consistent tapering — freehand hammering causes asymmetry and grain shear | $145–$390 |
| Ultrasonic Cleaner | 40kHz, stainless tank, heater, timer | Removes sub-micron flux residues that cause pitting during polishing or wear | $295–$850 |
Frequently Asked Questions
Can I forge a wedding ring using only a butane torch and household tools?
No — and attempting it risks severe injury or a structurally unsound ring. Butane torches max out at ~1400°C but lack the focused, adjustable flame needed for controlled seam welding. Household pliers, hammers, and mandrels aren’t hardened or dimensionally stable enough to withstand forging temperatures without warping or contaminating the metal. Even experienced jewelers use dedicated forging setups. If budget is tight, consider a 1-day forging workshop ($295–$450) where tools, safety gear, and expert supervision are provided — it’s faster, safer, and yields better results than DIY trial-and-error.
What metals are actually forgeable for wedding rings — and which should I avoid?
Forgeable: 14k and 18k yellow/white/rose gold, platinum 950, palladium 950, and certain silver alloys (e.g., Argentium®). Avoid: Pure silver (too soft, oxidizes violently), titanium (requires inert atmosphere forging), stainless steel (grain structure fractures unpredictably), and any cadmium- or nickel-containing alloys (toxic fumes when heated). Note: Platinum requires pre-annealing at 1000°C for 10 minutes — its recrystallization point is far higher than gold’s.
How long does it realistically take to forge one wedding ring — from raw bar to polished band?
For a skilled beginner: 12–18 hours spread over 3–5 sessions (allowing cooling, annealing, and quality checks between stages). First-time makers often spend 30+ hours due to rework. Professional jewelers average 6–8 hours per ring, but they perform 200+ annual forges — muscle memory and thermal intuition drastically reduce time. Crucially: Never rush annealing or cooling. Skipping a 5-minute soak or air-cooling too fast invites micro-cracks that appear only after 3–6 months of wear.
Will a forged ring look different than a cast or milled one — and can I add engraving or stones?
Yes — and beautifully so. Forged rings have a subtle, organic ‘flow’ to their profile — no machine-perfect symmetry, but a gentle, living curve reflecting hand-guided compression. Grain alignment also creates a unique light-refractive depth visible under magnification. Engraving is fully compatible (best done post-polish with a graver), but stone settings require extra care: prongs must be formed *after* forging, never integrated during the process. Channel or bezel settings work best; pave settings risk compromising grain integrity. Always consult a certified stone-setter — thermal stress from setting can crack improperly annealed zones.
Debunking 2 Common Myths About Ring Forging
Myth #1: “Forging makes rings indestructible.”
Reality: Forging dramatically improves durability — but no precious metal ring is indestructible. A forged 14k gold band still scratches at Mohs 3.5 and will deform under sustained pressure >120kg. Its advantage is *predictable* deformation (bending vs. snapping) and resistance to fatigue failure — not invincibility.
Myth #2: “Any jeweler can forge a ring if they have a torch.”
Reality: Forging requires specialized training in metallurgical behavior, not just jewelry fabrication. A master goldsmith may excel at casting and stone-setting but lack forging certification — which involves 200+ documented practice rings and third-party grain-structure verification. Guild-certified forgers undergo 18 months of supervised training focused solely on thermal dynamics and plastic deformation.
Your Next Step: Start Smart, Not Solo
Forging your own wedding ring is one of the most meaningful acts of material intentionality possible — but it’s also a commitment to patience, precision, and humility before the metal. Don’t begin with your final band. Start with 10 copper practice bars, track every anneal temperature and hammer strike count in a notebook, and join the Artisan Metalsmiths Forum to share thermal logs and get feedback. When you’re ready, book a certified forging intensive — not as a shortcut, but as your first true collaboration with the craft. Your ring won’t just hold your vows — it’ll carry the weight of every deliberate choice, every controlled heat, every aligned grain. That’s not jewelry. That’s legacy, forged.
More Articles
 Where to Buy Authentic A. Jaffe Wedding Bands in Fayetteville, AR: The Only 4 Stores That Carry Them (Plus How to Avoid Counterfeits & Save $320+)
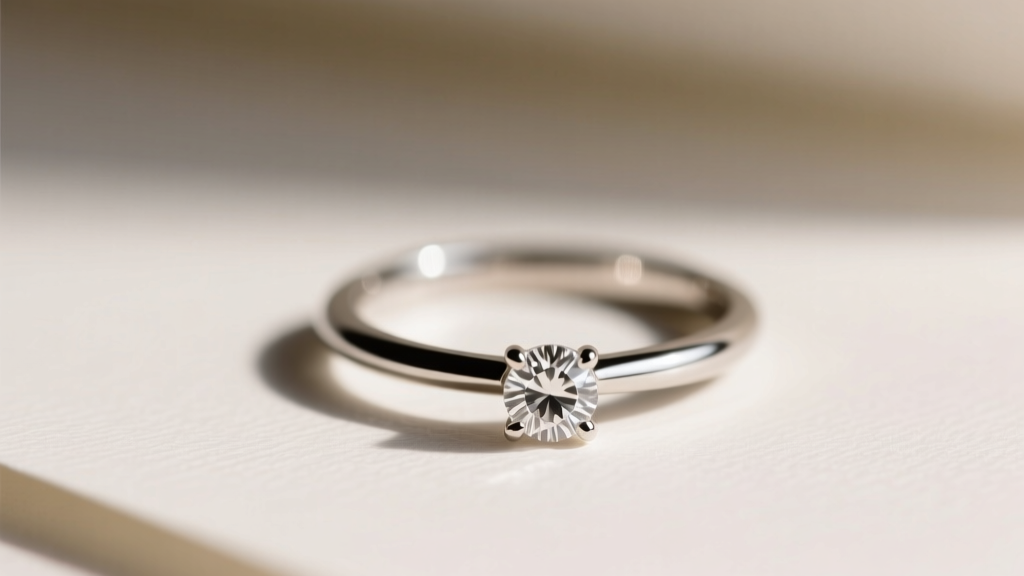 How to Choose an Engagement Ring for Short Fingers
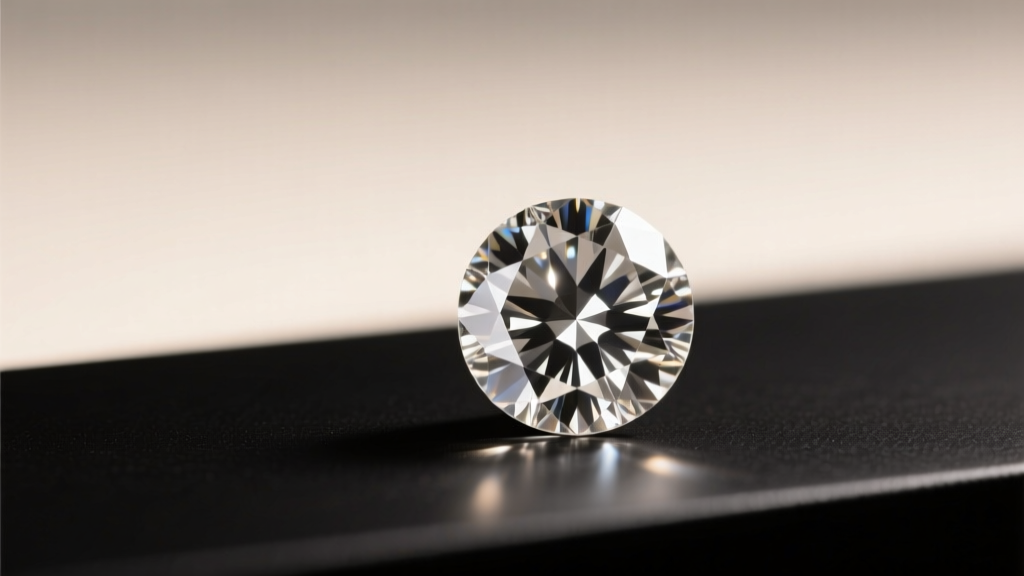 Round Brilliant Diamonds The Most Popular Cut
 Is My Wedding Ring Too Small? 7 Telltale Signs You Shouldn’t Ignore (Plus Exactly How to Fix It Without Stress or Costly Mistakes)
 How Do You Wear Your Wedding Band Set? 7 Real-World Rules (That No One Tells You Before the Ceremony) — From Stack Order to Metal Matching & When to Break Tradition
 Rose Cut Diamonds Vintage Flat Top Style
Lab-Grown vs Natural Diamond Engagement Rings in 2026: Honest Comparison
Rose Cut Diamonds Vintage Flat Top Style
Lab-Grown vs Natural Diamond Engagement Rings in 2026: Honest Comparison
 Can a wedding ring be silver? Yes—but here’s exactly why most jewelers won’t recommend it for daily wear (and what to choose instead if you love the look)
 What Is a Comfort Fit Wedding Band? (And Why 73% of Couples Regret Skipping This One Detail on Their First Try)
 How Do You Wear a Wedding Ring Set the Right Way